Managing browser extensions is key to keeping Chrome running smoothly and securely. Over time, you might install tools for convenience, productivity, or customization but not all of them stay useful. Removing unused or unwanted extensions can free up system resources, improve performance, and reduce the risk of potential security concerns.
Google Chrome makes it easy to manage your extensions through its built-in settings. Once you access the extensions page, you can view everything installed in your browser, disable tools temporarily, or permanently delete them with just a few clicks. This flexibility allows you to keep your browsing environment clean and tailored to your current needs.
Regularly reviewing your installed extensions is a good habit, especially if you’re troubleshooting browser issues or noticing slower load times. By removing outdated or unnecessary tools, you can enhance your overall experience, reduce clutter, and ensure that only trusted add-ons remain active in your browser.
Watch: How To Use Gemini On PC
Remove Google Chrome Extensions:
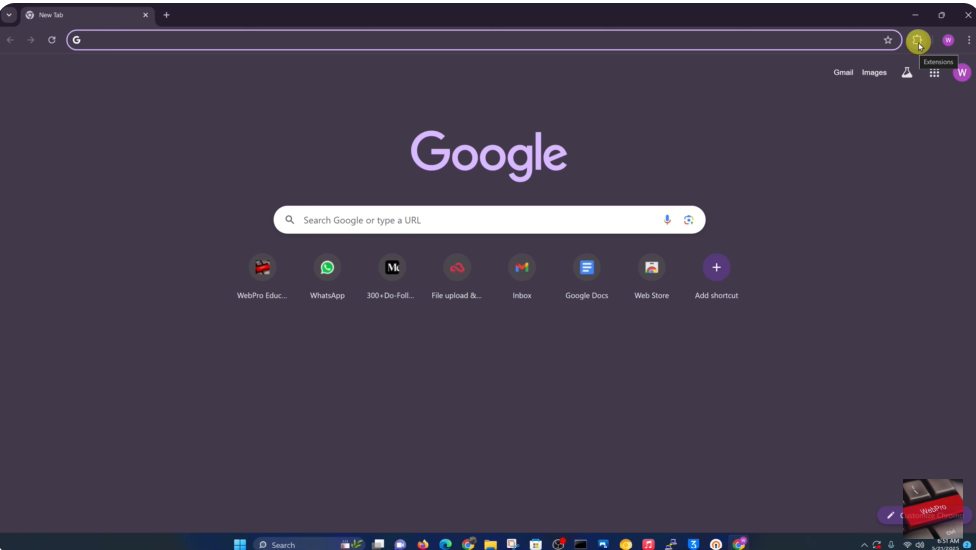
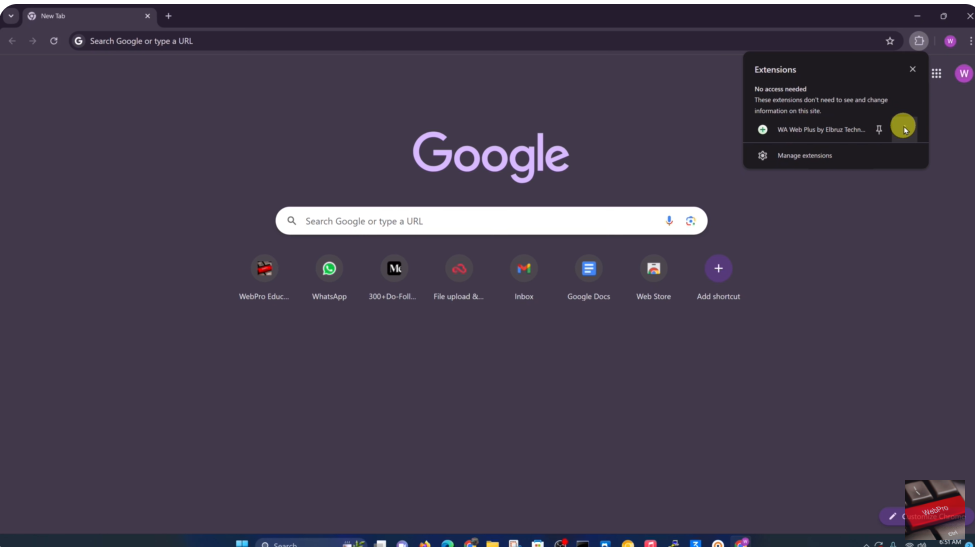
Open the Chrome browser on your computer to begin managing your extensions. Make sure it’s up to date for the best experience. Click the extensions icon (shaped like a puzzle piece) located at the top-right corner next to the address bar. This reveals a dropdown of all currently installed extensions.
Find the specific extension you want to delete. Once located, click the three vertical dots next to its name. This opens a small menu with control options for that extension.
Select “Remove from Chrome” from the dropdown menu. This action initiates the removal process and helps declutter your browser from unused tools.
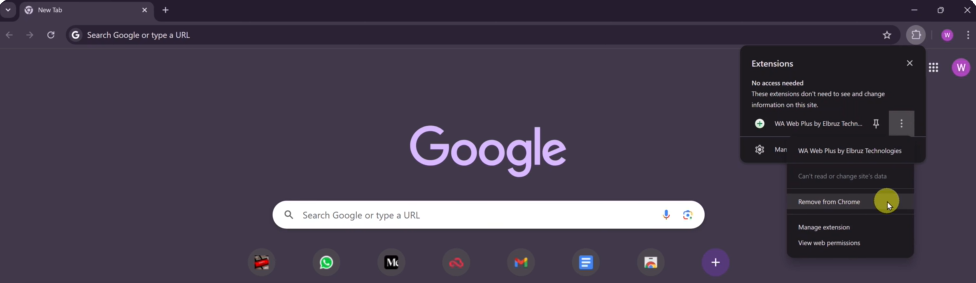
After removal, the extension will disappear immediately, and Chrome may refresh automatically to apply the change. If needed, you can always reinstall it later from the Chrome Web Store.

