Running regular hardware diagnostics on your Samsung Galaxy A36, A56, or A26 is a smart way to stay ahead of potential issues—whether you’re troubleshooting strange behavior or just want peace of mind that everything’s working as it should.
Below, you’ll find two easy methods to access Samsung’s built‑in test tools: the secret engineer menu (dialer code) and the built-in diagnostics tool. You can pick the one that’s most convenient for you.
Before you begin, charge your phone to at least 30 %—some tests can be power-intensive. Also, close any running apps to avoid background interference. Finally, note anything unusual you’ve observed (e.g. unresponsive touch, rapid battery drain) so you know which tests to focus on.
Benefits of a Diagnostics Test?
Catch hardware problems early: Identify a failing battery, loose sensors, or faulty touchscreen before they turn into big headaches.
Verify repair success: After a screen or battery swap, confirm the new parts are functioning properly.
Maintain performance: Periodic checks help ensure your Galaxy feels fast, responsive, and reliable.
Watch: Enable Touch & Hold To Edit Lock Screen On Galaxy A56
Run Diagnostics Test On Galaxy A36/A56/A26
To run a diagnostics test on your Samsung galaxy A36, A56, or A26, there are two inbuilt methods you can use.
Use Samsung’s Built-in Diagnostics Tool
Samsung provides a built-in diagnostics tool, making it easy to test your phone’s hardware. To start, launch the Settings app, scroll down and select Device Care. Inside Device Care, scroll to the Additional Care category and tap on Diagnostics.
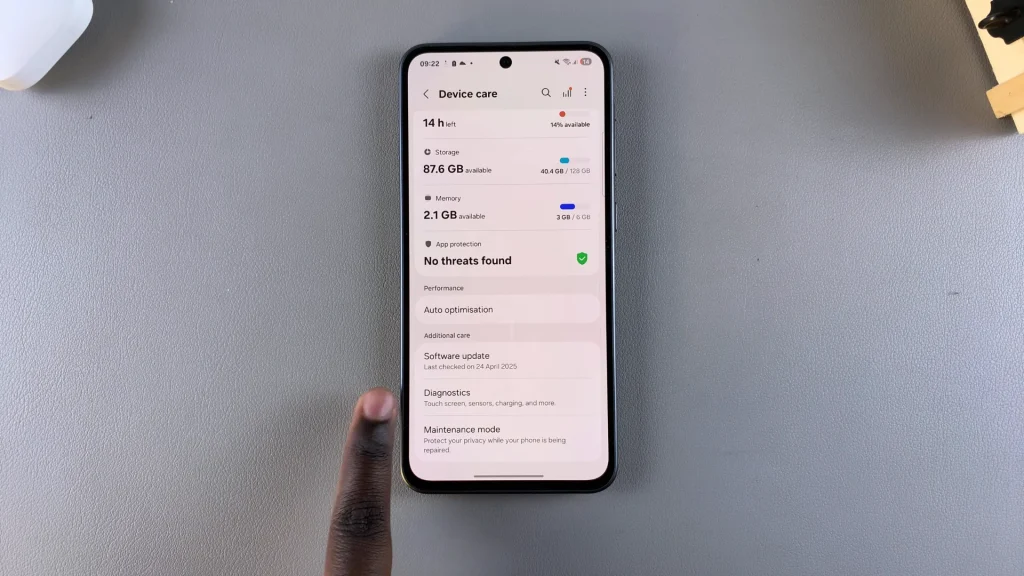
Here, you’ll see three options:
Phone Diagnostics to check if your phone’s functions are working properly.
App Battery Usage Diagnostics to check for apps that quickly use up your battery.
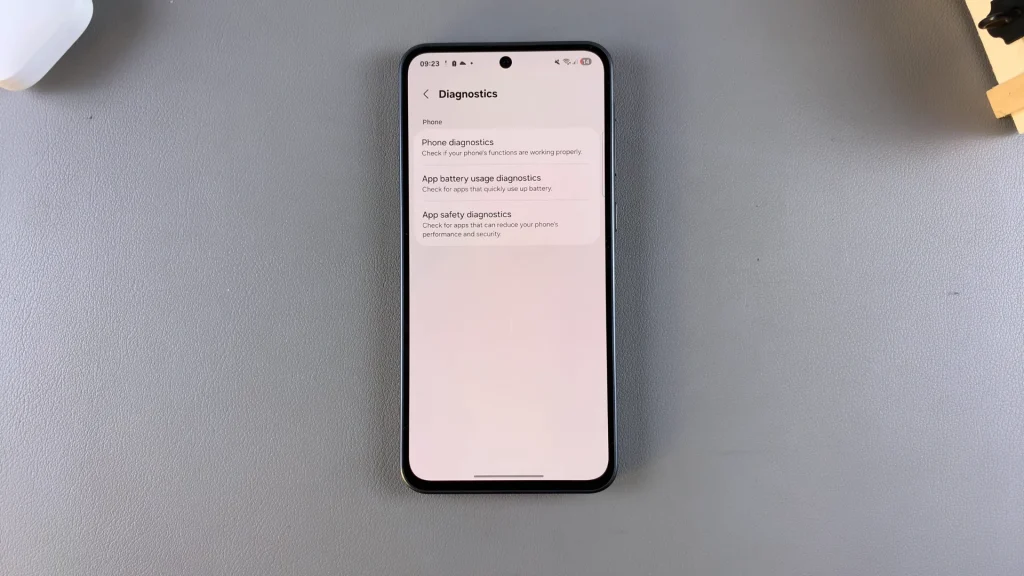
App Safety Diagnostics: Check for apps that can reduce your phone’s performance and security.
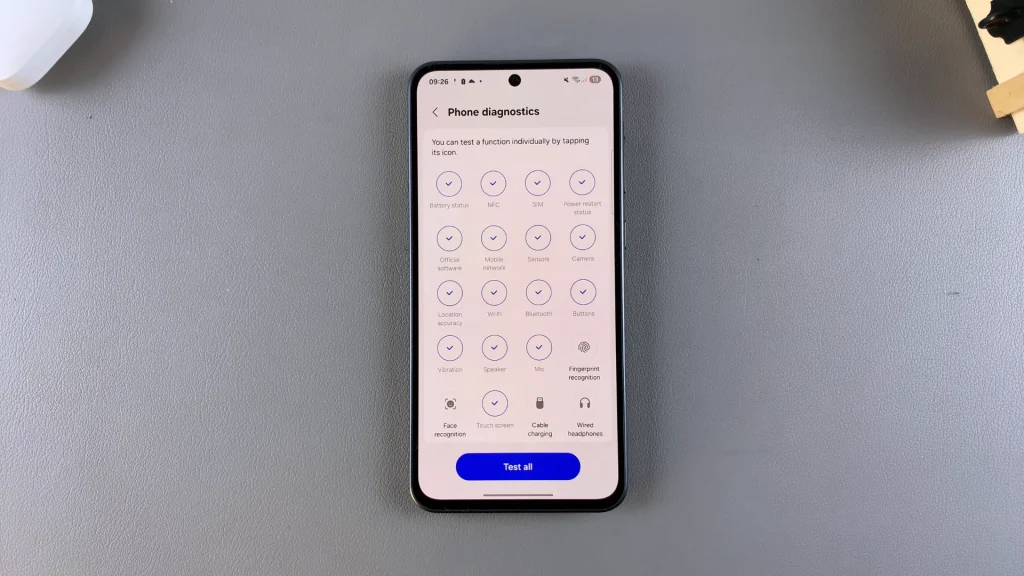
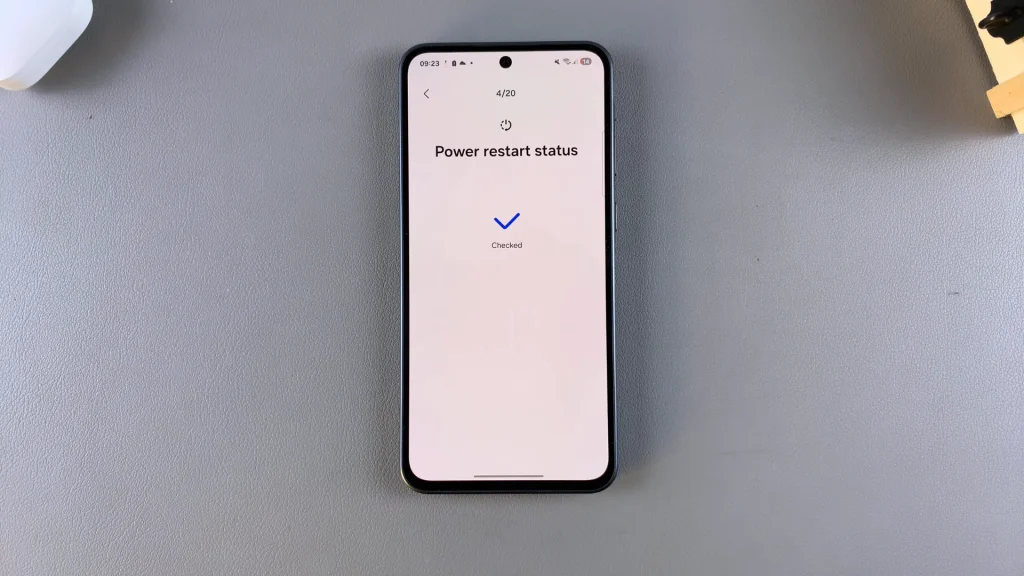
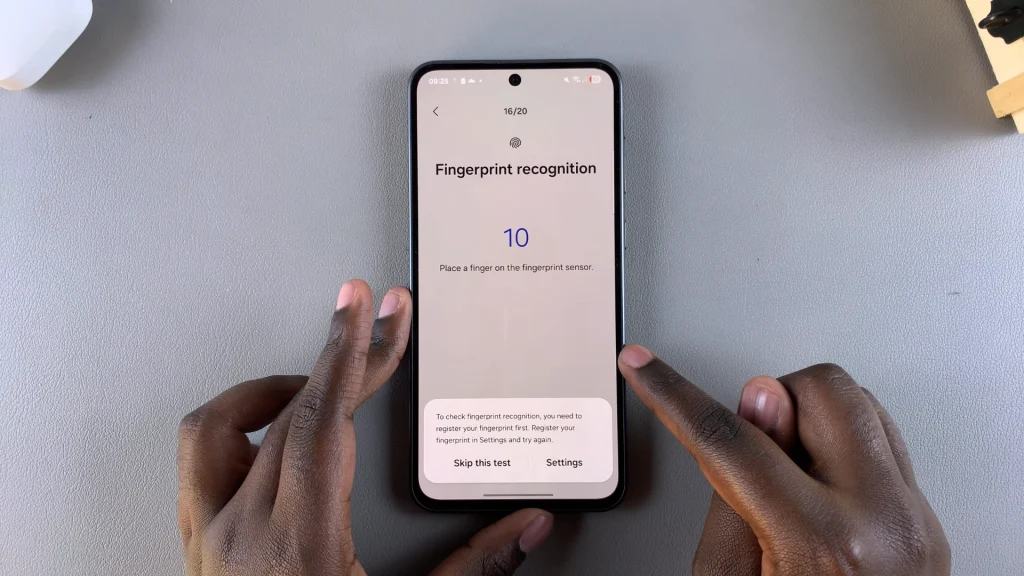
Tap on Phone Diagnostics. Here, choose individual tests or tap Test All to check multiple hardware components at once.
You may receive a prompt with the options Continue Testing and Restart Testing. If you want to start the tests over, select the latter. To pick up where you left off, select the former option.
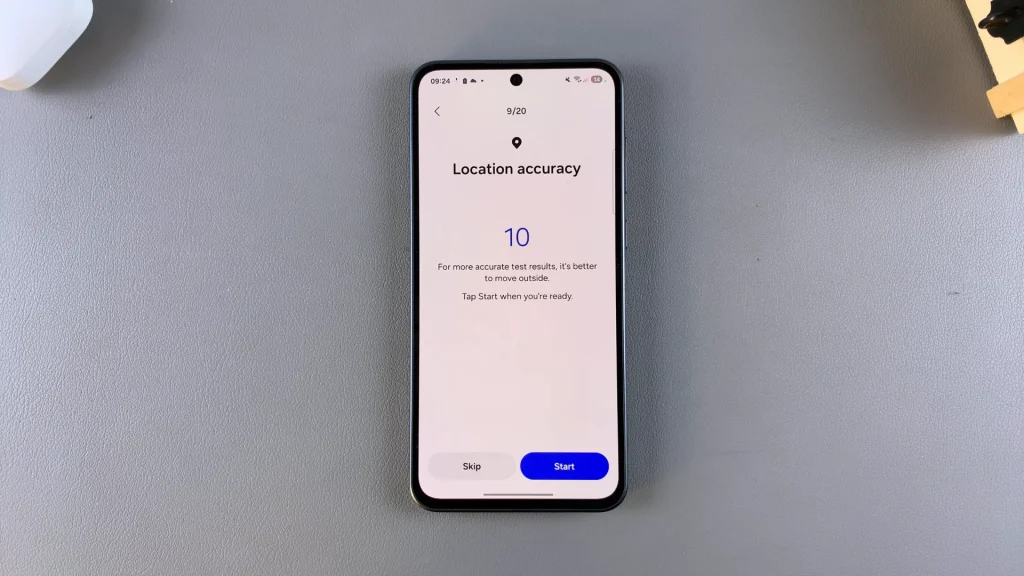
If you choose to continue with the testing, you will need to follow the on-screen instructions for some of the tests to complete them. This includes giving permissions, calibrations and inserting hardware components.
Do this for all the three diagnostics options. After the tests are complete, any detected issues will be provided, along with troubleshooting steps.
Using Samsung’s Secret Diagnostic Code
If you prefer a direct method, you can use Samsung’s built-in secret code. Simply open the Phone app and launch the dialer or keypad on your device.
Dial the code #0#. This will open Samsung’s hidden Test Mode, displaying various hardware test options. Tap on different options to test the screen, speakers, sensors, touch responsiveness, vibration, and more.
To exit the diagnostics mode, simply press the back button multiple times or restart your phone.
Interpreting Your Results
All tests pass: Congratulations! Your Galaxy is in healthy shape.
One or more tests fail: Re-run the failed test. Sometimes a one‑off glitch causes a false negative.
Check for software updates: System bugs can mimic hardware faults—go to Settings > Software update.
Backup your data: If failure persists, prepare for repair by backing up photos, contacts, and settings (Samsung Cloud, Google Drive, Smart Switch).
Best Practices & Tips
Test after each major update: A new patch can introduce quirks or fix lingering bugs—verify both.
Document everything: Screenshots of failures or Samsung Members reports can speed up warranty claims.
Running diagnostics on your Galaxy A36, A56, or A26 only takes a minute or two, but can save hours of frustration down the road. These built‑in tools put powerful troubleshooting in your hands.
Read: How To Enable/Disable Touch & Hold To Edit Lock Screen On Galaxy A36/A56/A26

