How To Write & Draw On Images In Google Docs
Google Docs isn’t just a text editor it’s a surprisingly powerful tool for light graphic editing too. One useful feature often overlooked is the ability to write and draw directly on images. Whether you’re a student labeling diagrams, a content creator annotating screenshots, or a professional preparing visual documentation, knowing how to add custom notes and drawings to images in Google Docs can make your work clearer and more impactful.
Using Google Docs to write and draw on images is both practical and accessible. It requires no extra software or advanced design skills. It’s especially helpful for collaborative projects, as multiple users can view or comment on image annotations in real time. Plus, since Google Docs autosaves changes in Google Drive, your annotated images remain safe and editable anytime. Whether you’re creating educational content, feedback visuals, or annotated presentations, mastering this feature adds a new level of functionality to your Google Docs workflow.
Watch: How To Flip an Image That’s Already In Google Docs
Write & Draw On Images In Google Docs.
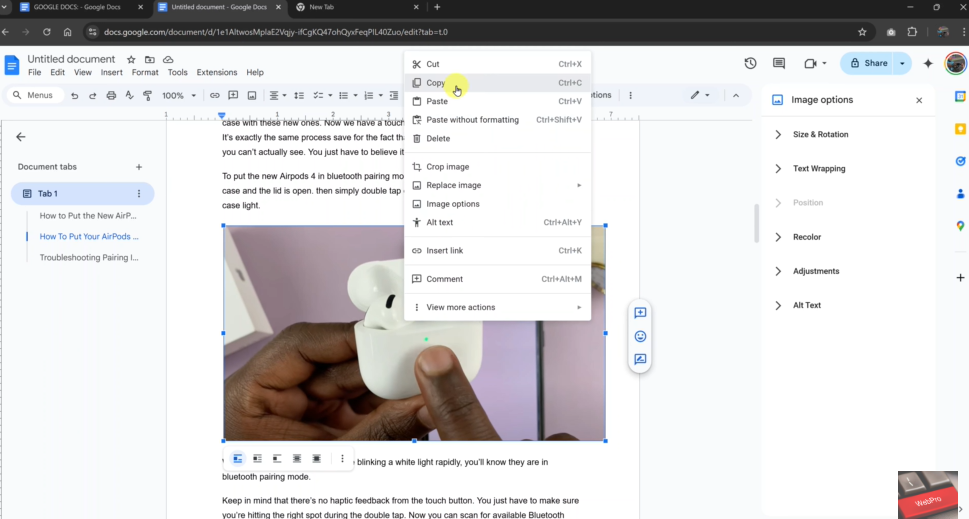
Right-click on the image and select “Copy”
Locate the image you want to write on (either from another document or webpage). Right-click on the image and choose “Copy” from the context menu. This will place the image on your clipboard, ready for insertion.
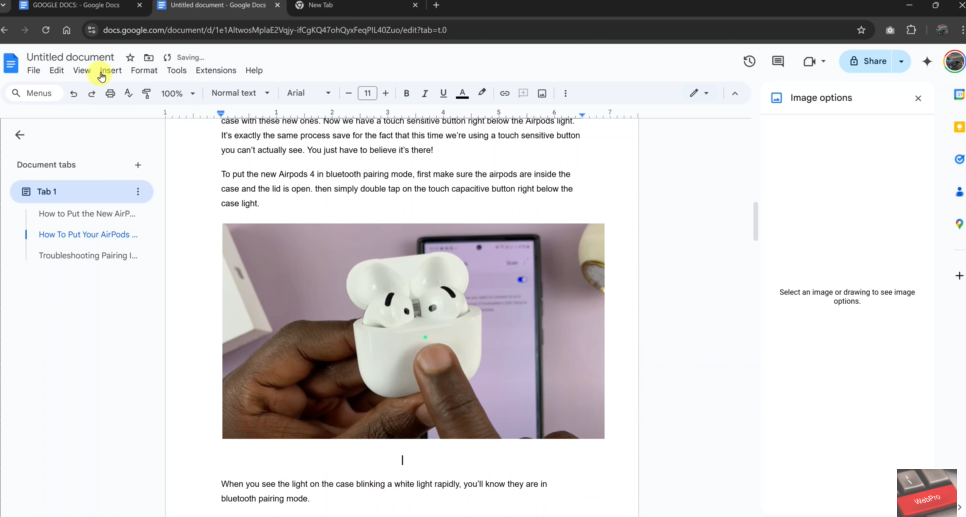
Click “Insert” in the top Google Docs menu
Go back to your Google Docs document. In the top toolbar, click on the “Insert” tab to reveal a dropdown menu with several editing options.
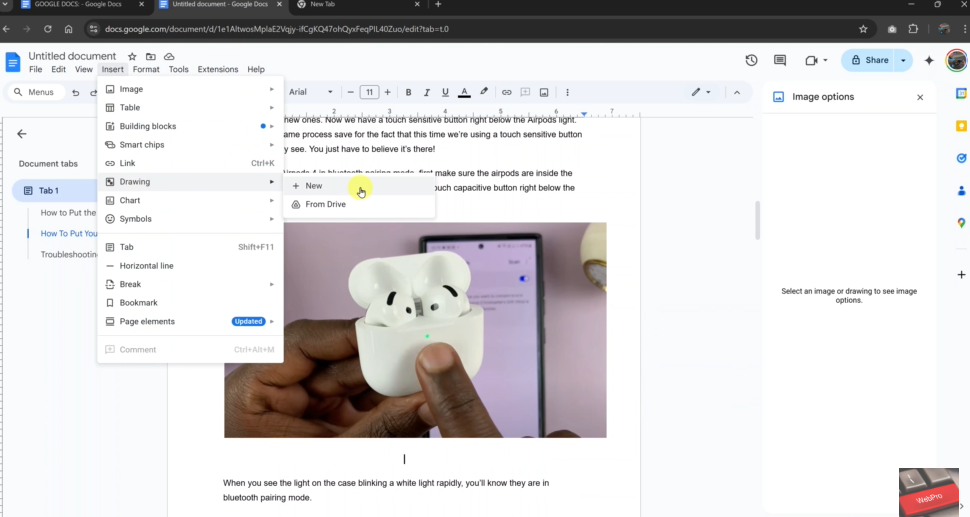
Select “Drawing” and then click “+ New”
From the Insert dropdown, hover over “Drawing” and click on “+ New”. This opens the Drawing dialog box, where you can add, write on, and customize your image.
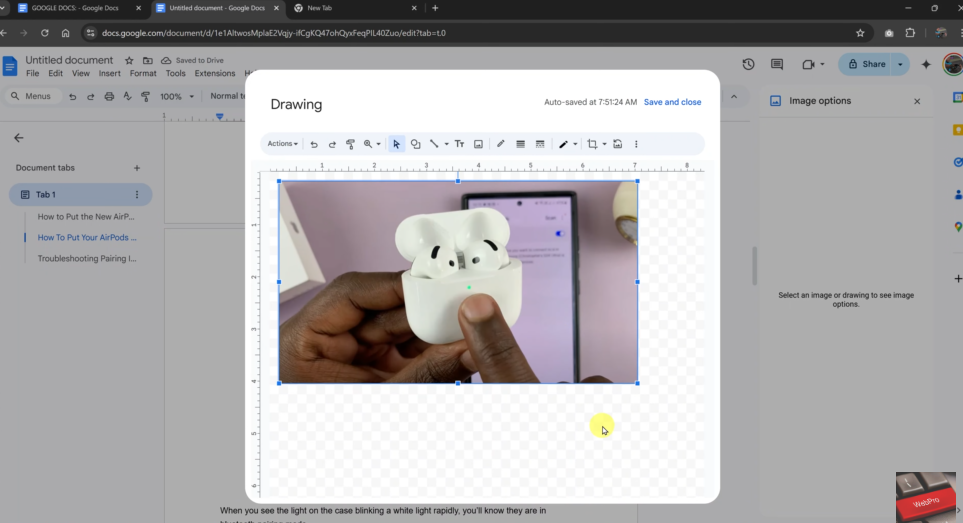
Right-click in the drawing area and select “Paste”
Inside the Drawing tool, right-click in the blank space and select “Paste” to insert the image you copied earlier. The image will now appear in the drawing canvas, ready for editing.
Add Text or Shapes to Your Image
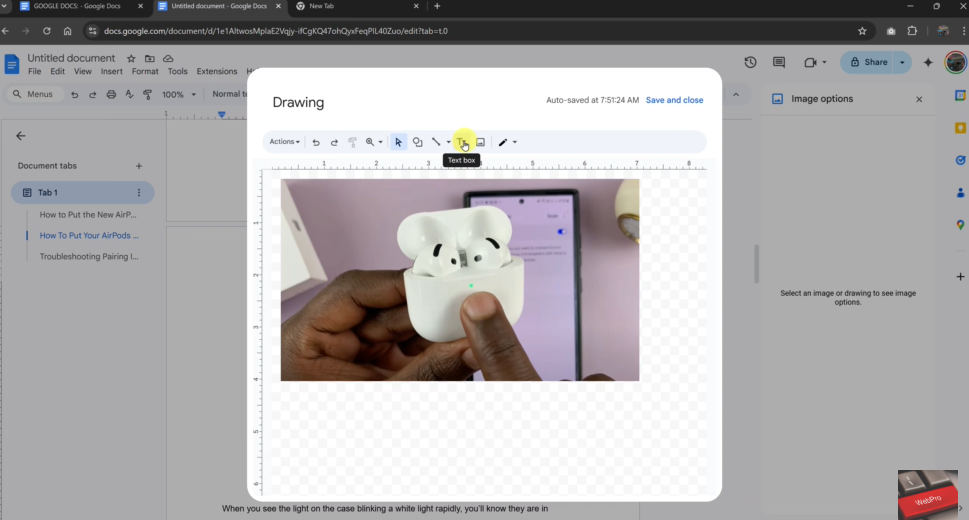
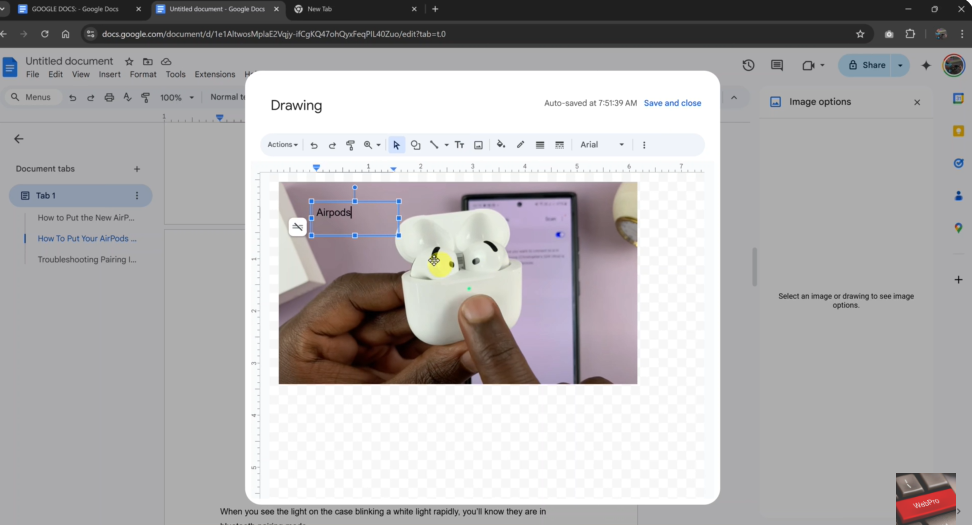
Click the ”Text box” icon (Tr) and type your text
To write on your image, click the “Text box” (Tr) icon in the drawing toolbar. Click anywhere on the image to place the text box, then type your custom text. You can drag and resize the text box as needed.
Click “Shapes” to overlay a shape on the image
If you’d like to highlight an area or add visual elements, click on the “Shapes” icon, select a preferred shape (like a rectangle or circle), and draw it over the image. You can also add text inside the shape for more clarity.

Click “Save and Close” once you’re done editing
After writing and drawing on your image, click the “Save and Close” button. Your edited image will be inserted into the Google Docs page, fully customized with text and shapes.

