Setting up your OnePlus 13 by transferring data from your older Android phone ensures you don’t lose any of your important files, contacts, apps, or preferences.
With the continuous adaptation of modern technology, inter-device co-operation has brings possibilities that you could not have imagined long ago. Following this guide will show you how to get started.
It is important to ensure both your old Android phone and your new OnePlus 13 are sufficiently charged to avoid interruptions during the process. Also, ensure that both devices are within the closest proximity possible, to each other.
While this process doesn’t typically result in data loss, it’s always good to ensure that your older Android is backed up.
Read: How To Set Up OnePlus 13 Without Another Phone (Full Guide)
Set Up OnePlus 13 By Transferring Data From Older Android
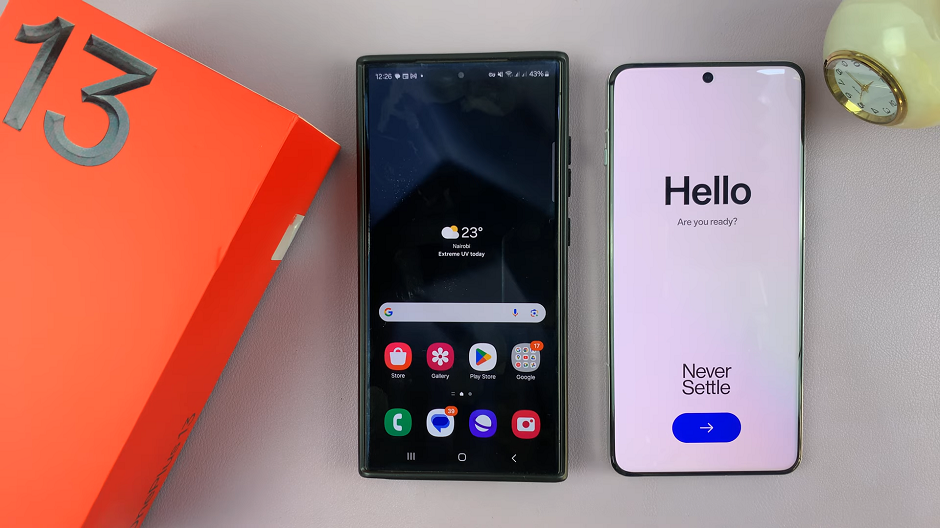
To start, locate the power button on the right side of the OnePlus 13, just below the volume rockers. Press and hold it for a few seconds and let go. You’ll feel a slight vibration and you see the OnePlus logo. Give the device a few moments to power up to the Hello screen.
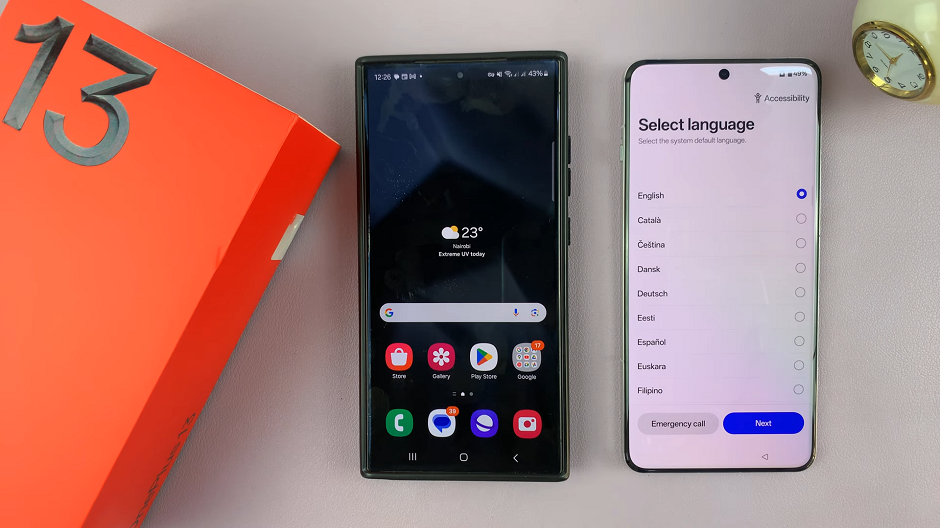
Next, ensure your older Android device is right next to your OnePlus 13. Tap on the blue arrow and select your language and tap on Next.
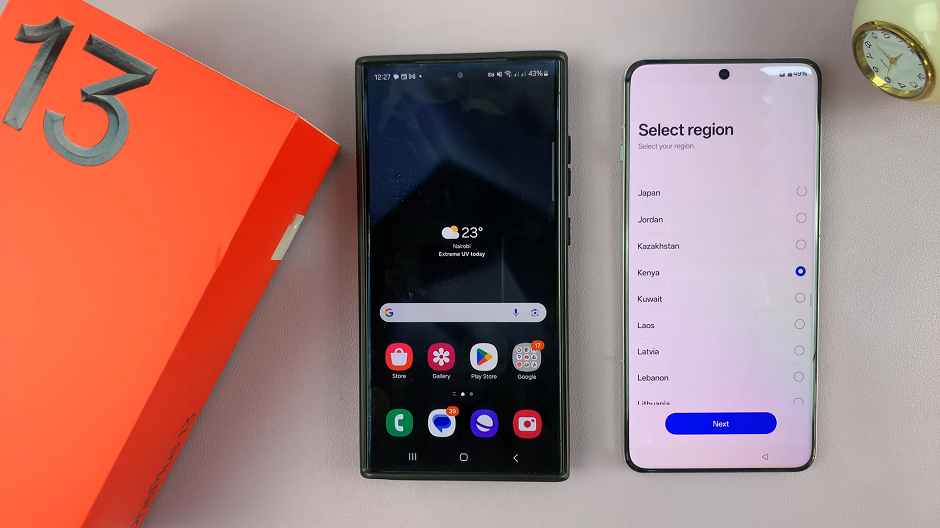
You will also need to select your region, before tapping on Next. In the Legal Information page, tap on Next as well.
In the next page, you will receive options on how you can continue the set up with another device. Choose between Android Device and iPhone or iPad if you have a prior device that fits the description
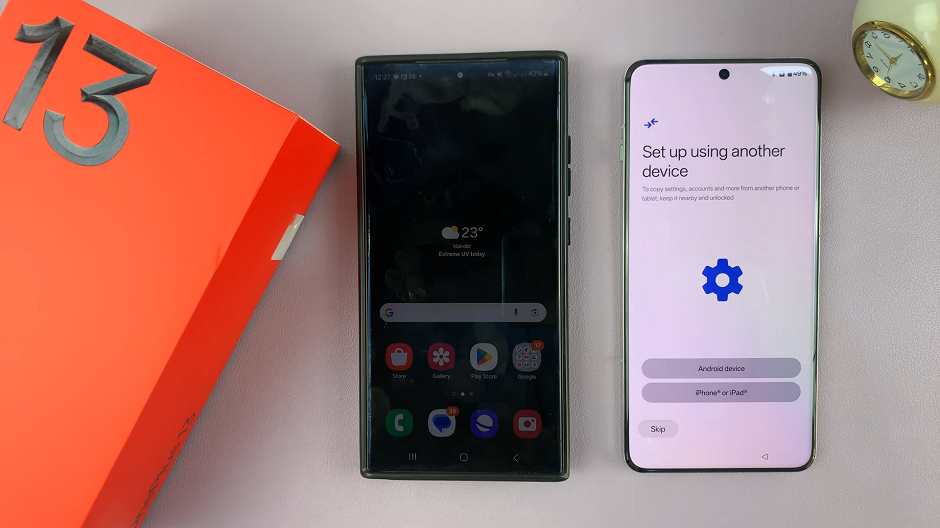
However, tap on Skip if you want a fresh set up.
For Android, the next step will be to scan the QR Code provided on the OnePlus 13, using the Camera app. Then, tap on the function it reveals to start the connection process.

To verify it’s you, you will receive a prompt on the OnePlus 13 to enter the PIN of your older Android. Once you enter the correct PIN, tap on the arrow in the bottom-right of your keyboard.

The transfer of Google Accounts, settings and more will begin. What kind of data you transfer will depend on the Android device.
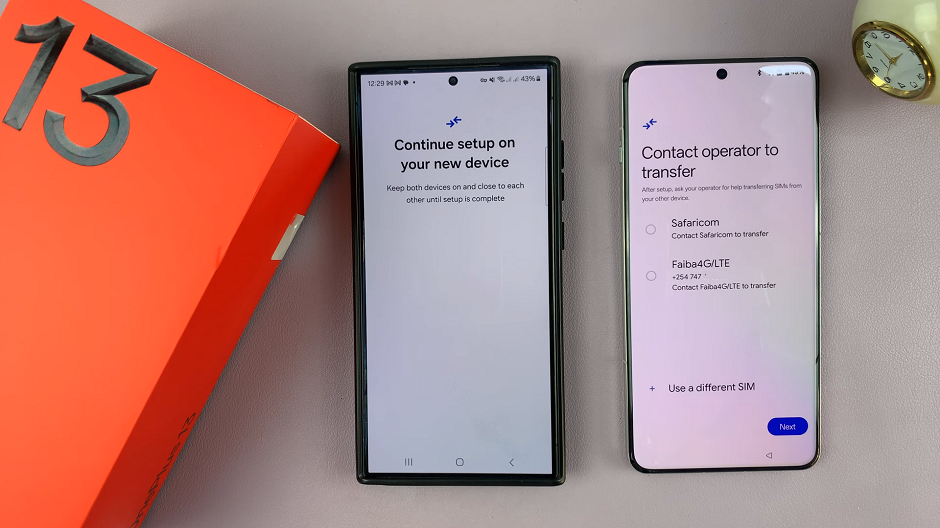
To connect or transfer a mobile network, select it from the list or simply select Use a Different SIM and tap on Skip. However, to transfer a mobile network, you will need to contact your operator after the set up.
Once the data is ready to transfer, tap on Next to choose what to copy. Check what you want to copy and uncheck what you don’t need. Then tap on Copy to proceed.

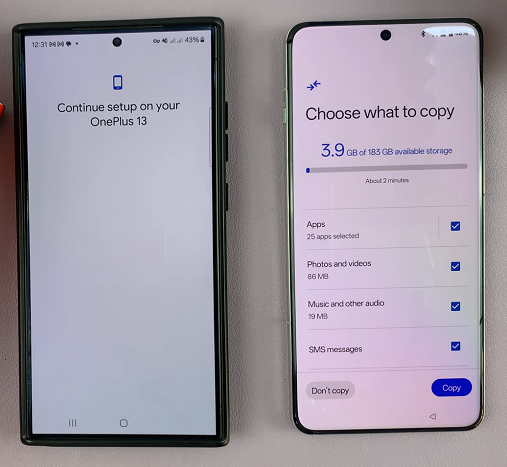
It’s important to note that some of the data may not transfer to the OnePlus 13.
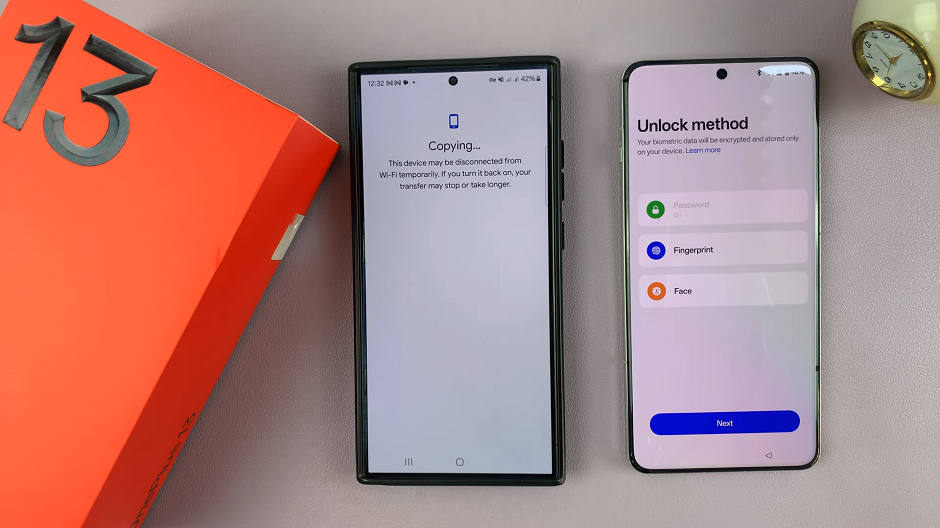
In the next page, you can set up a Password, face recognition or fingerprint. It should pick the password you used in the older Android automatically. Tap on Next as you can always set up the rest later.
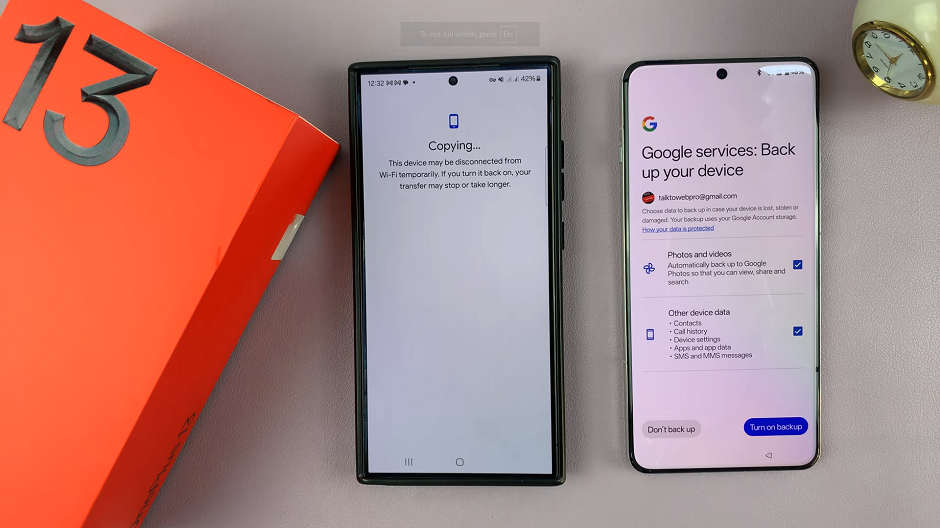
You will also receive a prompt to agree to the Google Services, so scroll down on the Google Services page and tap on Accept. also, tap on Turn On Backup to back up your device.
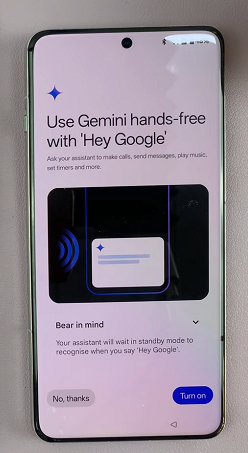
Select Continue to set up Gemini and either Turn On or No, thanks for Hey Google. You can also add another email address or tap on No, thanks.
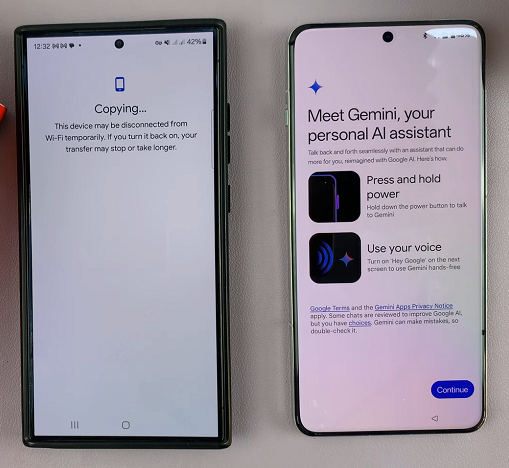
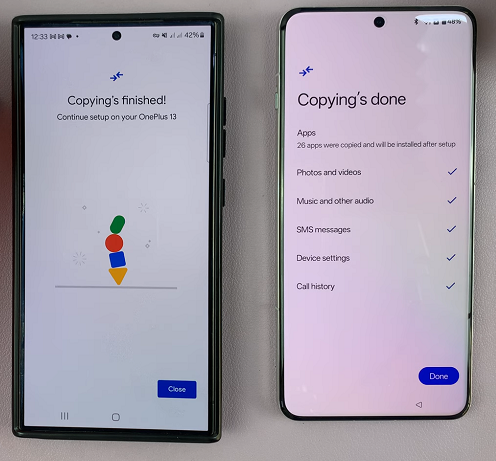
Wait for all your data to finish copying. tap on Done on the OnePlus 13 and Close on the older Android once complete.
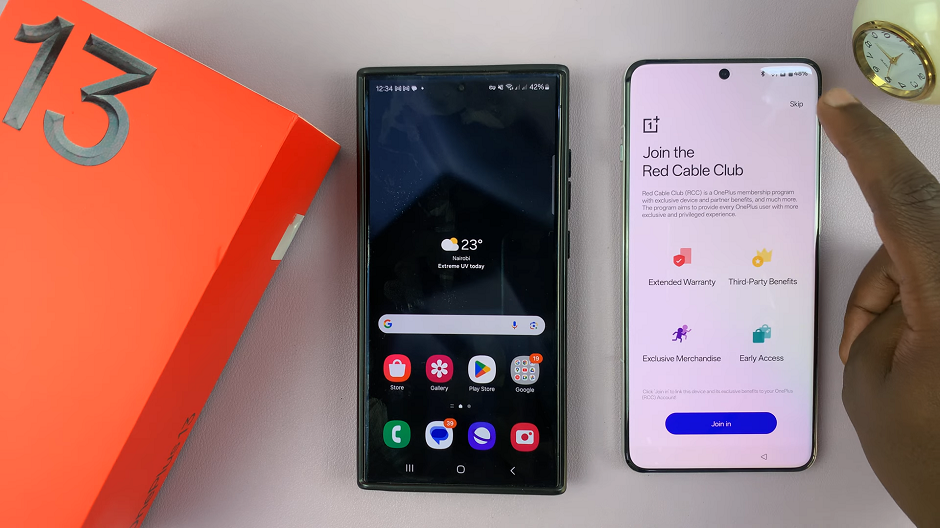
Select Join In if you want to join the Red Cable Club. Tap on Skip to do it later.
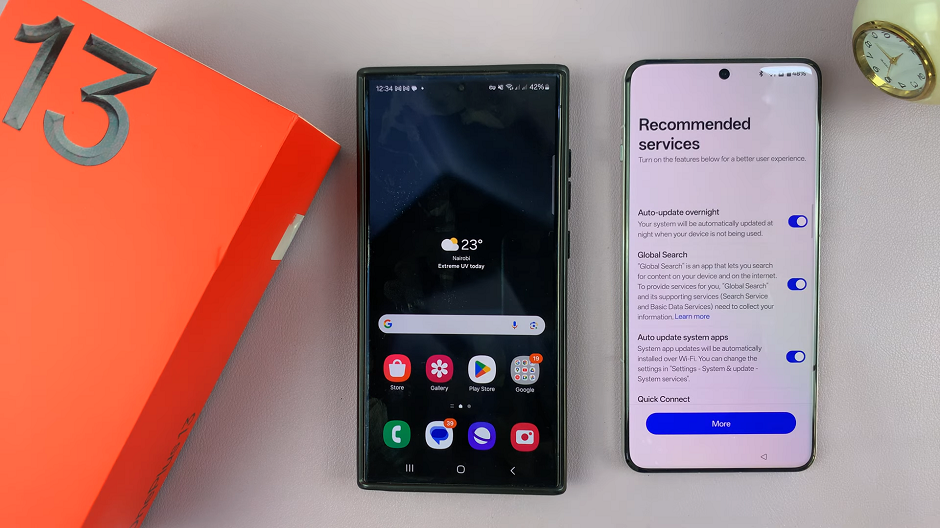
Ensure the Recommended Services are enabled and tap on Agree.
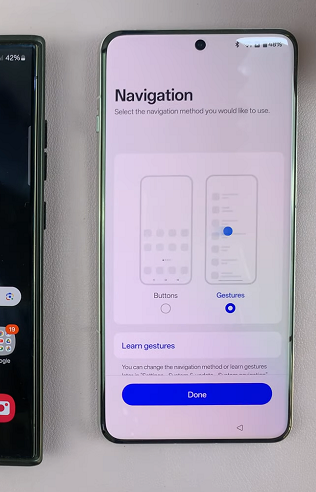
Select either Buttons or Gestures before you finish the set up. Make your choice and tap on Done to proceed.
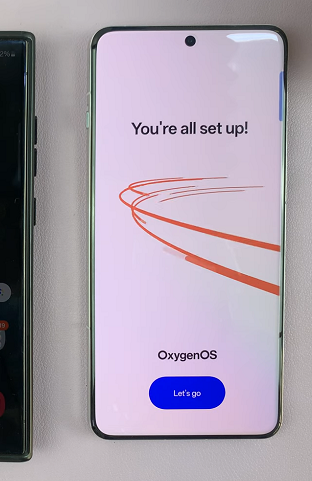
Finally, tap on Let’s Go to complete the set up.
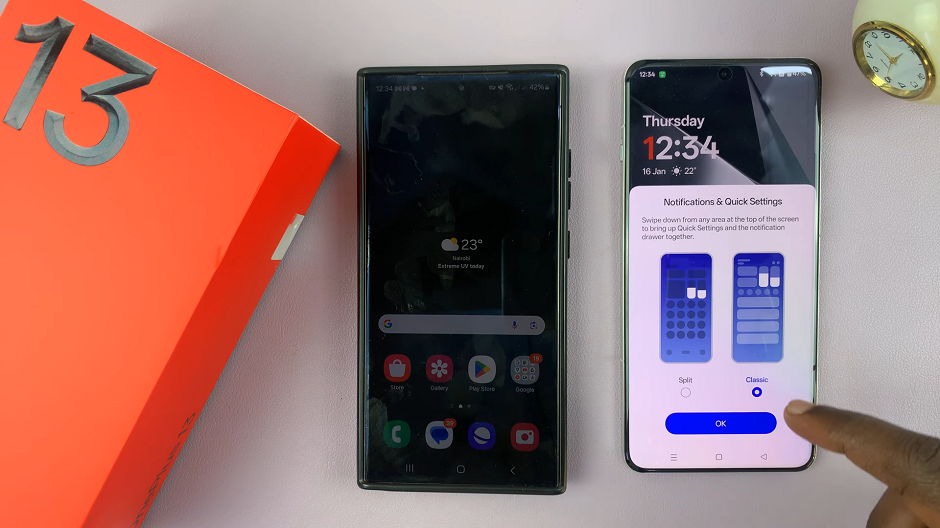
You will receive a pop-up to select how the notifications and quick settings appear. Choose either Split and Classic, then tap on OK.
You will now land on the OnePlus 13 user interface with all your apps & data having been transferred.

Watch: Set Up OnePlus 13

