In this article, you’ll learn how to install extensions in Visual Studio Code step-by-step, so you can enhance your workflow, reduce manual tasks, and code more efficiently. Whether you’re just getting started or looking to add powerful new features, this tutorial will show you exactly where to find and install the best tools in the VS Code Marketplace.
Installing extensions from the Visual Studio Code Marketplace is one of the easiest ways to supercharge your coding environment. Whether you’re a web developer, Python programmer, or working with data science tools, VS Code extensions help you customize your editor with themes, debuggers, language support, linters, and productivity tools.
Read: How To Switch Sidebar Location On VS Code
Install Extensions From Visual Studio Code Marketplace
Launch any web browser on your device (Chrome, Firefox, Edge, Safari, etc.).
In the search bar, type “Visual Studio Code Marketplace” and press Enter.
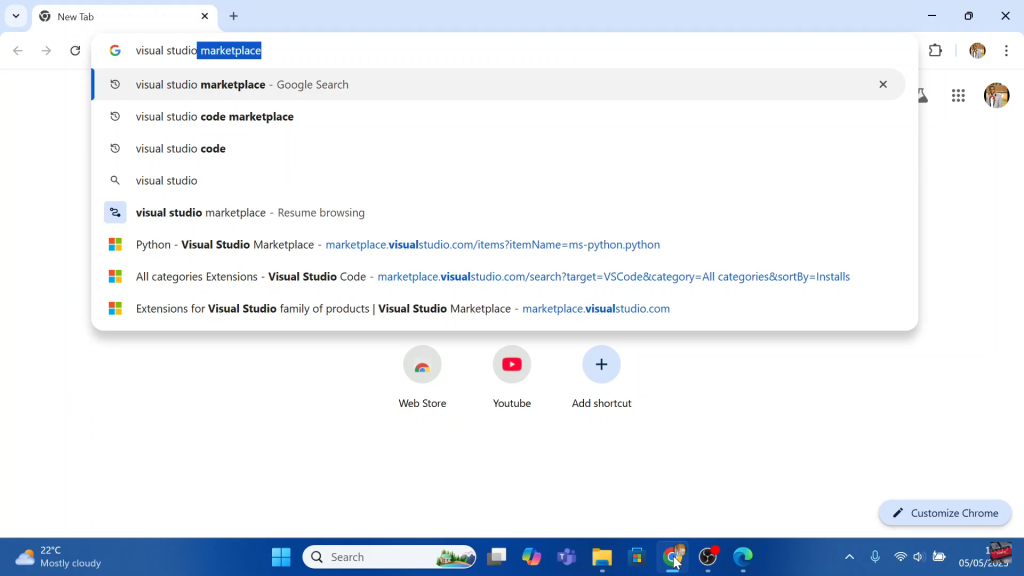
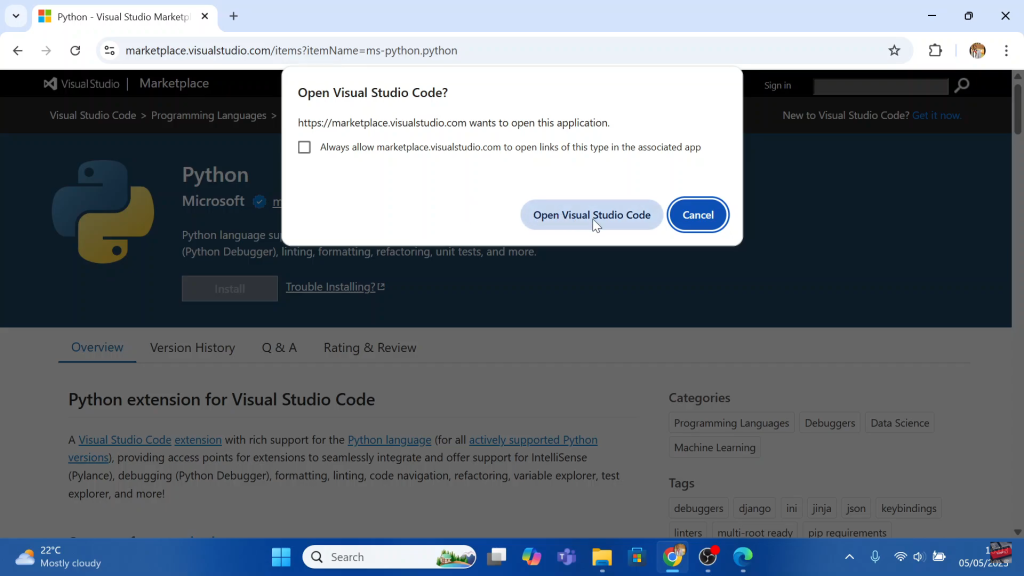
Click on the link that leads to the official website: marketplace.visualstudio.com or directly to Visual Studio Code Extensions.

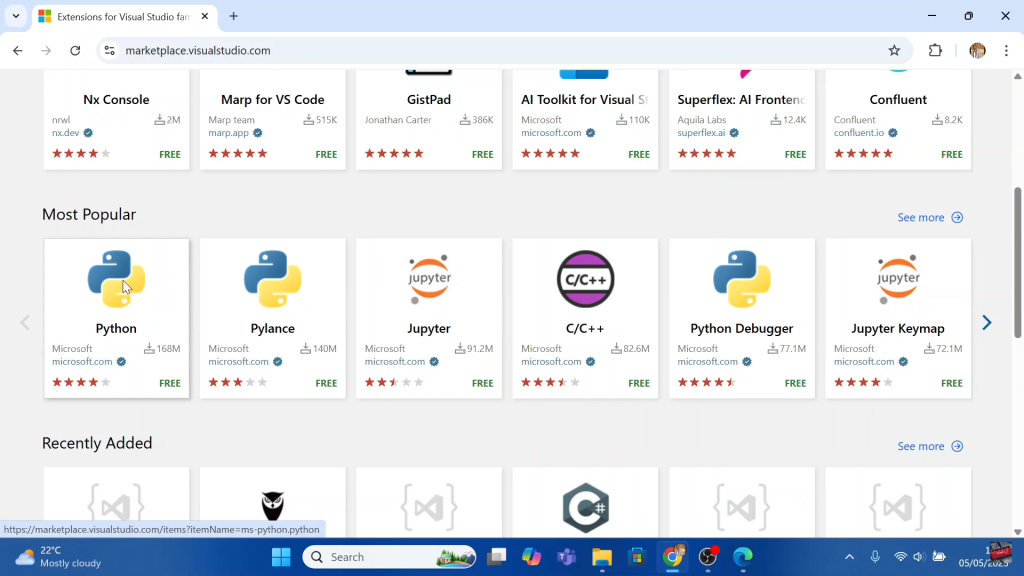
Use the search bar on the site to look for the specific extension you need (e.g., Prettier, Live Server, Python, etc.).
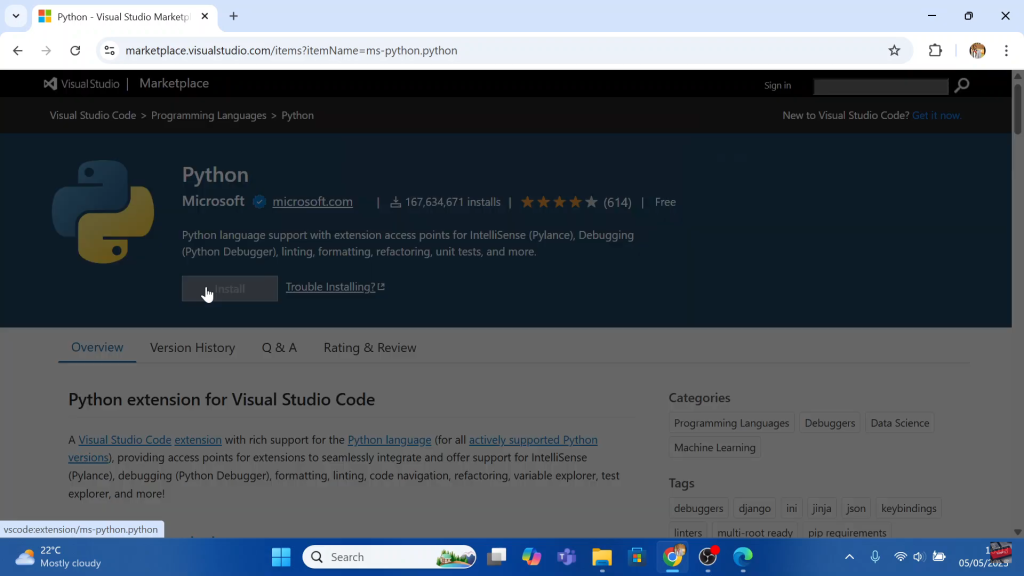
Once on the extension’s page, tap the “Install” button.
A prompt will appear asking you to “Open Visual Studio Code” click it to launch the app.
Once VS Code opens, it will automatically begin installing the selected extension. Confirm any additional prompts if needed.
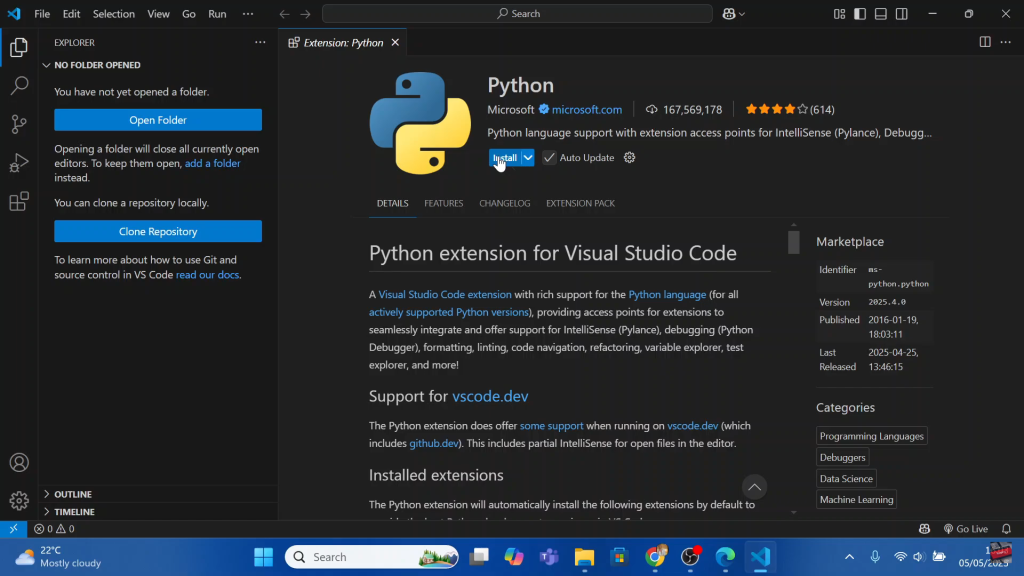
Now your extension is installed and ready to use.
Watch: Set Password On Windows PC/Laptop (Windows 7, 10, 11)

