Inserting images in Google Docs helps enhance your content and make your documents more engaging. Whether you’re working on a report, flyer, or tutorial, adding visuals improves clarity and design. Google Docs offers several ways to insert images quickly and easily.
You can upload from your computer, search the web, or insert directly from Google Drive or Photos. Each method lets you place and adjust the image without needing extra tools or extensions.
In this guide, you’ll learn how to insert an image in Google Docs quickly and easily. The process is straightforward and works well for all document types, whether you’re creating assignments, reports, or professional layouts.
Watch: How To Open Microsoft Word Document In Google Docs
Insert Image In Google Docs.
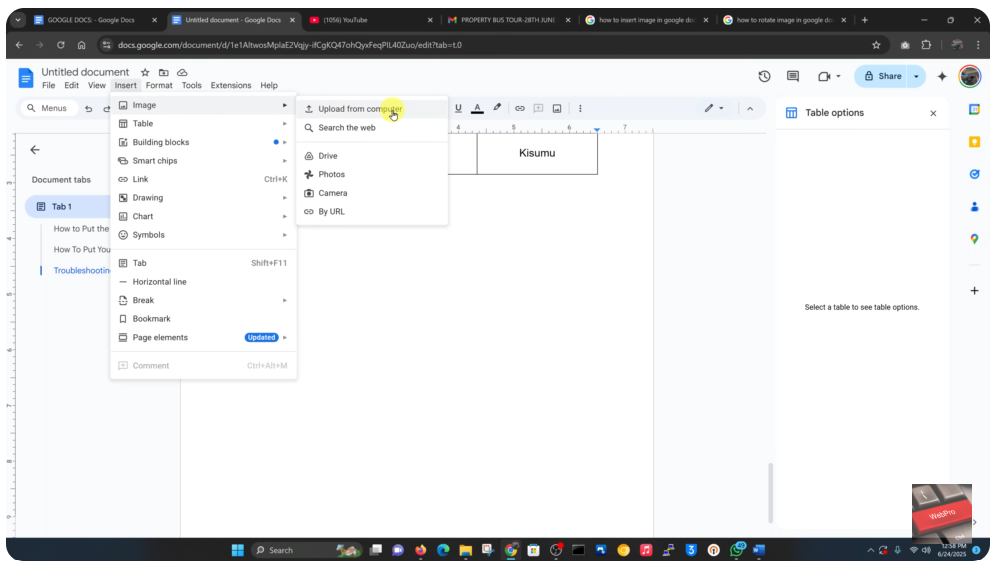
Click “Insert” from the top menu
Open your Google Docs document and go to the top toolbar. Click on “Insert” to access content tools. From the dropdown, hover over “Image.” You’ll see several options such as “Upload from computer,” “Search the web,” “Drive,” or “Photos.” To insert an image stored on your device, select “Upload from computer.”
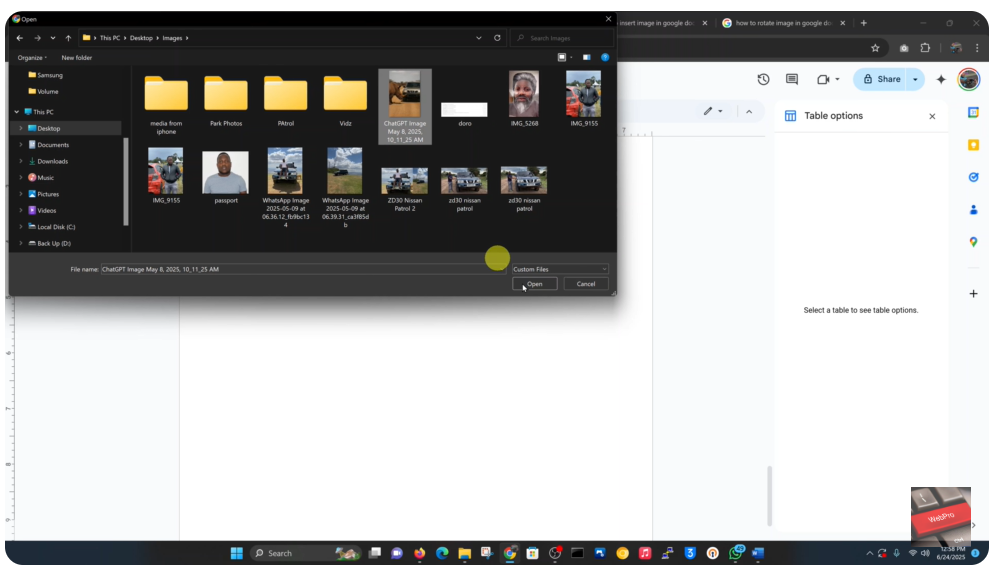
A file window will open. Navigate to the image you want to insert, select it, and click “Open.”
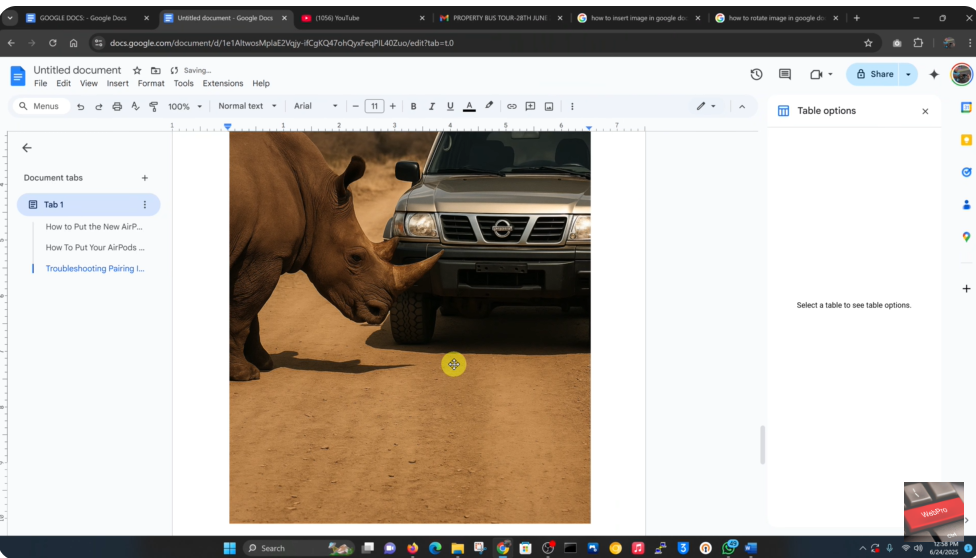
Once uploaded, the image will be inserted directly into your Google Docs file. You can click and drag to resize or reposition it as needed.

