WebPro Education

Tech tips everyday
Menu
  • REVIEWS
  • VIDEOS
Home
VIDEOS
Enable ‘Erase Data’ After 10 Failed Password Attempts On iPad
VIDEOS

Enable ‘Erase Data’ After 10 Failed Password Attempts On iPad

Dennis Gacheru July 26, 2024

Protecting your personal information on your iPad is crucial. Enabling the ‘Erase Data’ feature after 10 failed password attempts helps with this. This feature ensures that if someone enters the wrong passcode too many times, the device erases all data. This enhances your device’s security and provides peace of mind, knowing your sensitive information is safe.

Setting up the ‘Erase Data’ option is easy and can be done in a few steps. However, be aware that triggering this feature will permanently delete all data. To avoid losing important information, it’s wise to back up your iPad regularly. In the next sections, we’ll guide you through the steps to enable this feature, helping you keep your iPad secure in any situation.

Watch:How To Add Contact Photo On iPad

Enable ‘Erase Data’ After 10 Failed Password Attempts On iPad

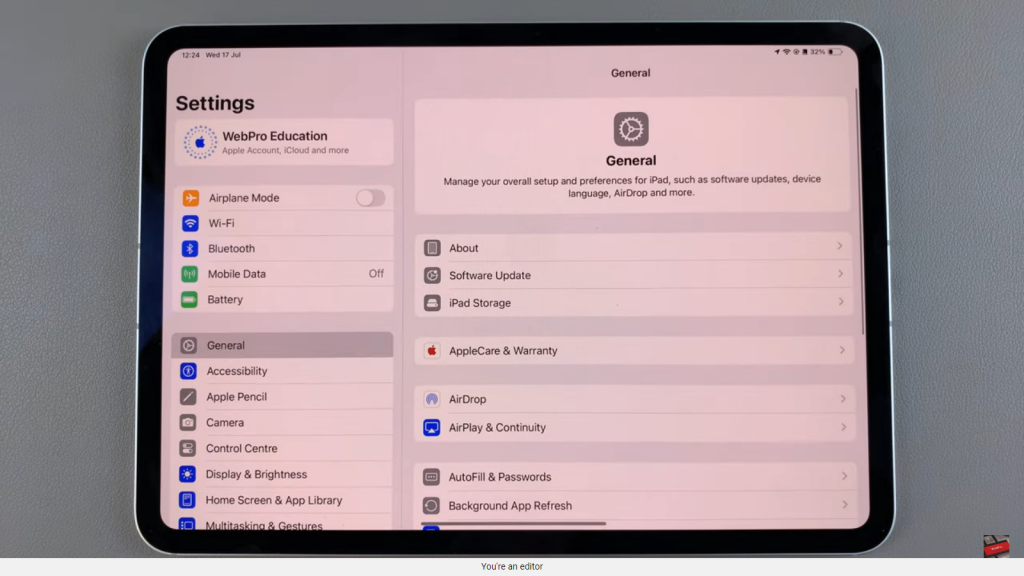
Step 1: Open Settings
First, launch the Settings app on your iPad.

Enable 'Erase Data' After 10 Failed Password Attempts On iPad

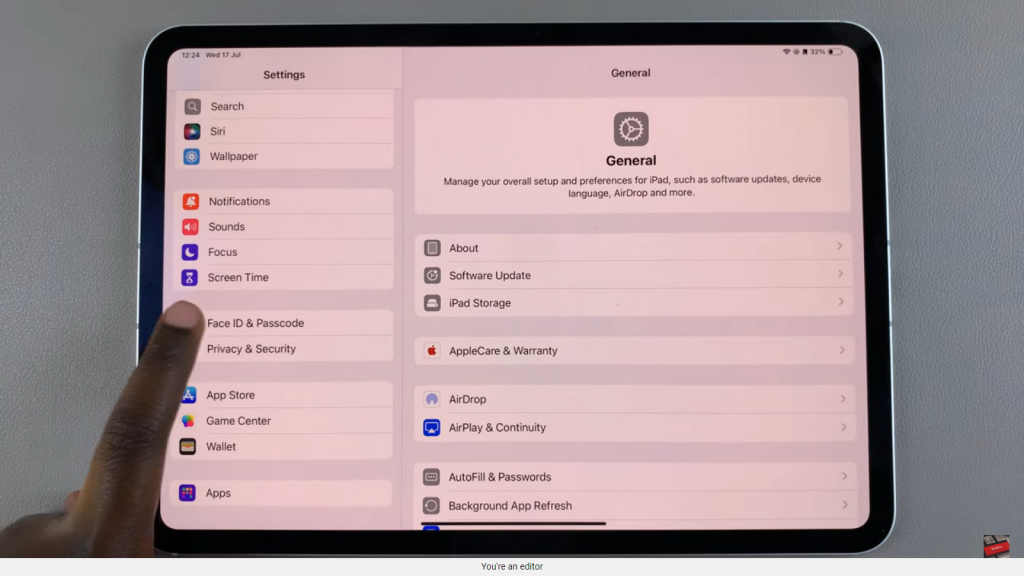
Step 2: Access Face ID & Passcode
Next, scroll down and tap on “Face ID & Passcode.”

Enable 'Erase Data' After 10 Failed Password Attempts On iPad

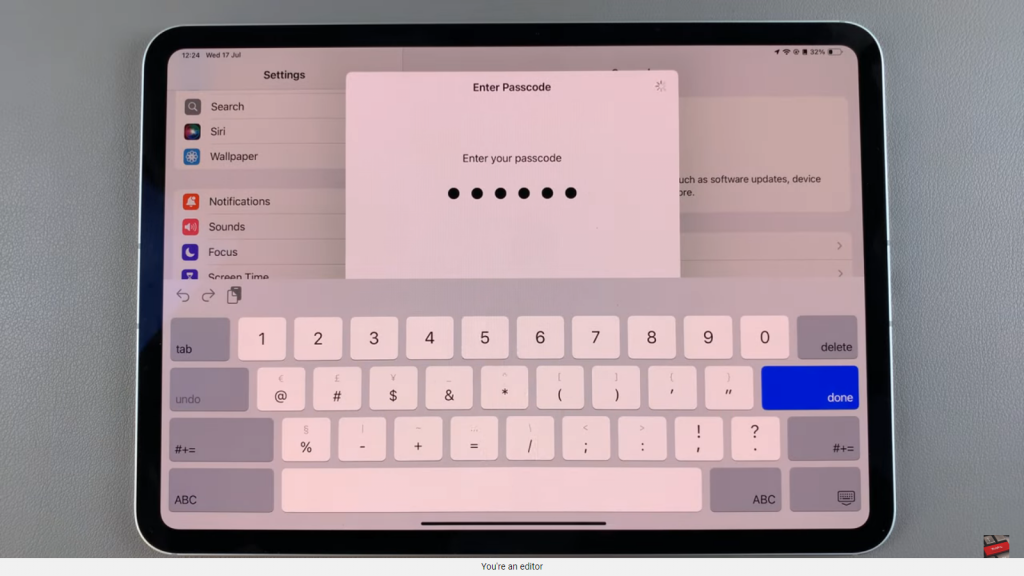
Step 3: Enter Your Passcode
After that, enter your current passcode to proceed.

Enable 'Erase Data' After 10 Failed Password Attempts On iPad

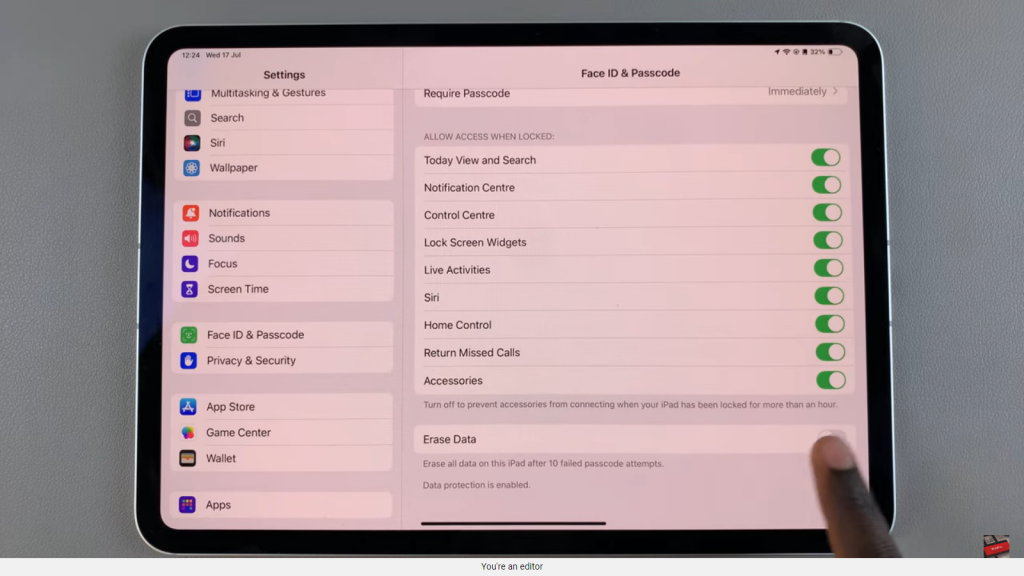
Step 4: Enable Erase Data
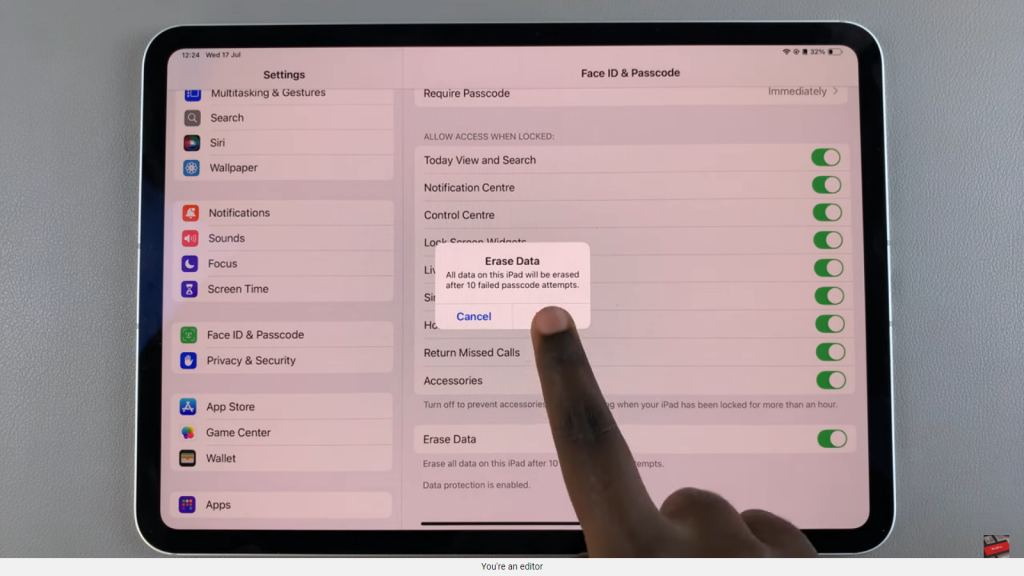
Then, scroll down and locate the “Erase Data” option. Tap the toggle next to it to turn it on.

Enable 'Erase Data' After 10 Failed Password Attempts On iPad

Step 5: Confirm Your Choice
Now, confirm your selection to activate the feature.

Enable 'Erase Data' After 10 Failed Password Attempts On iPad

Step 6: Protect Your Data
Finally, with this feature enabled, your iPad will erase all data after 10 failed password attempts. This step ensures that, if your iPad is lost or stolen, all your personal information, including files and apps, will be deleted to prevent unauthorized access.

Read:How To Add Contact Photo On iPad

Share
Linkedin
Whatsapp
Tweet
Reddit
Stumble
Tumblr
Email
Prev Article
Next Article

Related Articles

How To Adjust Brightness On Huawei Band 10

How To Adjust Brightness On Huawei Band 10

How To Enable Roaming Clock On Samsung Galaxy A06

How To Enable Roaming Clock On Samsung Galaxy A06

About The Author

Dennis Gacheru

As an author, I am passionate about crafting clear and engaging content that informs and inspires readers. My writing style is characterized by straightforward language and structured organization, making complex topics accessible to a wide audience. I strive to provide valuable insights while ensuring that my work remains enjoyable to read.

  • Facebook
  • Twitter
  • YouTube
  • Instagram
  • Reddit
  • Link
  • TikTok
  • How To Skip To Next / Previous Track On JBL Flip 7
  • How To Pair Multiple JBL Speakers With Auracast
  • How To Adjust Bass On JBL Flip 7
  • Can You Pair JBL Flip 7 To Flip 6?
  • How To Connect JBL Charge 6 To Smart TV (via Bluetooth)

Recent Posts

WebPro Education

Tech tips everyday
Copyright © 2025 WebPro Education

Ad Blocker Detected

Our website is made possible by displaying online advertisements to our visitors. Please consider supporting us by disabling your ad blocker.

Refresh