Knowing how to curve text on canva offers a powerful way to elevate your designs and make them more engaging. This feature allows for creative text arrangements that can significantly enhance the visual appeal of your projects. By incorporating curved text, you can add a unique flair to logos, banners, and social media graphics.
Additionally, mastering text curvature provides greater flexibility in your design process. It enables you to experiment with different styles and layouts, thereby enriching your overall design strategy. Whether you’re aiming to create a bold statement or a subtle design element, understanding how to use curved text effectively can transform your creative projects.
Watch:How to Flip Text in Canva
Curve Text On Canva
Here’s how you do it;
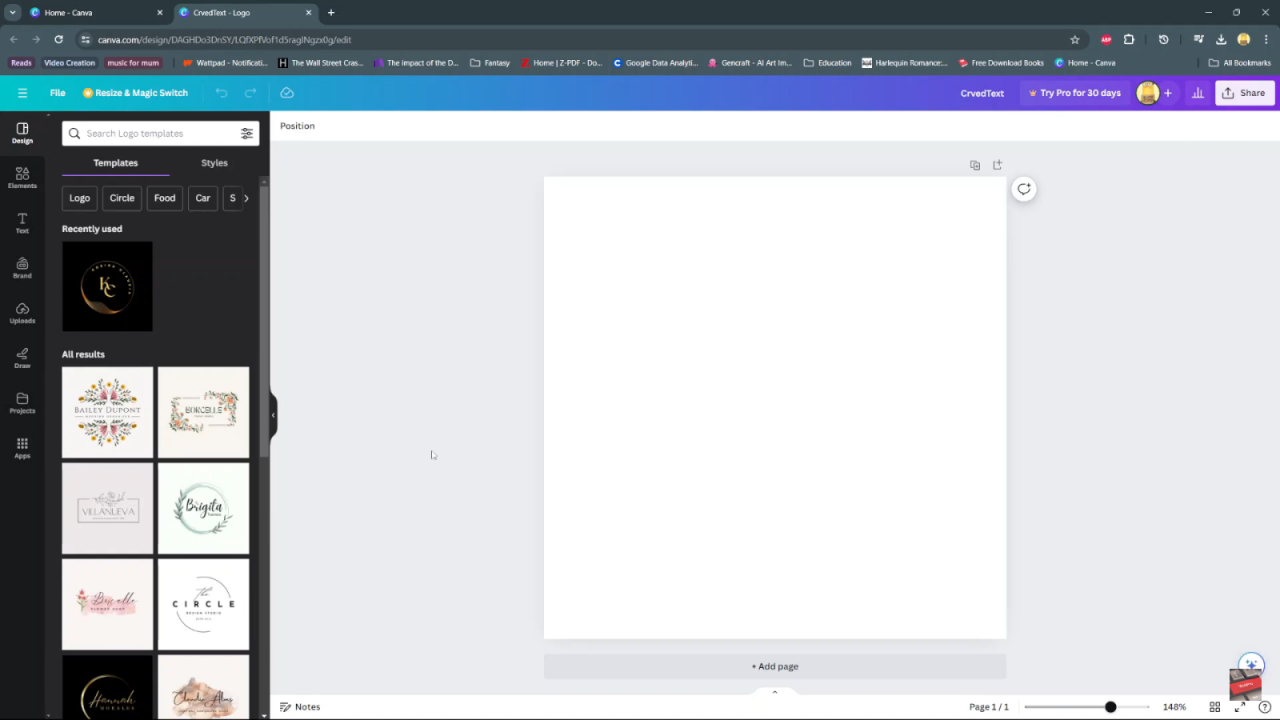
Step 1: Open a Blank Project
To begin, open a blank project in Canva. This sets the stage for you to start with a fresh design and ensures that you have a clean workspace for adding your curved text.
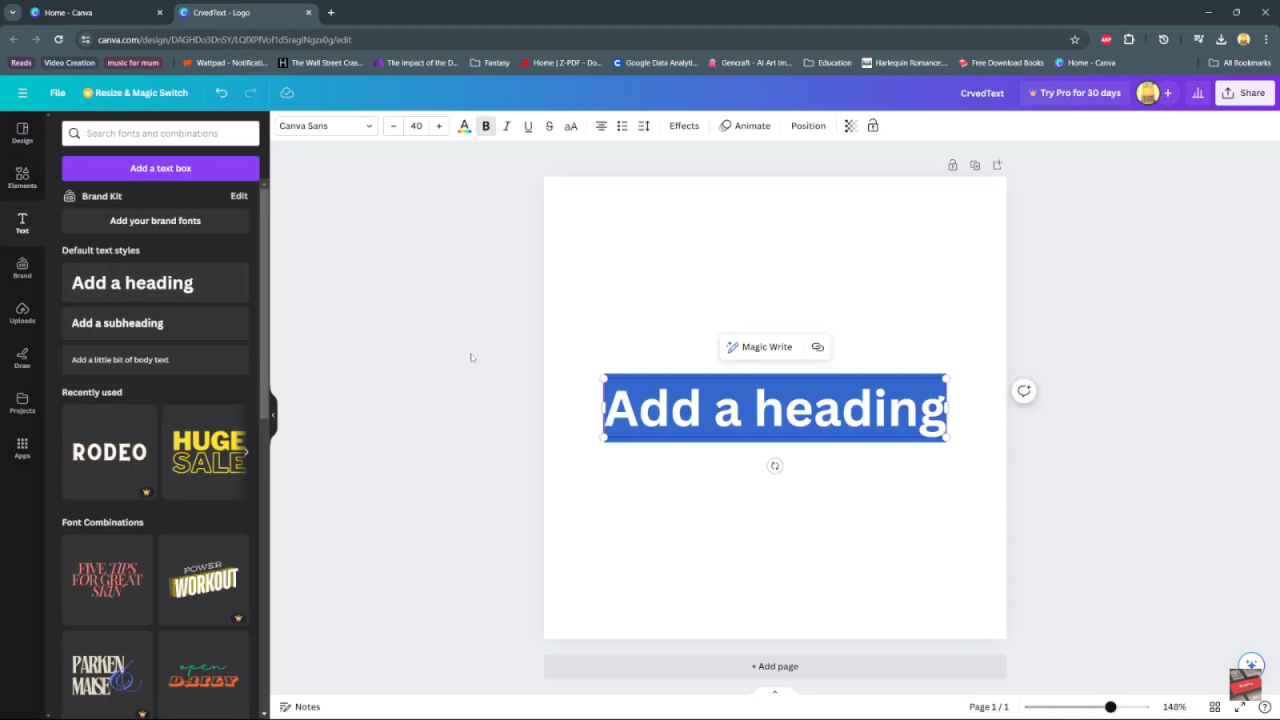
Step 2: Select Text
Next, navigate to the sidebar and click on “Text” to choose the type of text you want to add. Once you’ve selected your text option, type in your desired text. This prepares the text for the curving effect.
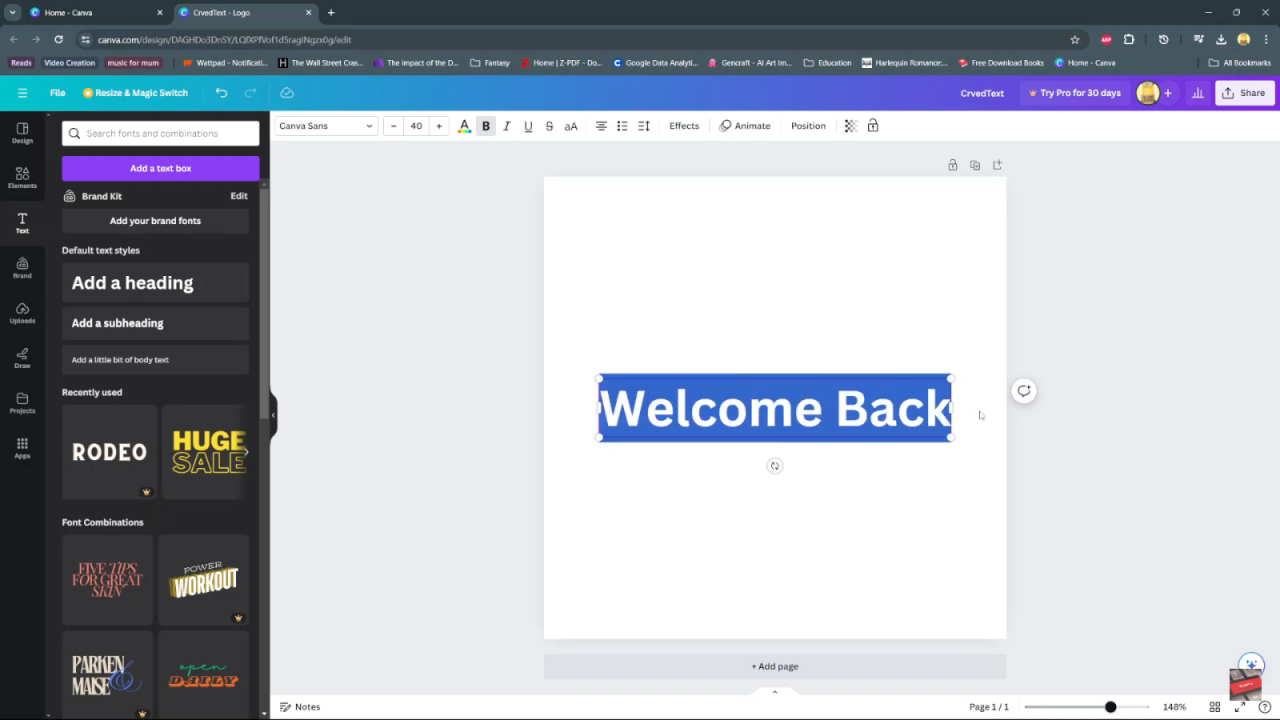
Step 3: Type and Highlight Text
After typing in your text, highlight it to prepare for the next step. Highlighting the text ensures that the curving effect will be applied to the correct content.
Step 4: Access Effects
Then, at the top of the screen, click on “Effects” to open the effects menu. This action will display various text effects that you can apply to your highlighted text.
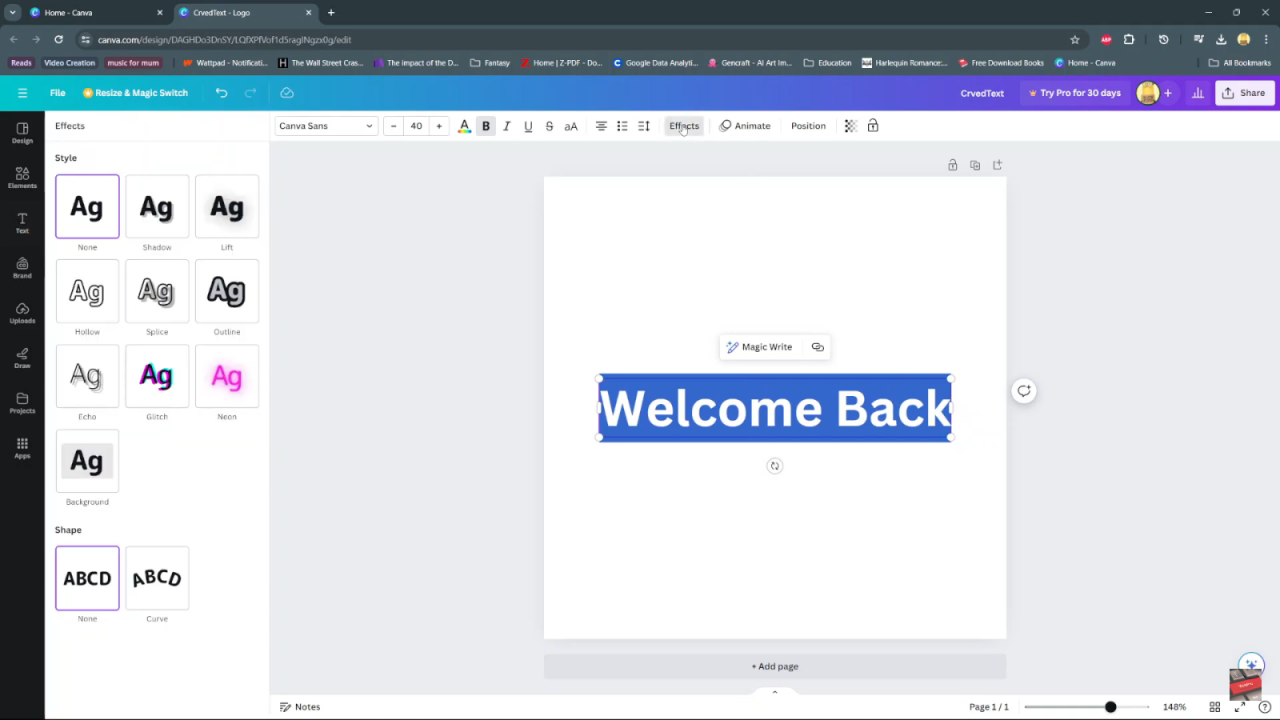
Step 5: Choose Curve Option
Within the effects menu, find the “Shape” section and select the “Curve” option. By choosing this, you initiate the process of curving your text.
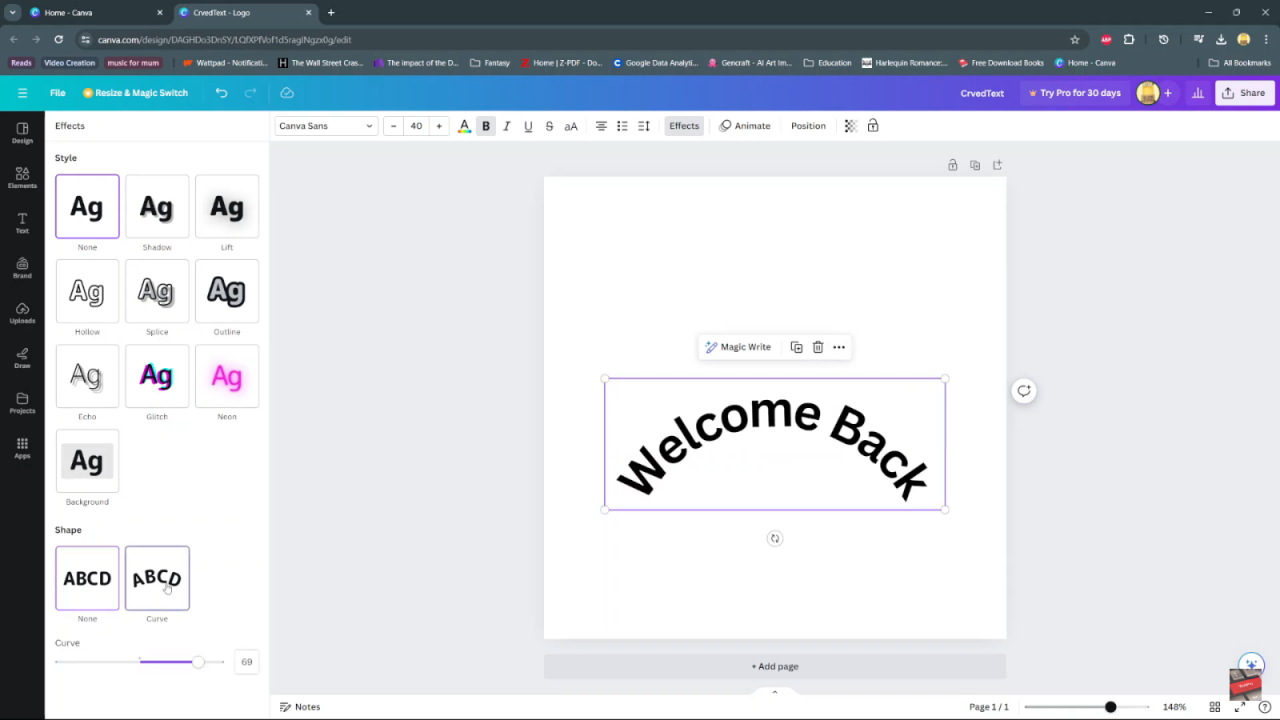
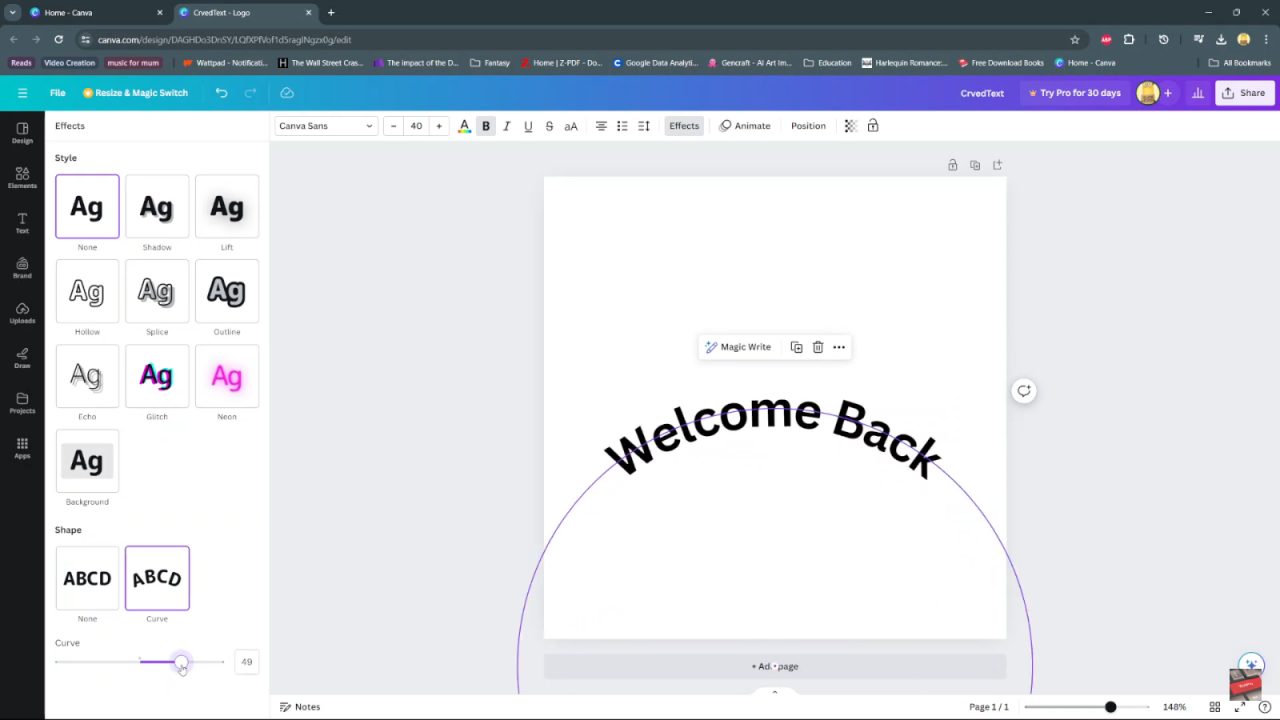
Step 6: Adjust Curve
Following this, use the slider underneath the curve option to adjust the degree of curvature you want for your text. You can choose either a positive or negative curve to achieve the desired effect.
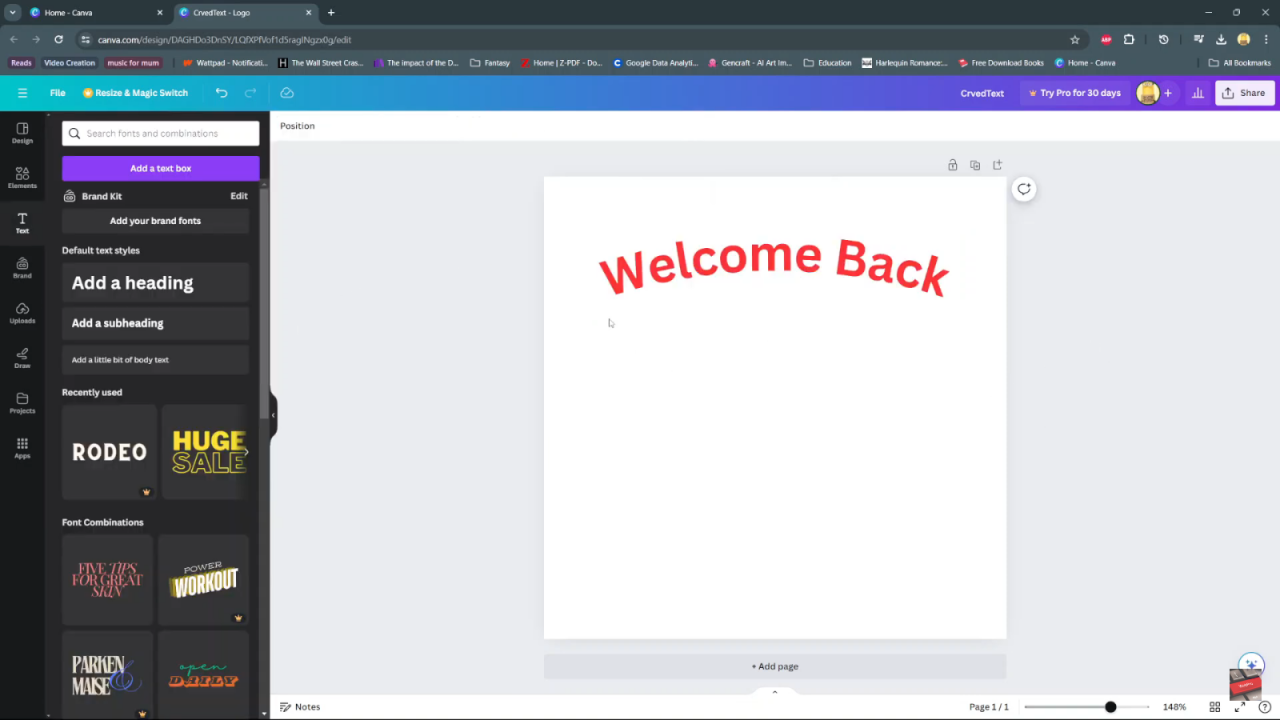
Step 7: Finalize Your Design
Finally, after making any additional edits and customizations, click on an empty space on your screen to finalize and apply the curved text. This step ensures that all changes are saved and that your design is complete.
