Connecting an external hard disk to your Redmi 14C is a simple way to expand storage and manage large files directly from your phone. With USB OTG (On-The-Go) support, your Redmi 14C can easily read external drives for file transfers, backups, and media playback.
In this tutorial, you’ll learn how to properly connect a hard disk to your Redmi 14C using a compatible USB OTG cable. We’ll also show you how to access the drive through the built-in file manager and troubleshoot common detection issues. No extra apps or technical skills needed just plug, tap, and transfer.
Whether you’re a student, content creator, or everyday user, this guide is perfect for anyone who wants to unlock more from their Redmi device. Watch the full video for tips and tricks to make file management even easier.
READ: How To Enable Data Roaming On Redmi 14C
Connect External Hard Disk to Redmi 14C
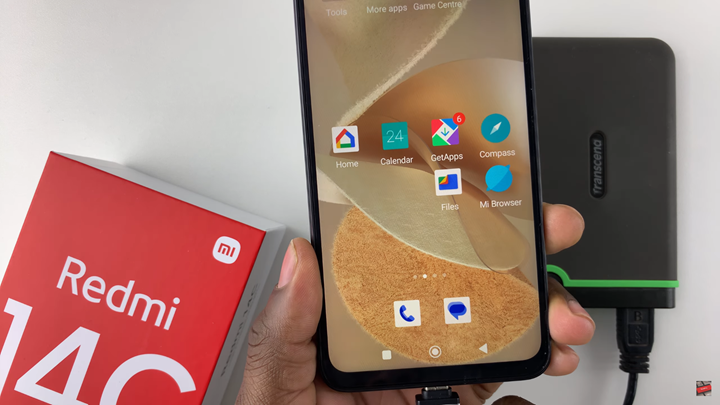
Use a USB OTG (On-The-Go) adapter that is compatible with your Redmi 14C’s charging port (usually USB-C).

Connect your external hard disk to the OTG adapter, then plug the adapter into your Redmi 14C.
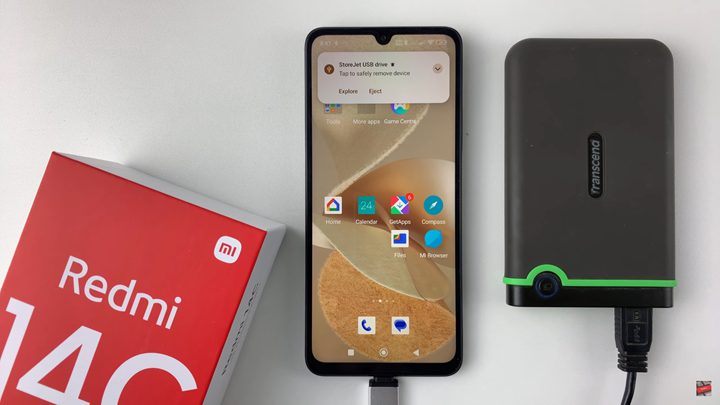
Once connected, a popup may appear asking for permission to access the USB device, tap Allow to proceed.
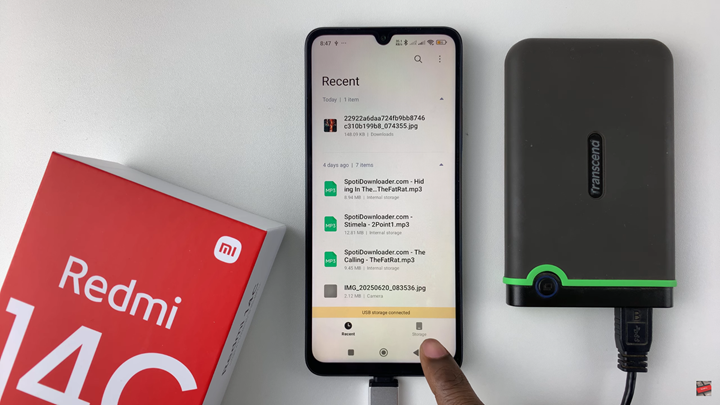
Open the File Manager app on your Redmi 14C, then tap on USB storage to browse and manage the files on your external hard disk.
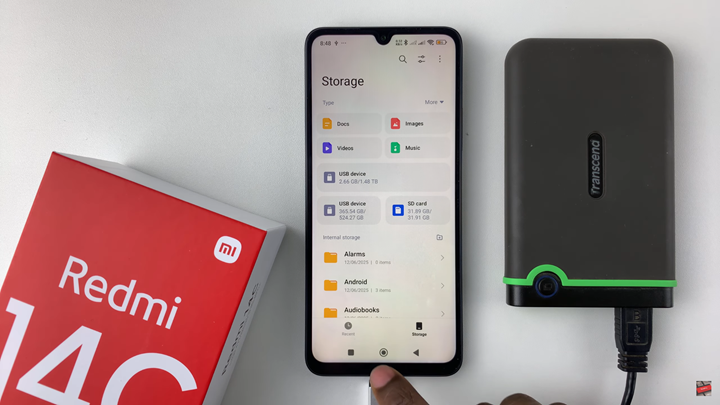
This feature is especially useful for students, professionals, and anyone dealing with large files on the go. Just make sure your hard disk is properly formatted and compatible with Android to avoid issues.

