Adding vertical text in Google Docs can help improve design and layout, especially when working with tables, sidebars, or visual documents. While Google Docs doesn’t offer a direct vertical text tool, there are simple workarounds that make it possible.
Using the Drawing tool or table rotation, you can create text that appears vertically without the need for add-ons or third-party software. These methods work well for labels, infographics, and creative layouts.
In this guide, you’ll learn how to add vertical text using built-in tools. We’ll walk you through each method step by step so you can apply it quickly and effectively.
Watch: How To Flip an Image That’s Already In Google Docs
Add Vertical Text In Google Docs
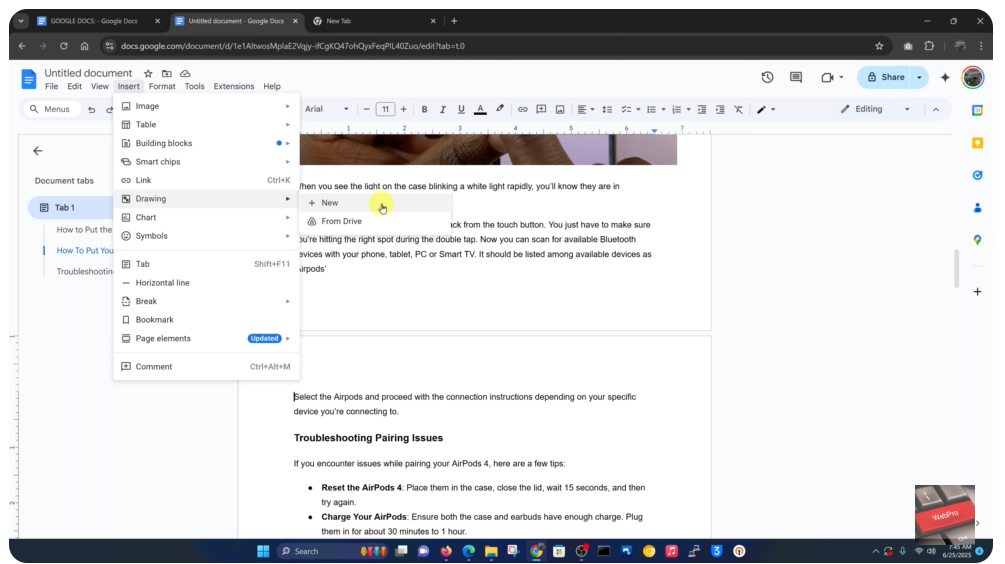
Click on “Insert” in the top menu
Start by opening your Google Docs document. At the top of the screen, click on the “Insert” tab to reveal more editing tools. Hover over “Drawing” and choose “+ New”. This opens the Drawing tool in a pop-up window.
Click the “Text box” icon (Tr)
In the Drawing toolbar, click the “Text box” icon, labeled “Tr”. This lets you add text that you can rotate or move freely. Click and drag to create a text box within the Drawing canvas. Then, type the text you want to appear vertically.
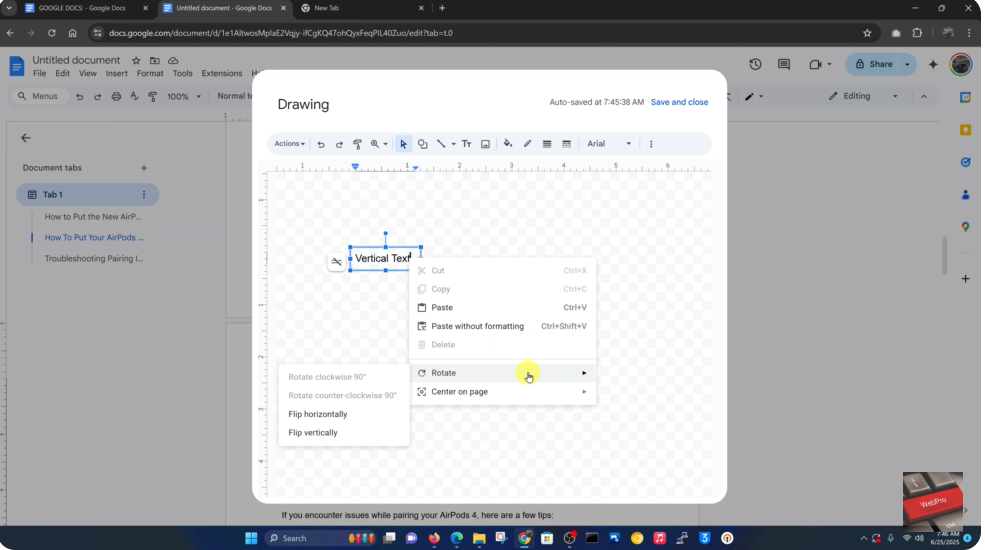
Place the cursor inside the box, right-click, and select “Rotate”.
Alternatively:
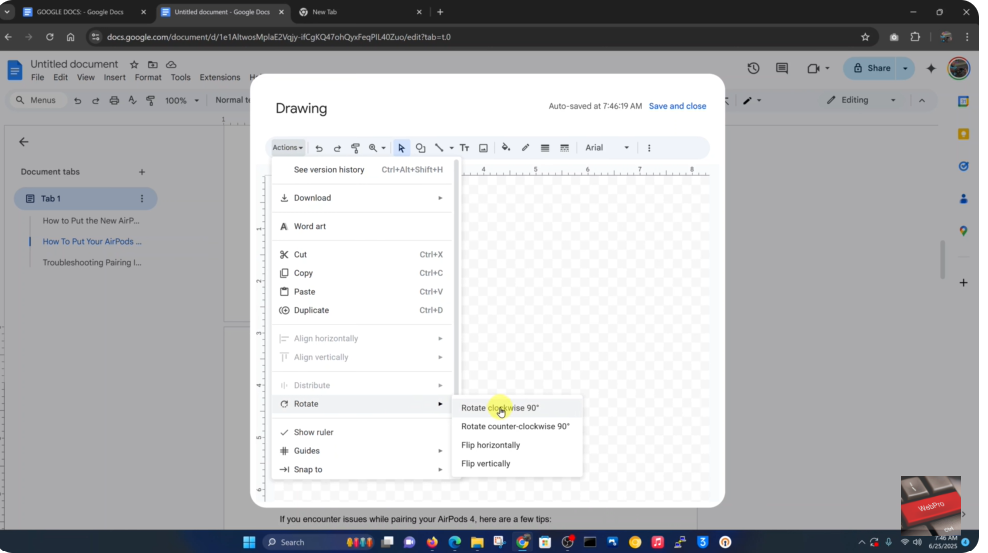
Click “Action” at the top of the Drawing window
In the toolbar, click on “Action” to view more options. Select “Rotate” and choose your preferred direction.

