In this quick tutorial, we’ll show you how to screen record on the Nintendo Switch 2 using built-in controls. No extra software or hardware is required just your console and a few taps, and you’re ready to start recording gameplay instantly.
Capturing gameplay moments has never been easier with the screen recording feature on the Nintendo Switch 2. Whether you want to save epic wins, share walkthroughs, or create content for social media, recording your screen helps you preserve and relive your best gaming highlights.
Whether you’re a casual player or an aspiring content creator, mastering screen recording will take your Nintendo Switch 2 experience to the next level. Stick around to learn exactly how to use this powerful feature.
READ: How To Return Sticks To Default On Nintendo Switch 2
Screen Record On Nintendo Switch 2
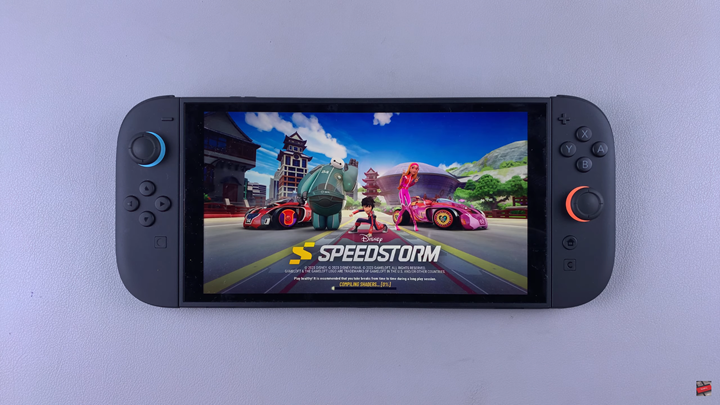
Open a game or app that supports screen recording.
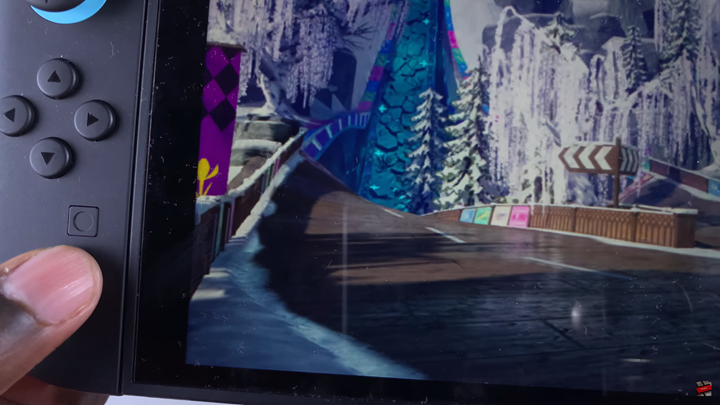
Hold the Capture Button (the small square button on the left Joy-Con) to save the last 30 seconds of gameplay. This feature only saves the most recent 30 seconds of activity.
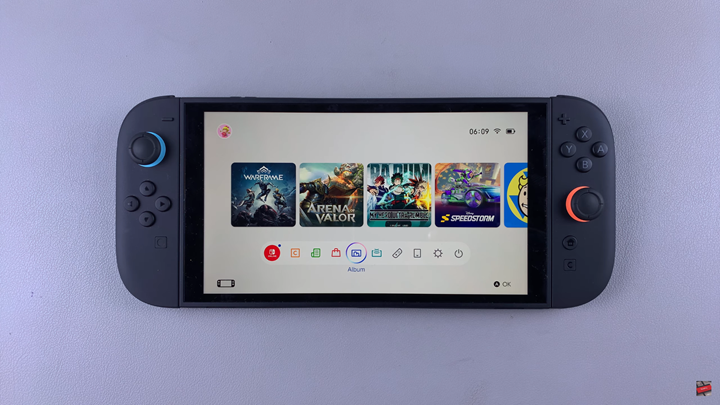
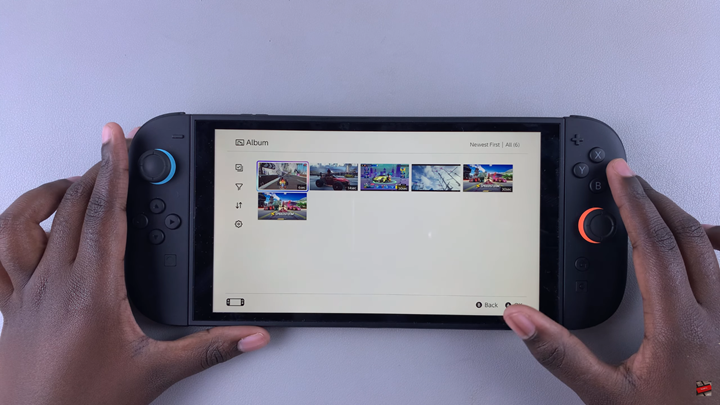
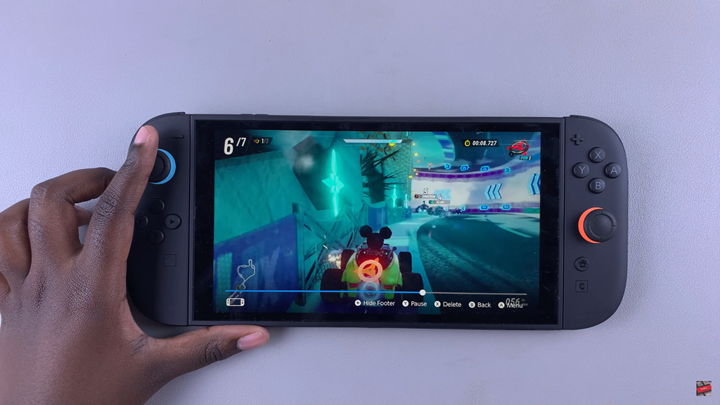
Navigate to the Album from the Home Screen to view your saved videos and screenshots.
Select the recording you want to manage, then you can edit, trim, or share it directly from the Album.
WATCH: Use Joy-con As Mouse On Nintendo Switch 2

