The Sony WH-1000XM6 headphones offer premium sound quality, excellent noise reduction and a spontaneous wireless experience-they make an ideal match for Mac and MacBook users. Whether you use your headphones for music, meetings, or just enjoying distraction-free work sessions, it is quick to connect them to your Apple device via Bluetooth.
In this guide we’ll walk you through how to pair and connect Sony WH-1000XM6 headphones to your Mac or MacBook. You’ll learn how to activate pairing mode on the headphones, locate and connect them via your Mac’s Bluetooth settings.
Let’s get started with connecting your Sony WH-1000XM6 to your Mac or MacBook in just a few simple steps.
Watch: Skip To NEXT Track On Sony WH-1000XM6 Headphones
Pair & Connect Sony WH-1000XM6 To Mac / MacBook
Firstly, you’ll need to put your Sony WH-1000XM6 headphones into pairing mode. To do this, locate the power button on the left earcup. Then, press and hold the power button until you see a blue-flashing light appear. This indicated the headphones are in bluetooth pairing mode.

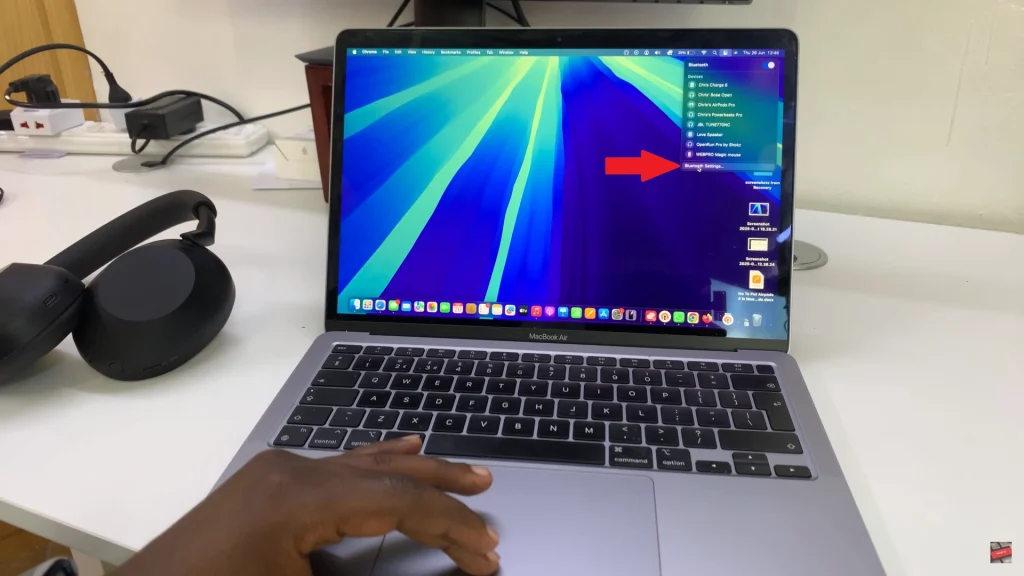
Following this, access the Bluetooth settings on your Mac or MacBook. Simply, click on the Control Center icon in the top right corner. Then, click on ‘Bluetooth‘ and select ‘Bluetooth Settings‘ from the options that appear.
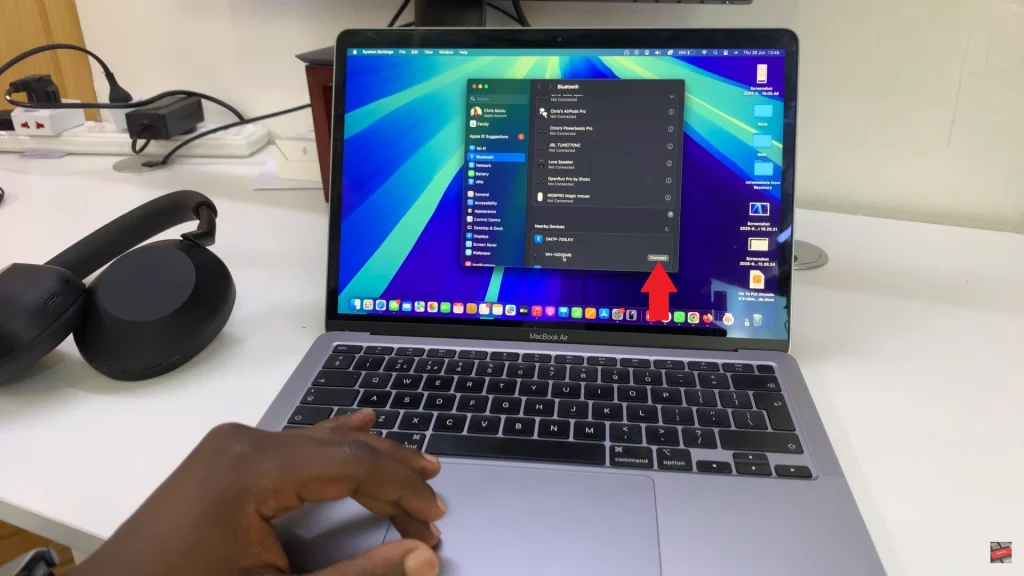
At this point, your device will begin scanning for nearby Bluetooth devices. Once your headphones have been discovered, click on ‘Connect‘ to initiate the pairing process. After the pairing process is complete, you can now use your headphones on your MacBook.
When you follow the right steps, it is a quick and trouble-free process to pair the Sony WH-1000XM6 headphone with Mac or MacBook. By enabling Bluetooth on your Mac, activating pairing mode on your headphones, and selecting the WH-1000XM6 from the available device list, you can enjoy high-quality wireless audio in just moments.
Now that the WH-1000XM6 is attached, you can enjoy the freedom of wireless sound on your MAC with Crystal-Clear-sound and industry component attenuation.

 On Samsung Galaxy A26/A36/A56")