Splicing text in Canva allows you to creatively blend different text elements within your designs, enhancing visual appeal and clarity. This technique is useful for creating headings, subheadings, or any design where text integration is key. By splicing text, you can combine fonts, sizes, and styles seamlessly, adding depth and emphasis to your message.
To splice text in Canva, you’ll utilize layers and text boxes strategically. This method enables you to arrange and overlap text elements precisely, ensuring each part of your message stands out effectively.
Whether you’re designing posters, presentations, or social media graphics, mastering text splicing in Canva opens up a world of creative possibilities to elevate your designs.
Watch:How To Create Stretch Text Effect In Canva
Splice Text In Canva
Here’s how you can do it;
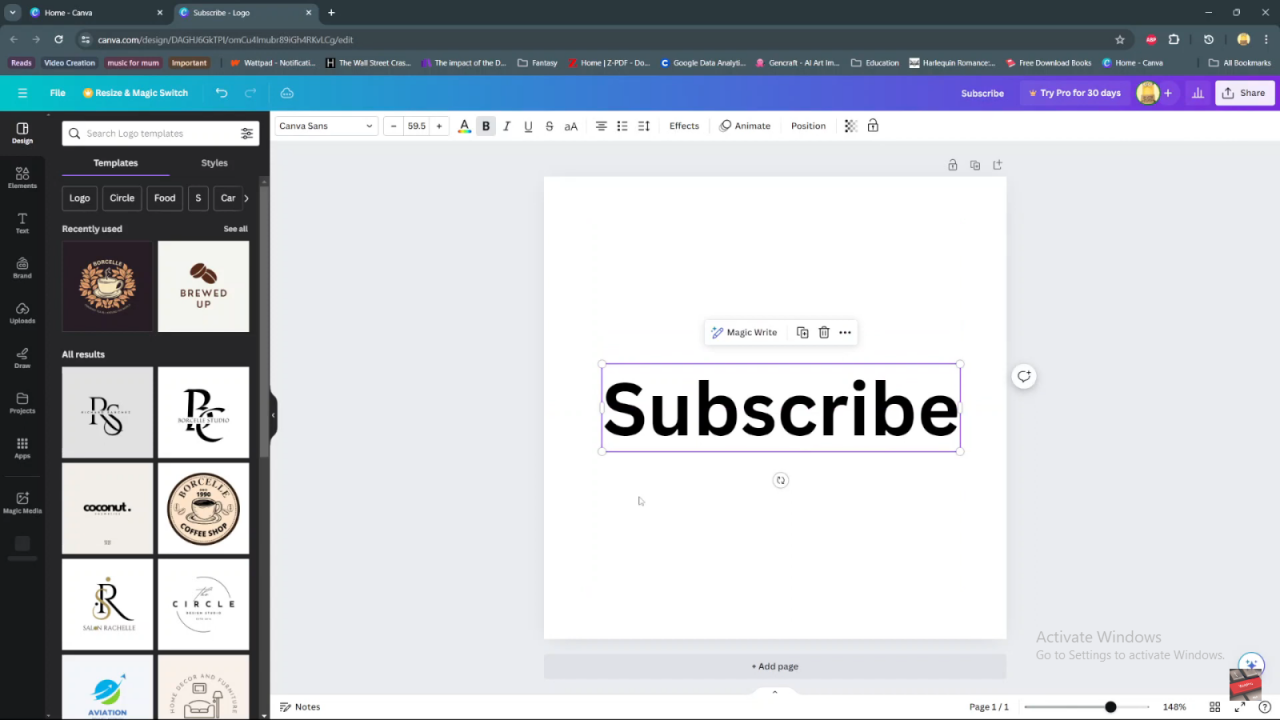
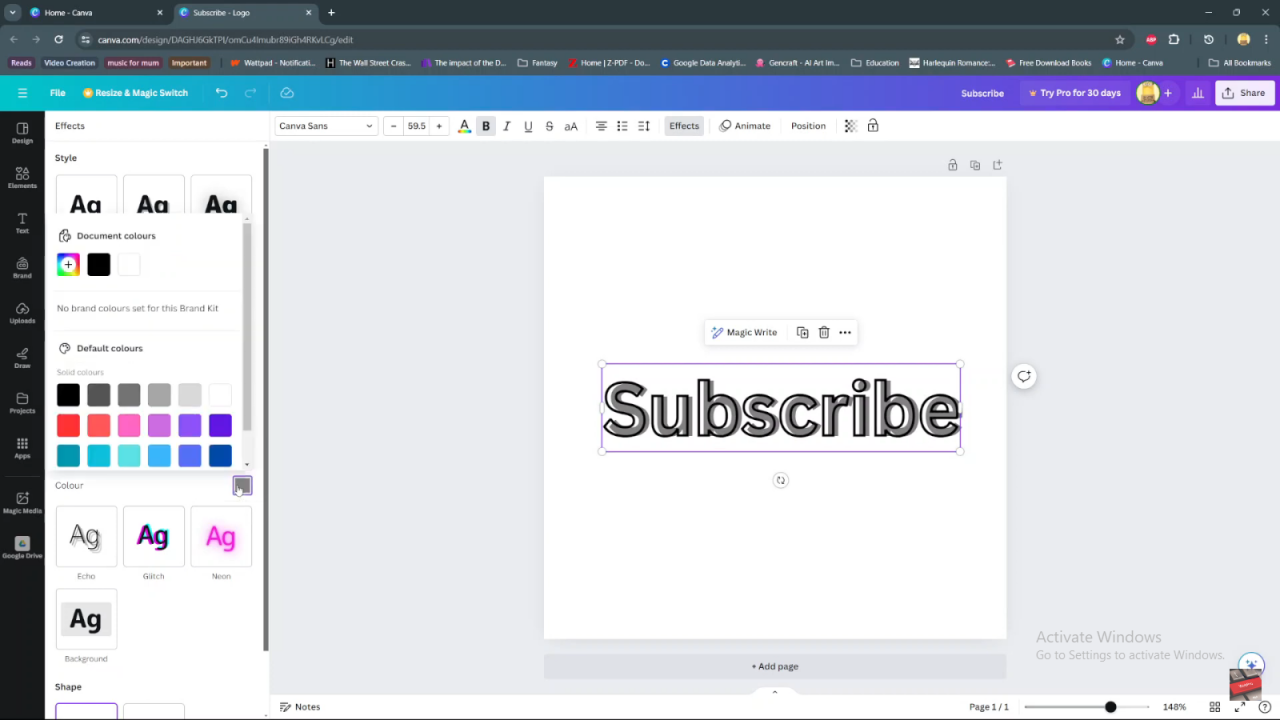
Step 1: Add Your Text Begin by adding your text to your Canva design. Ensure that the text is placed where you want it and select it.
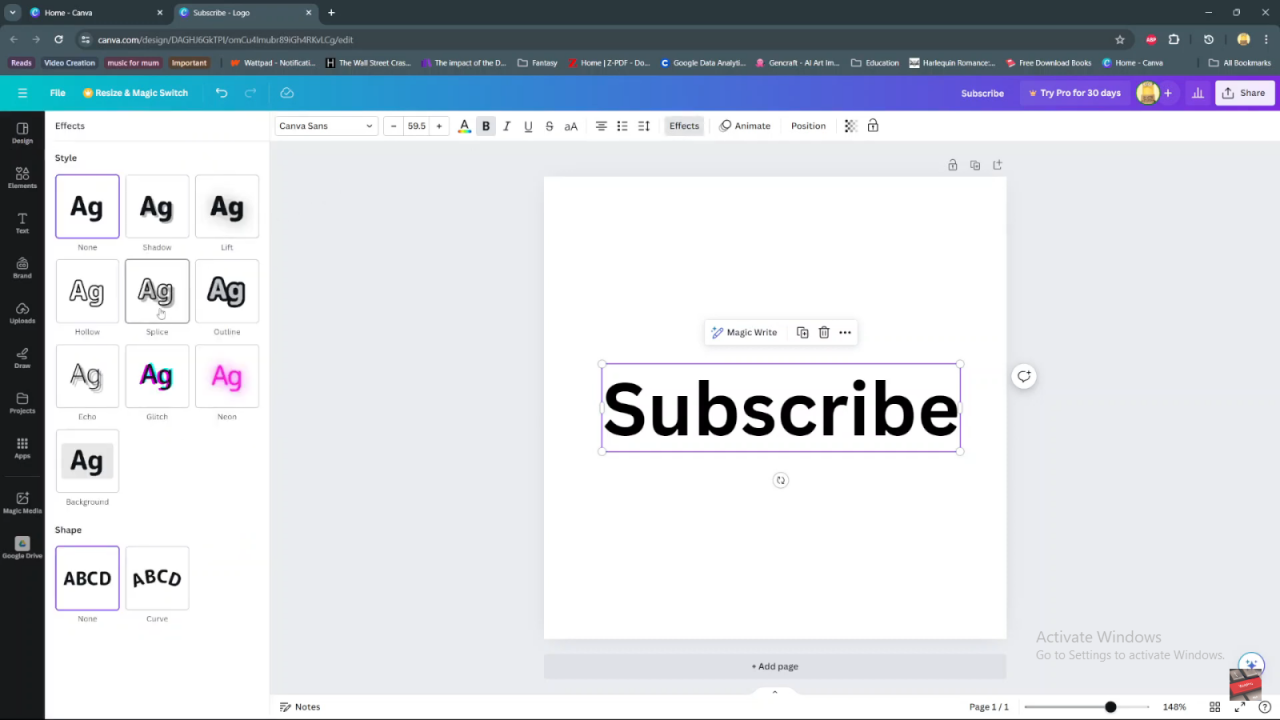
Step 2: Access Effects With your text selected, locate and click on the “Effects” button in the top toolbar.

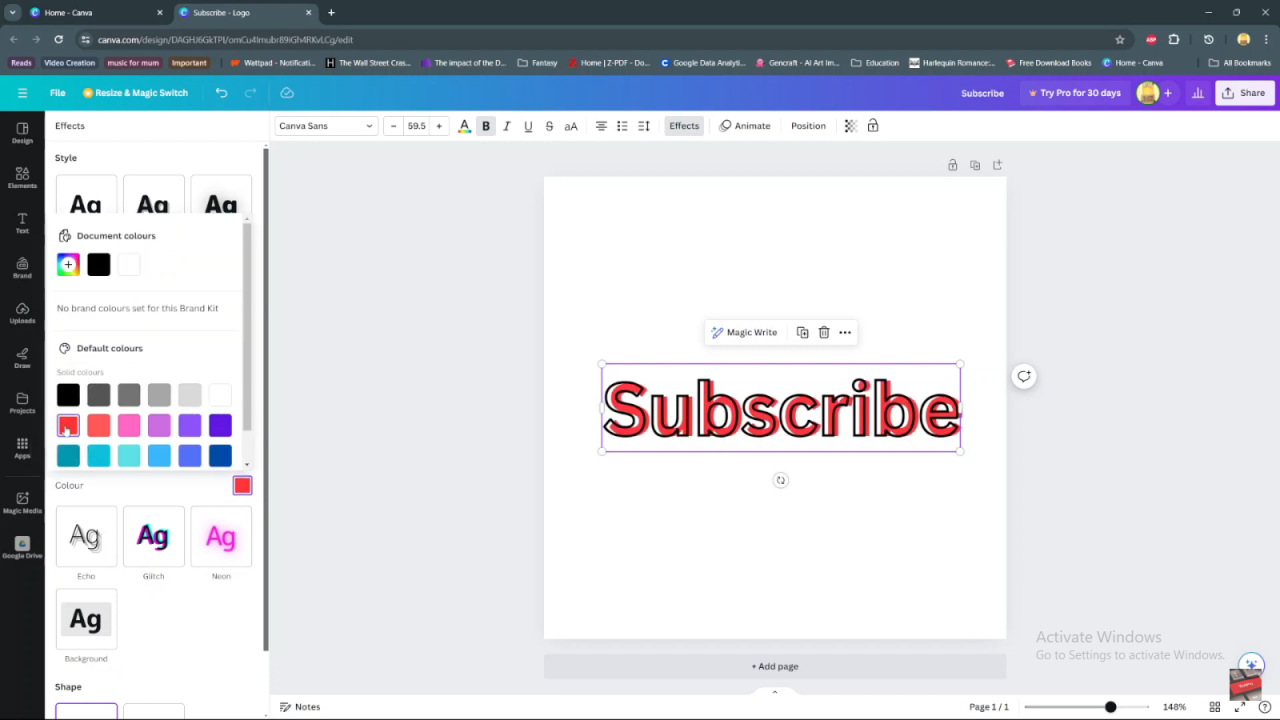
Step 3: Choose the Splice Effect In the Effects menu, find and click on the “Splice” option. This will apply the splice effect to your selected text.
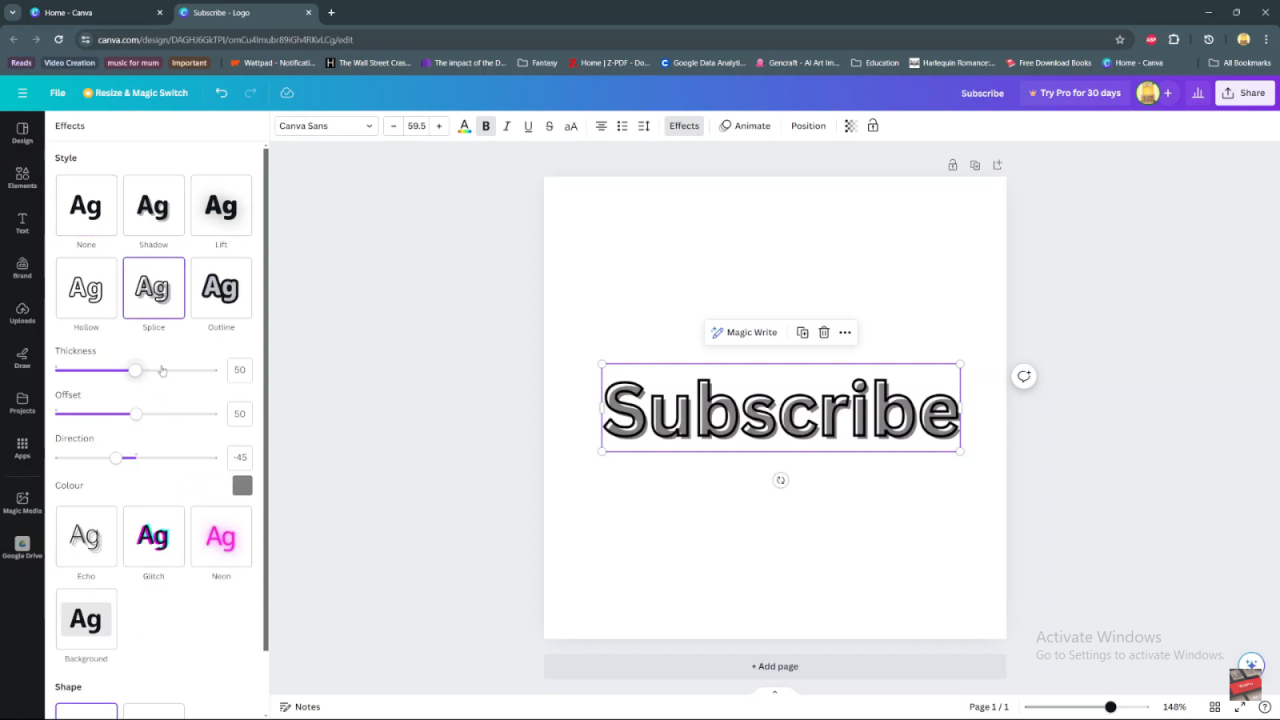
Step 4: Customize the Splice After applying the splice effect, customize it:
- Adjust the thickness of the splice using the slider.
- Modify the offset to control the distance of the splice from the text.
- Select the direction of the splice (horizontal, vertical, diagonal).
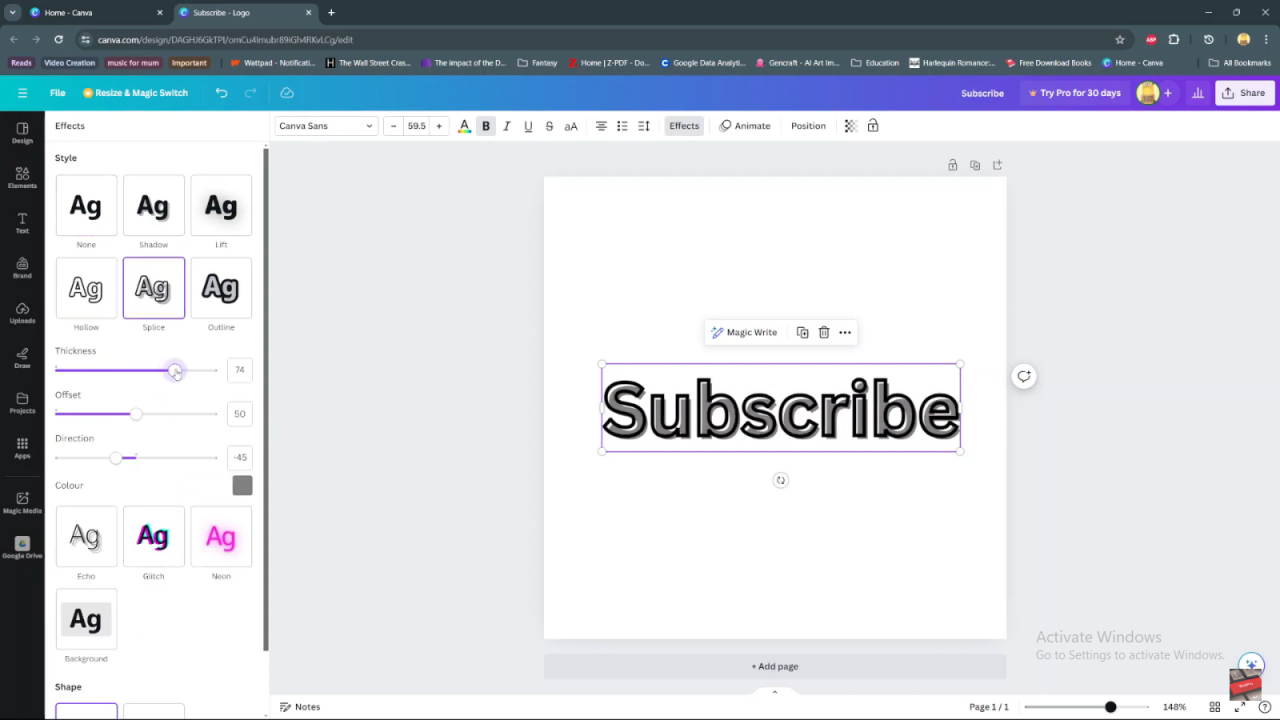
Step 5: Adjust the Color (Optional) Optionally, change the color of the splice to match your design. Click on the color swatch next to “Color” and choose a new color.
Step 6: Finalize Your Spliced Text Once satisfied with the customization, click anywhere outside the text box on the canvas to apply the changes.
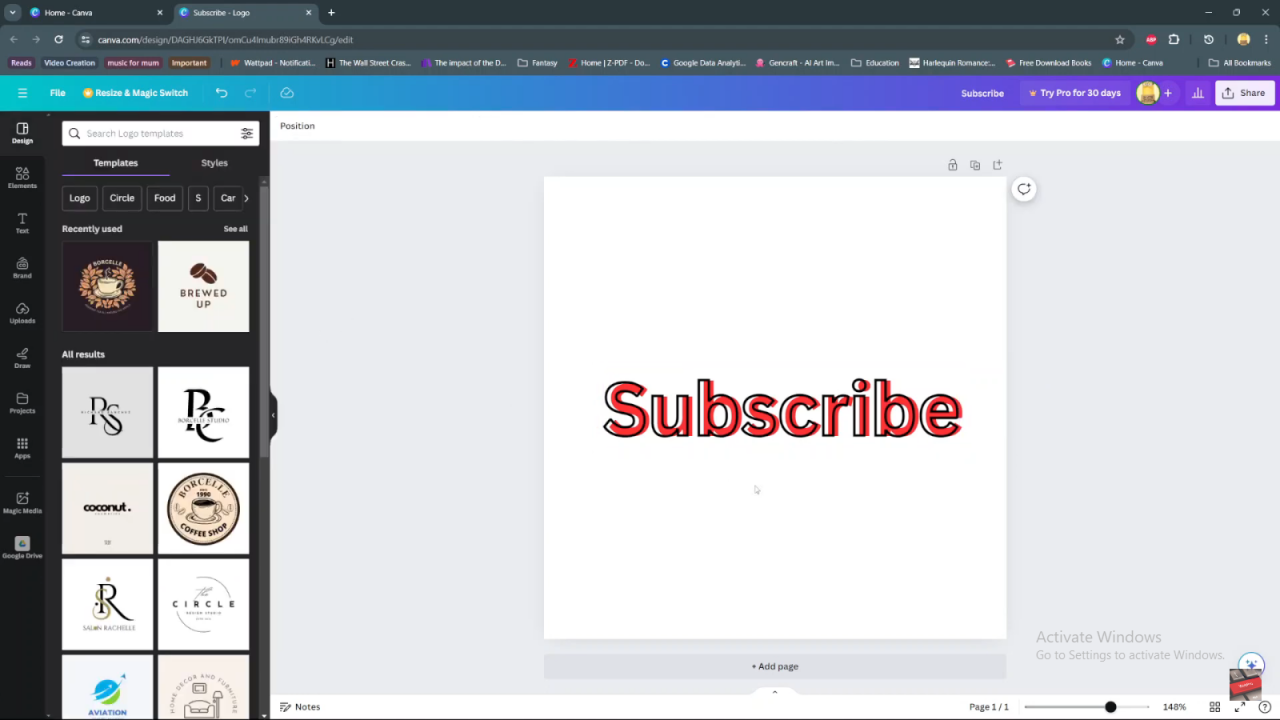
Step 7: Review and Edit Review your spliced text on the canvas. Edit the text or adjust the splice effect further if needed.
These steps guide you through the process of splicing text in Canva, enabling you to create visually appealing and customized designs effortlessly.

