Flipping an image in Google Docs is helpful when you want to reverse its direction or create a mirror effect. It’s also useful for adjusting your document’s visual layout. However, Google Docs doesn’t have a direct flip button in the toolbar. Instead, you’ll need to use the built-in Drawing tool. This method is quick, simple, and doesn’t require any extra software.
In many cases, flipping an image that’s already in your document makes your content look clearer and more professional. With just a few steps, you can copy the image into the Drawing canvas, flip it, and place it back into your file. This gives you more control over layout and design without leaving Google Docs.
In this guide, we’ll show you how to flip an image already added to your Google Docs file. You’ll learn how to access the Drawing tool, paste the image, rotate it, and save the flipped version in minutes.
Watch: How To Write & Draw On Images In Google Docs
Flip an Image In Google Docs
Select the image you want to flip.
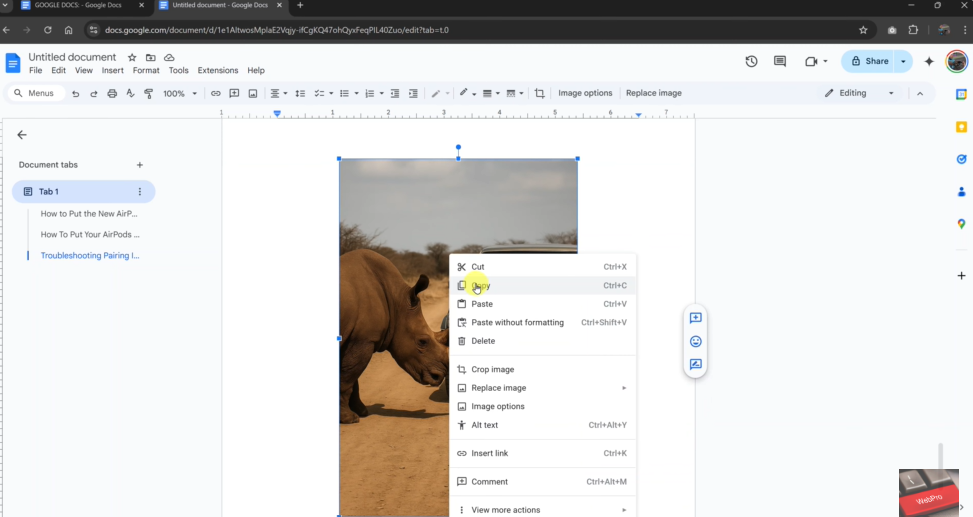
Right-click on the image and select “Copy”
After selecting the image, right-click on it and choose “Copy” from the context menu. This saves the image to your clipboard so it can be pasted elsewhere.
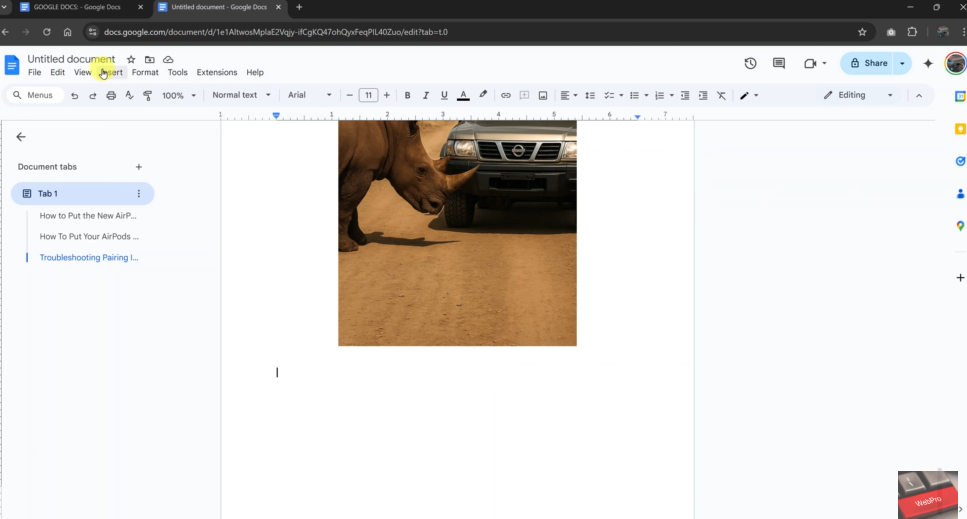
Click on “Insert” in the top menu bar
In the toolbar at the top of the screen, click on the “Insert” tab to reveal more editing and formatting options.
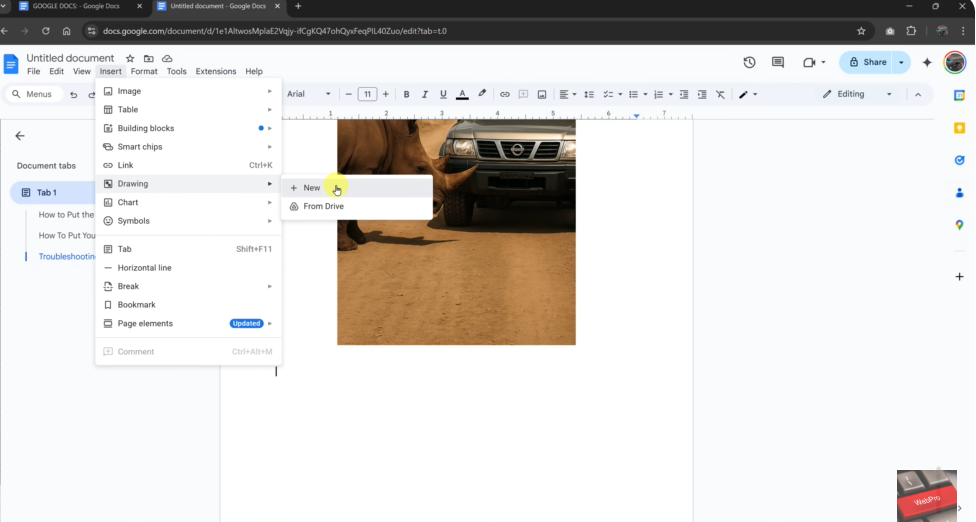
Choose “Drawing” and then click “+ New”
From the Insert menu, hover over “Drawing” and click “+ New” to open the Drawing canvas where the image will be flipped.
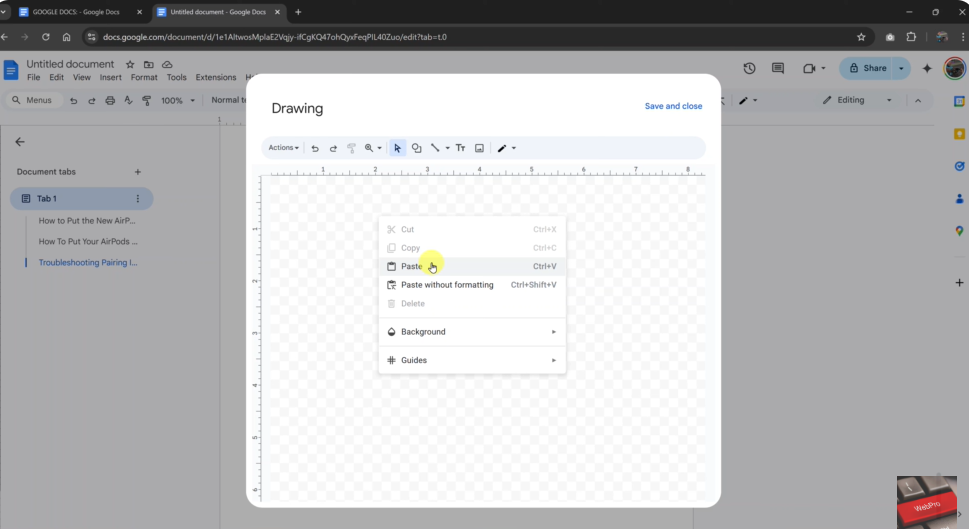
Right-click inside the Drawing tool and select “Paste”
Once the Drawing window appears, right-click anywhere in the blank canvas and select “Paste” to insert your copied image.
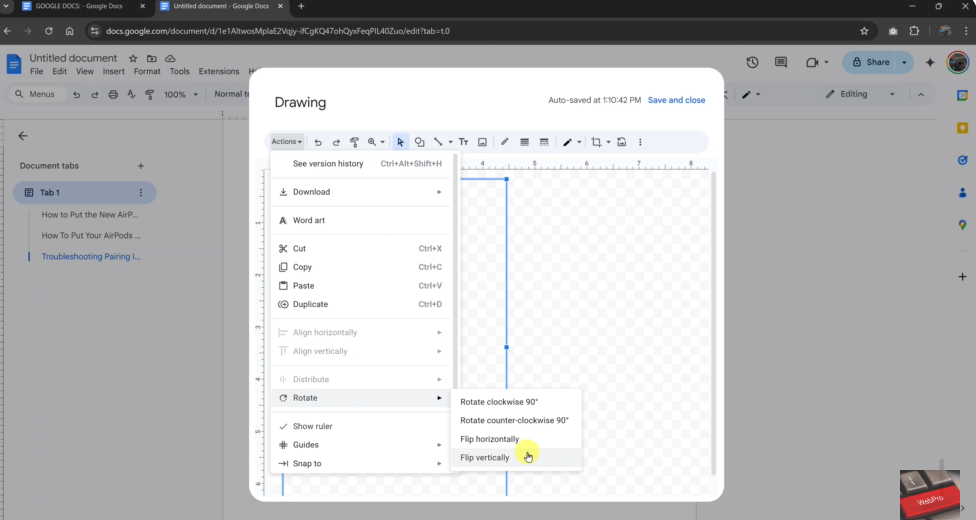
Click on “Actions” and hover over “Rotate”
With the image selected in the Drawing canvas, click on “Actions” in the top-left of the toolbar, then select “Rotate.”
From the Rotate options, you can either choose “Flip horizontally” or ”Flip vertically”

