Achieving true lossless audio from your JBL Charge 6 speaker on a Mac or MacBook is simpler than you might think. While Bluetooth offers convenience, wired connections bypass compression codecs and deliver the full dynamic range of your music.
This guide walks you through everything you need to hook up your JBL Charge 6 via cable for pristine, distortion-free sound. Connecting your JBL Charge 6 speaker to your Mac or MacBook with a USB-C cable is a fast, reliable way to enjoy high-quality, interference-free sound—no Bluetooth pairing, no dropouts, just lossless audio.
Whether you’re editing video, hosting a podcast, or simply jamming out to your favorite playlist, here’s everything you need to know to get set up in minutes. A wired connection offers zero latency. This is perfect for video editing or live streaming, where any audio delay is unacceptable.
You also get stable audio with no risk of wireless interference from other devices or networks. In addition, this saves both your speaker’s and your Mac’s battery life compared to Bluetooth. Always ensure your JBL Charge 6 speaker has sufficient battery, though.
Watch: Connect JBL Charge 6 To Mac
Connect JBL Charge 6 To Mac / MacBook via Cable
To connect your JBL Charge 6 to your Mac, make sure you have a USB-C to USB-C cable. Also, turn off Bluetooth on your phone to cut the Bluetooth connection between the JBL Charge 6 and your phone. The Bluetooth LED on your speaker should turn off as well.
Plug one end of your USB-C to USB-C cable into the Mac or MacBook’s USB-C port.
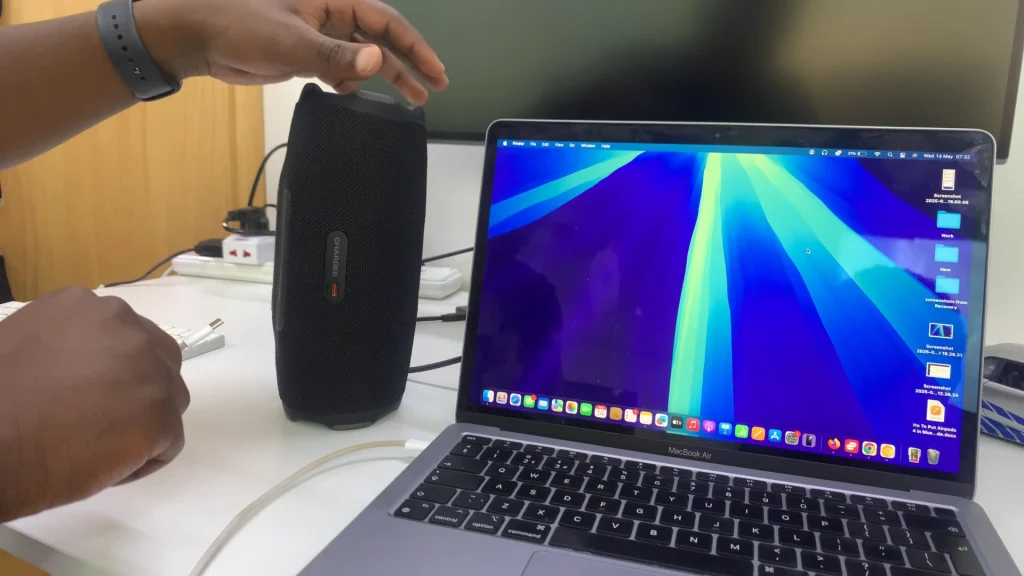
Before you insert the cable into the speaker’s USB-C port, firmly press and hold the Play/Pause button on the JBL Charge 6, without releasing.
While still holding the Play/Pause button, insert the other end of the cable into the speaker’s USB-C port. You should hear a notification sound on your JBL Charge 6.
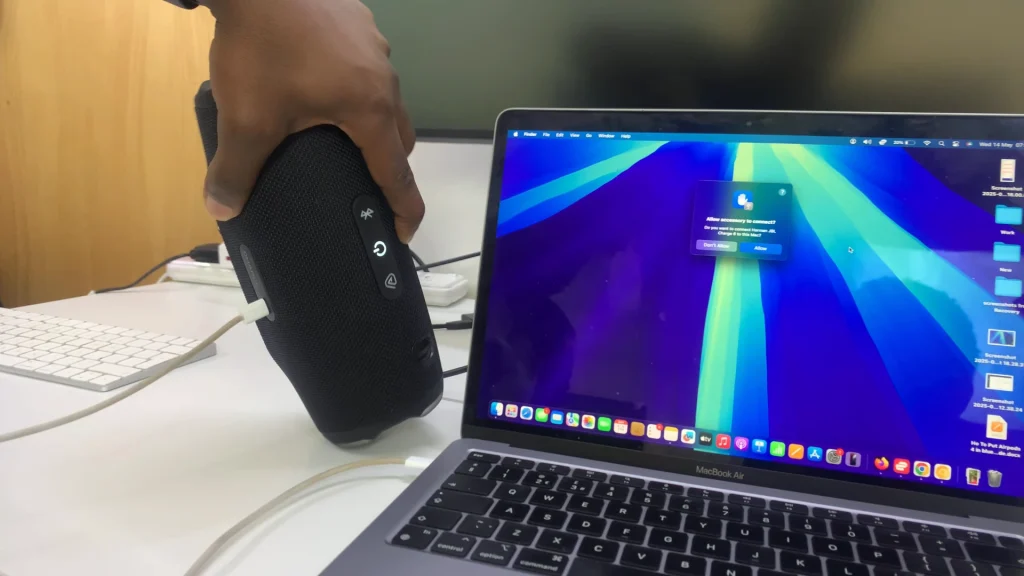
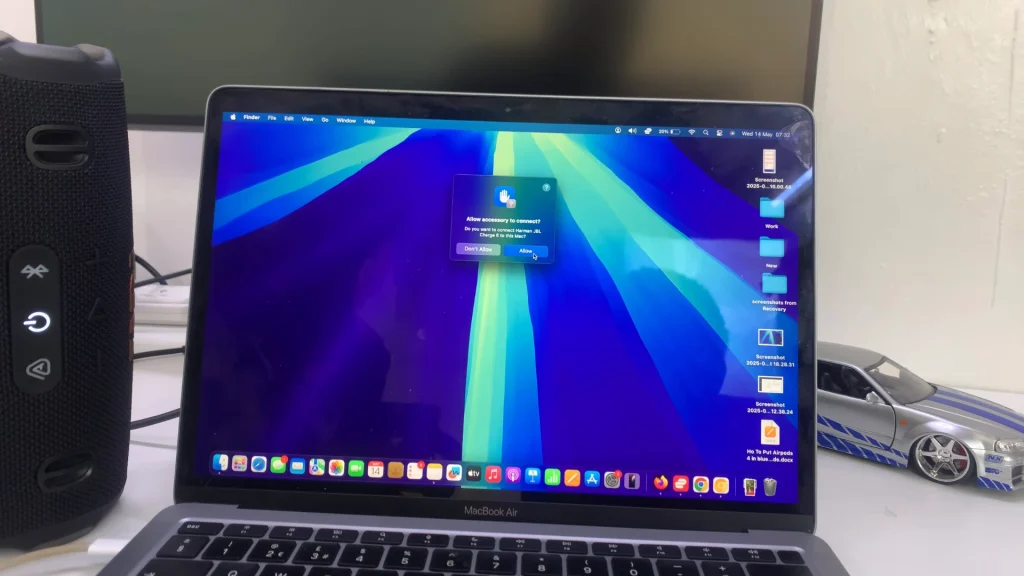
The ‘Allow Accessory to Connect’ pop-up will appear on the screen. Select Allow to proceed. You should hear a notification sound on your JBL Charge 6. This indicates a successful connection.
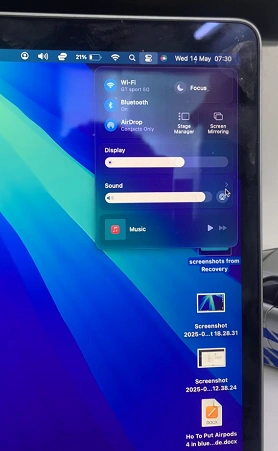
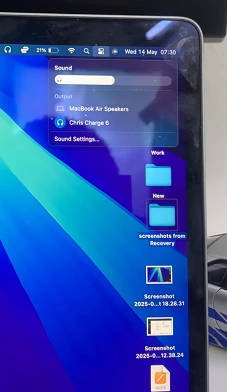
To confirm a successful connection, or to make sure of one, click on the toggles menu (two-toggle icon) in the top right side of the Mac or MacBook taskbar once again. Here, select the arrow next to the Sound option. Under the Output tab, select JBL Charge 6 to set it as the output device.
Open iTunes, Spotify, YouTube, or any other audio source on your Mac and play a track. Slowly raise the volume on your JBL Charge 6 using its onboard controls until you hear audio.
Troubleshooting
No sound: Confirm the cable is fully seated at both ends. Ensure the Mac’s output device is set correctly in System Settings — >Sound.
Static or buzzing: Swap to a different 3.5 mm cable or try a different USB-C adapter—poor shielding can introduce noise. Keep the cable away from power adapters and other electronics.
Low volume or distortion: Reduce the Mac’s volume if you hear clipping. Increase the JBL’s volume for cleaner gain staging.
Pro Tips for Best Results
Use an external DAC: For audiophile-grade clarity, connect your Mac to a USB DAC, then run RCA-to-3.5 mm into the JBL.
Equalizer settings: Tweak your macOS EQ (in Music app’s Window → Equalizer) to suit genre preferences.
Firmware up-to-date: Check JBL’s website for the latest Charge 6 firmware for optimal performance.
Read: How To Connect JBL Charge 6 To Mac / MacBook via Bluetooth


)