Adding a page border in Google Docs is a simple way to give your document a polished and professional look. Whether you’re working on formal reports, school assignments, or personal projects, a well-designed border helps define the content area and enhances overall presentation. It’s also useful for documents meant to be printed or shared visually.
While Google Docs doesn’t offer a direct page border tool like some word processors, it gives you several flexible options to create one. You can use the Drawing tool to create a custom border, insert a single-cell table as a frame, or use shapes with color and line styles to get the effect you want. These methods offer creative control, allowing you to adjust size, color, and layout to suit your design.
Adding a page border not only improves the visual structure of your document but also helps draw attention to key content. It’s especially helpful for certificates, flyers, resumes, or event materials. With just a little customization, you can transform a plain page into something more engaging and reader-friendly.
Watch: How To Change Mouse Sensitivity On Nintendo Switch 2
Insert Page Border In Google Docs:
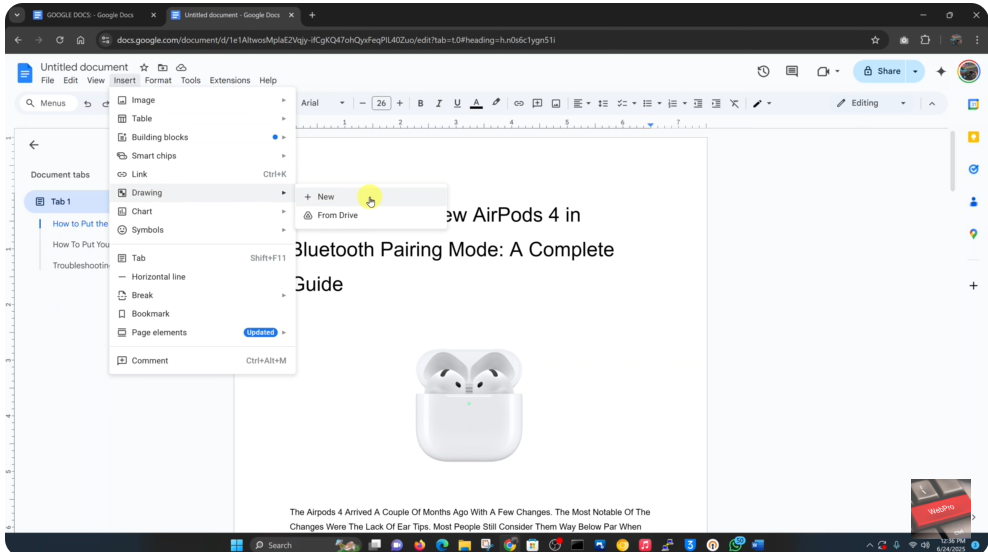
To start adding a page border, place your cursor at the very beginning of the page where you want the border to appear. Then go to the top menu, click “Insert”, hover over “Drawing”, and select “New” to open the drawing canvas.
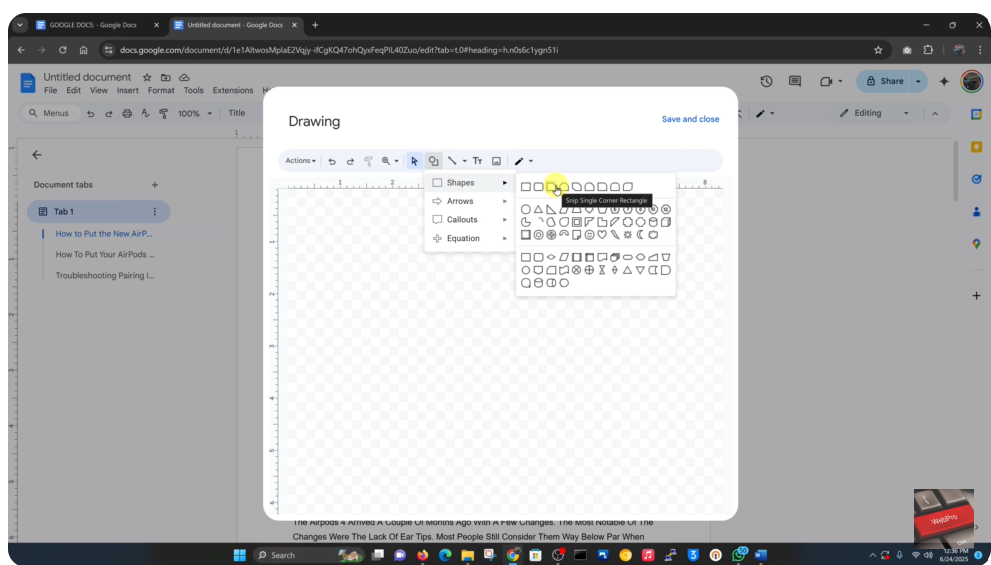
Once the Drawing window appears, click on the “Shapes” icon and choose a rectangle or your preferred border shape. Use your mouse to draw the shape over the full canvas area—this will serve as your page border.
If the shape has a filled background, you can make it transparent for a cleaner look. Simply click on “Fill color”, then choose “Transparent”. This will remove the default color fill and leave only the border lines visible.
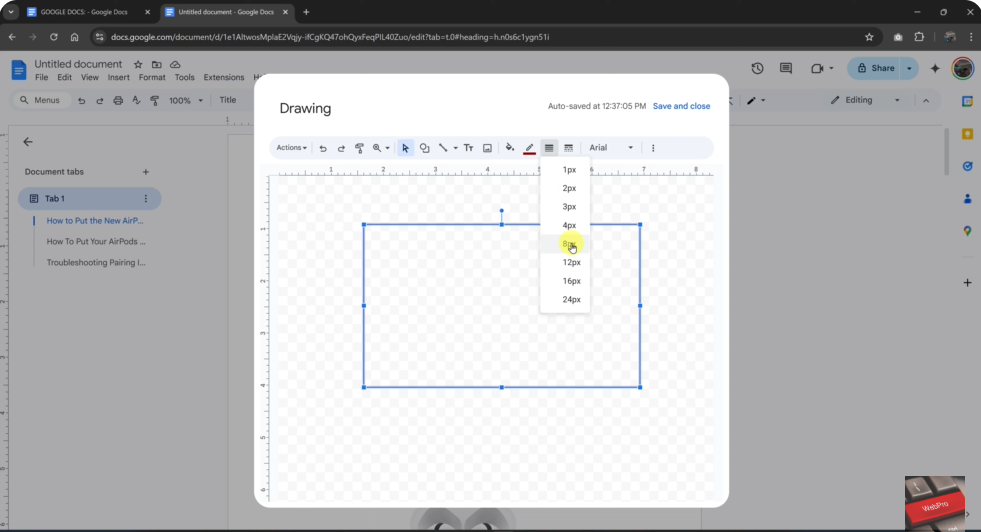
Now it’s time to customize your border. You can adjust the line thickness, border color, or even apply dashed or dotted styles depending on the tone of your document whether professional, academic, or decorative. The customization tools in the Drawing window give you full control to match your design preferences.
Once you’re happy with your design, click “Save and Close” to insert the border into your document.
Position the Border:
After the border appears in your document, it might not be aligned correctly by default. Click once on the border to select it, then click the three vertical dots (More Options) to access all available image settings.
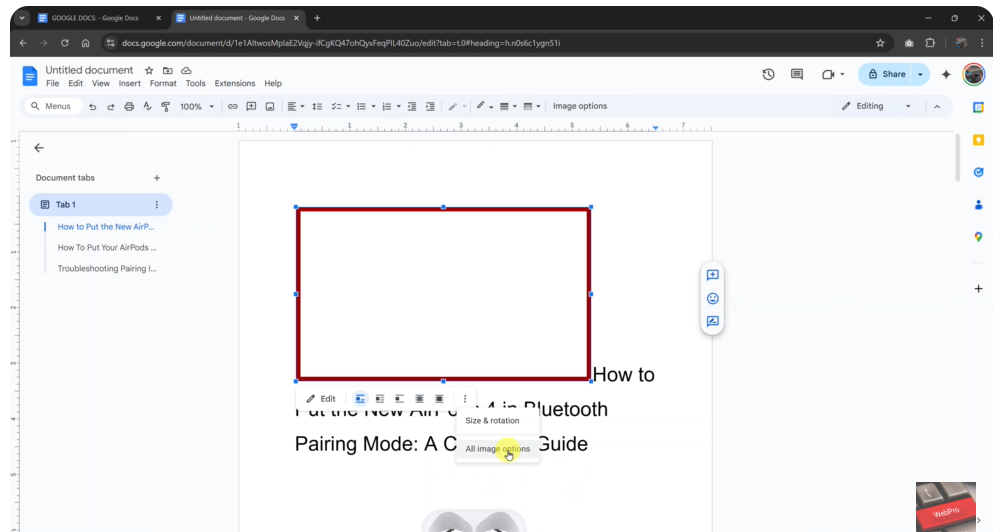
Under “Text Wrapping”, choose “In front of text” to make the border movable without affecting the document content. This allows you to drag, resize, and align the border exactly where you want it around the page content or at the page margins.

You can also use the alignment guides and margin indicators to fine-tune the placement, ensuring the border looks clean and professional. Take your time to adjust it visually until it frames your content just the way you want.
Read: How To Link Other Google Docs Document In Your Google Doc

