In this comprehensive guide, we’ll walk you through the entire process of installing MySQL 8.0.42 on Windows 11. Whether you’re setting up a development environment or preparing a production database server.
If you’re a developer, data analyst, or IT enthusiast working with databases, installing MySQL 8.0.42 on your Windows 11 system is a crucial first step. MySQL is one of the most popular open-source relational database management systems, widely used for web applications, data warehousing, and big data analytics.
This tutorial will ensure your MySQL installation is done correctly, including setting up MySQL Workbench and configuring the system PATH environment. Follow along to get your MySQL server up and running smoothly on Windows 11.
Watch: How To Install Pygame In Windows
Install MySQL 8.0.42 in Windows 11
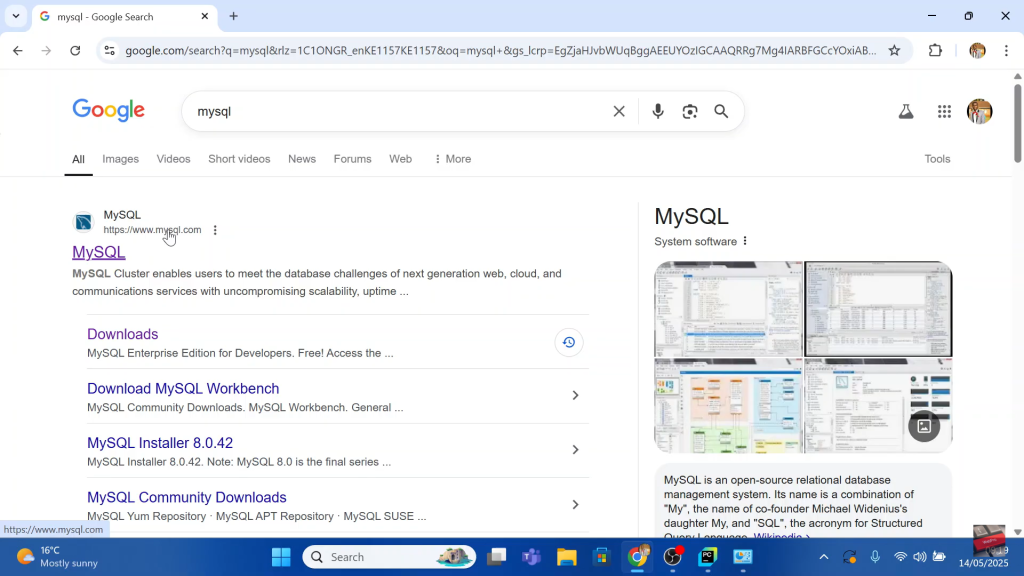
Launch your browsing app and search for MySQL.
From the search results, select the official MySQL link.
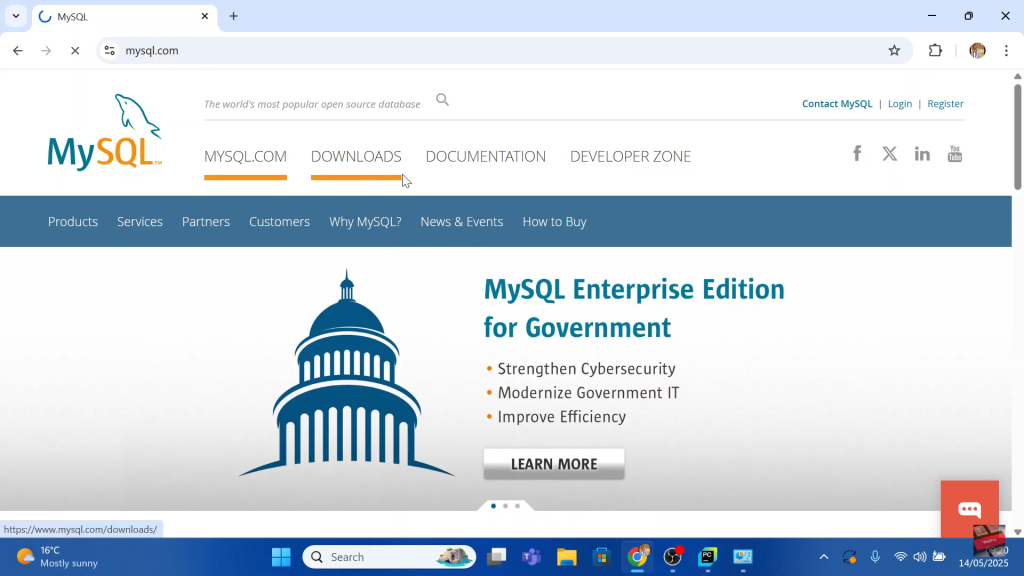
Navigate to the Downloads tab.
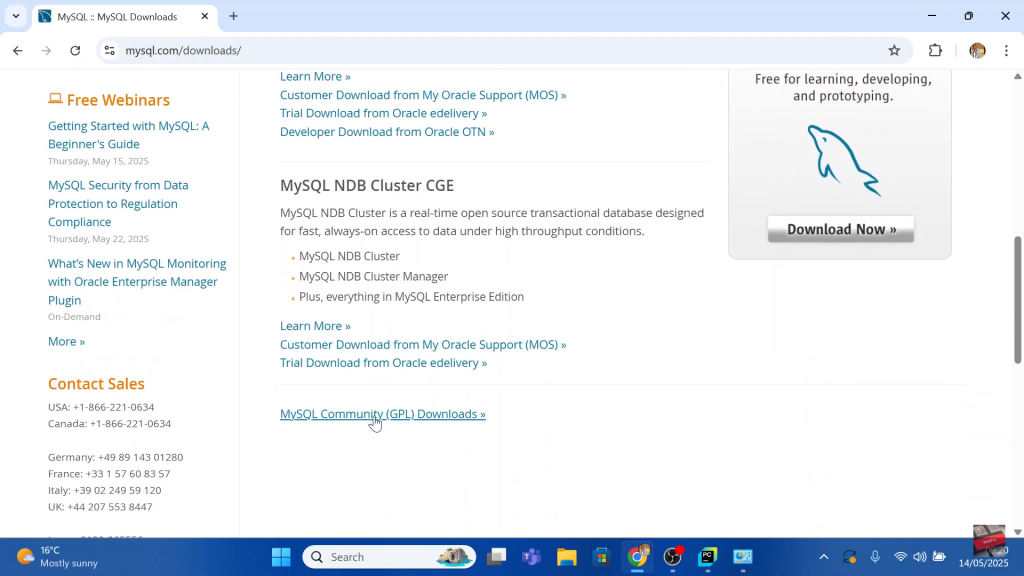
Find and select MySQL Community Downloads.
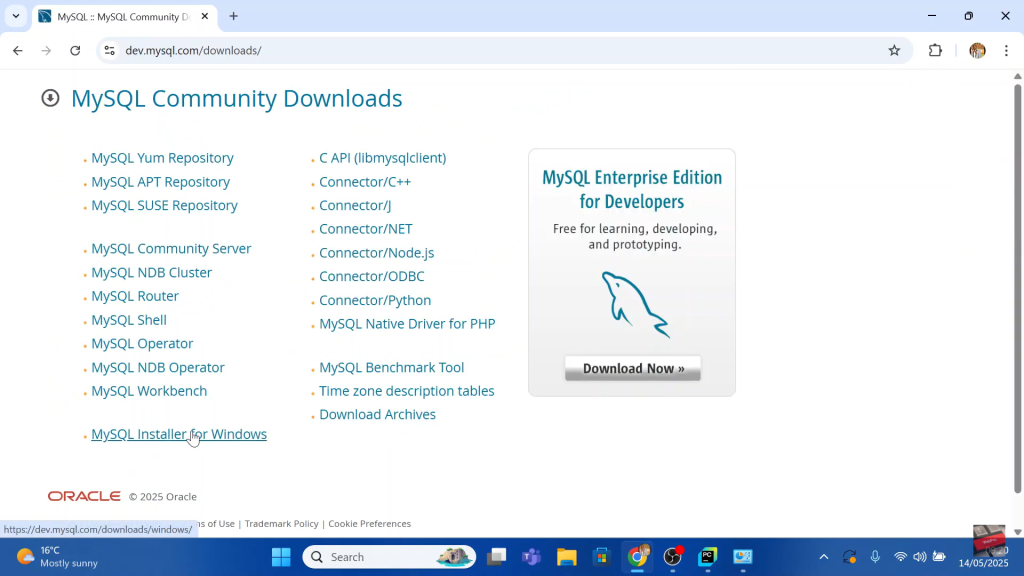
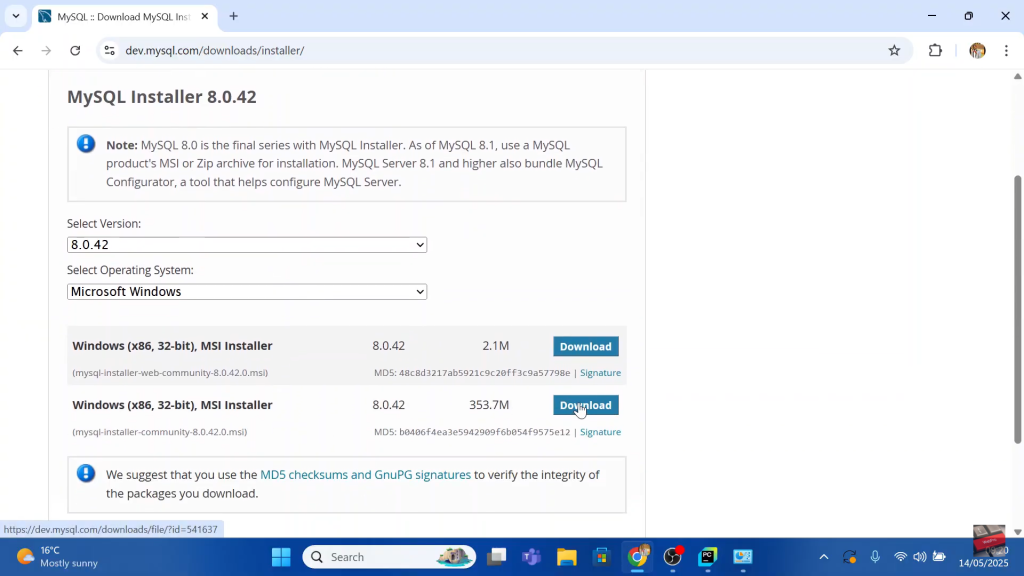
Select MySQL Installer for Windows.
Download the Windows 353.7 MB file.
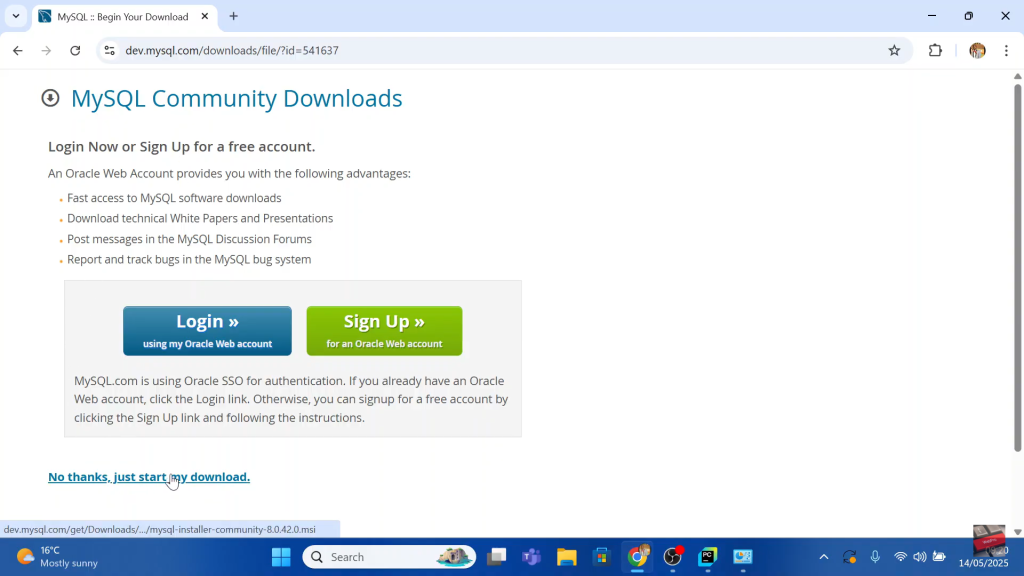
You may be prompted to log in or sign up. Click “No thanks, just start my download.”
Installing MySQL
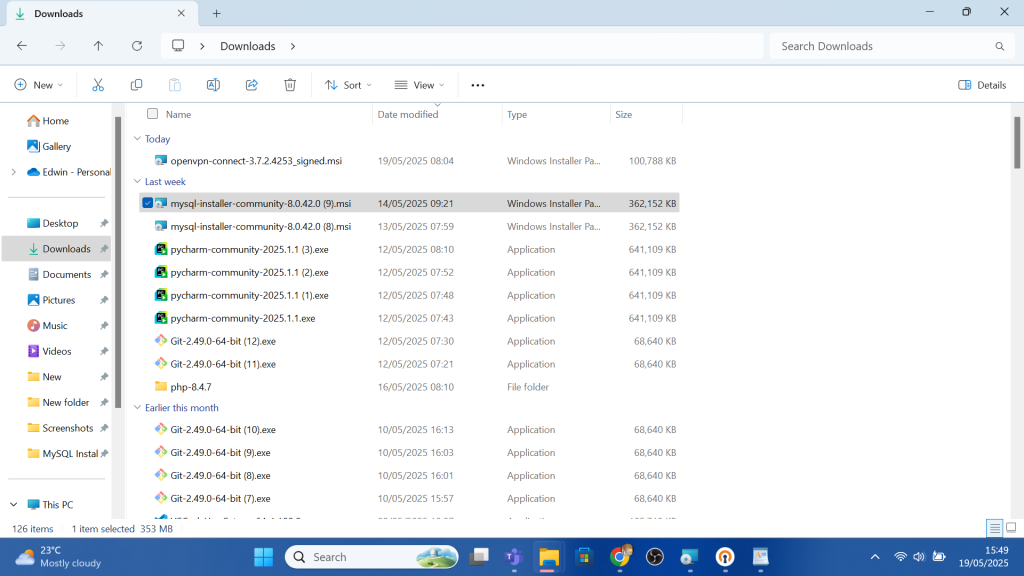
Open the downloaded file to begin the installation.
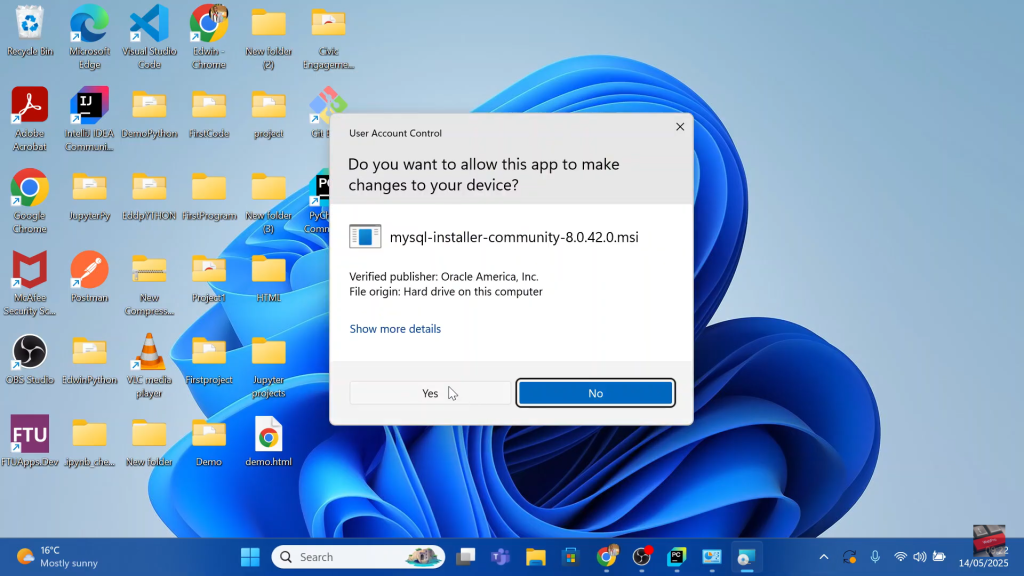
Give permission for MySQL to make changes to your device.
Choose Custom as your setup type.
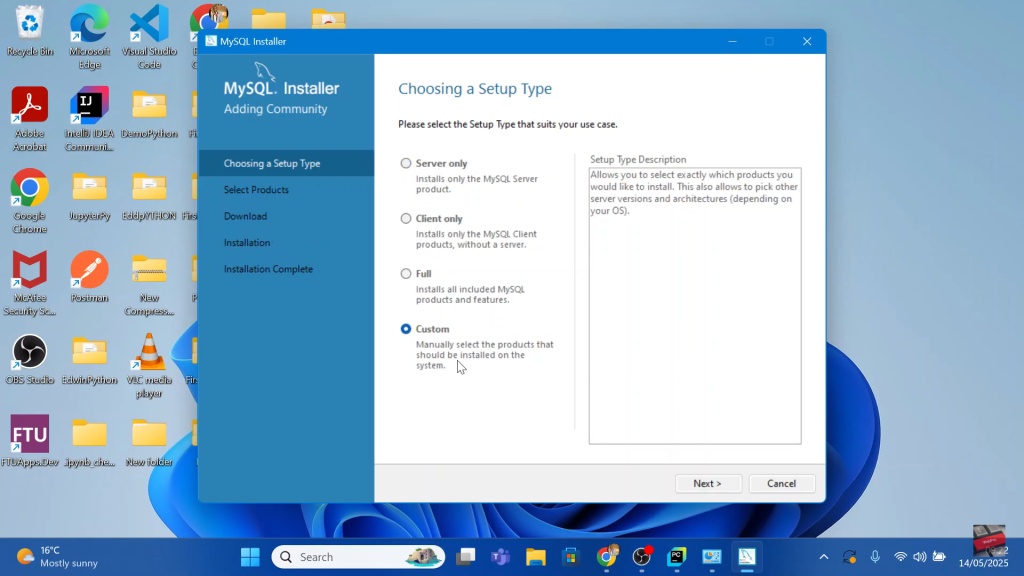
Select the products to be installed.

Execute the products, then follow the onscreen instructions to continue with the setup.
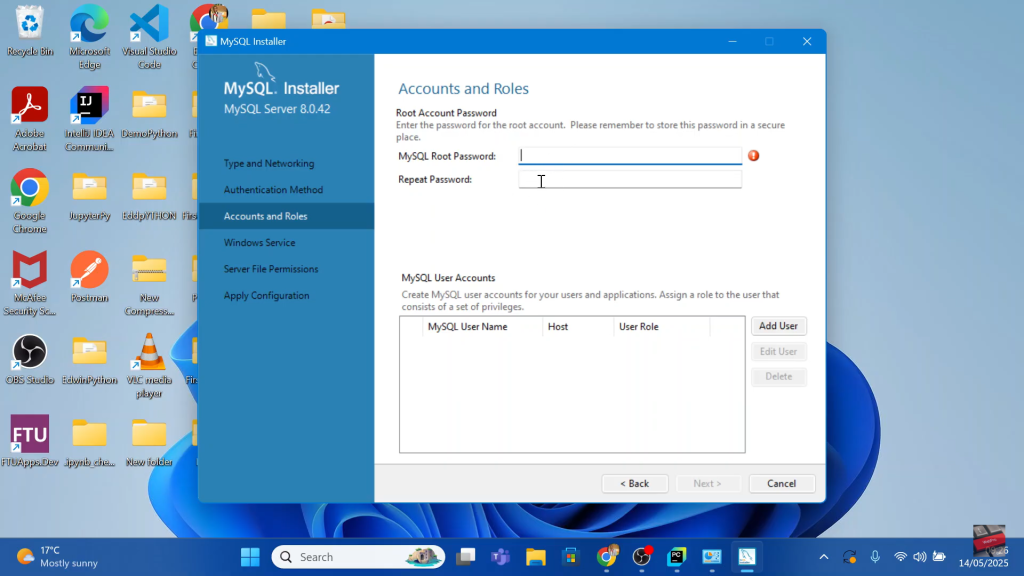
Set your root password.
Apply configuration.
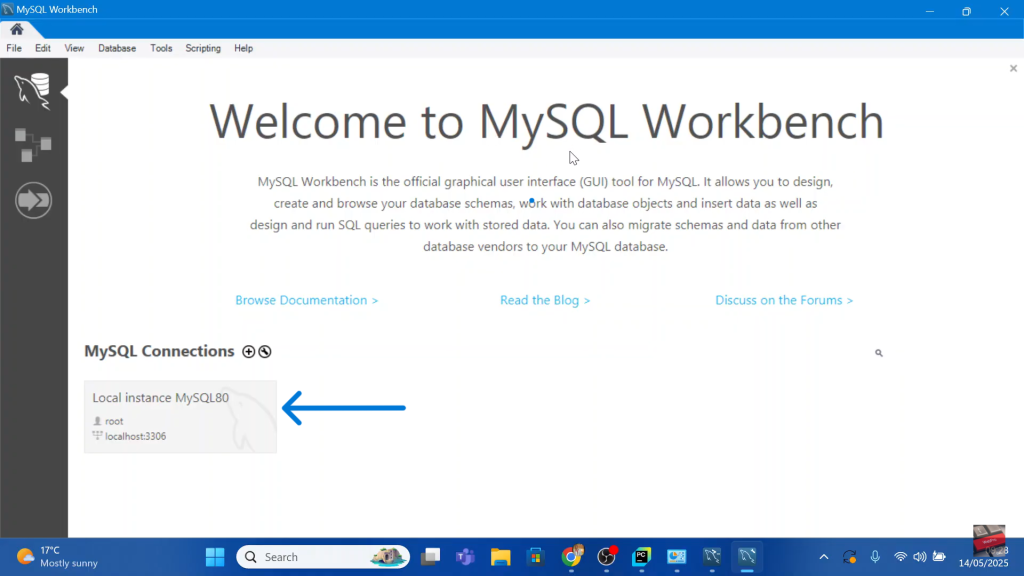
Setting Up MySQL Workbench
Click on My Local Instance MySQL80.
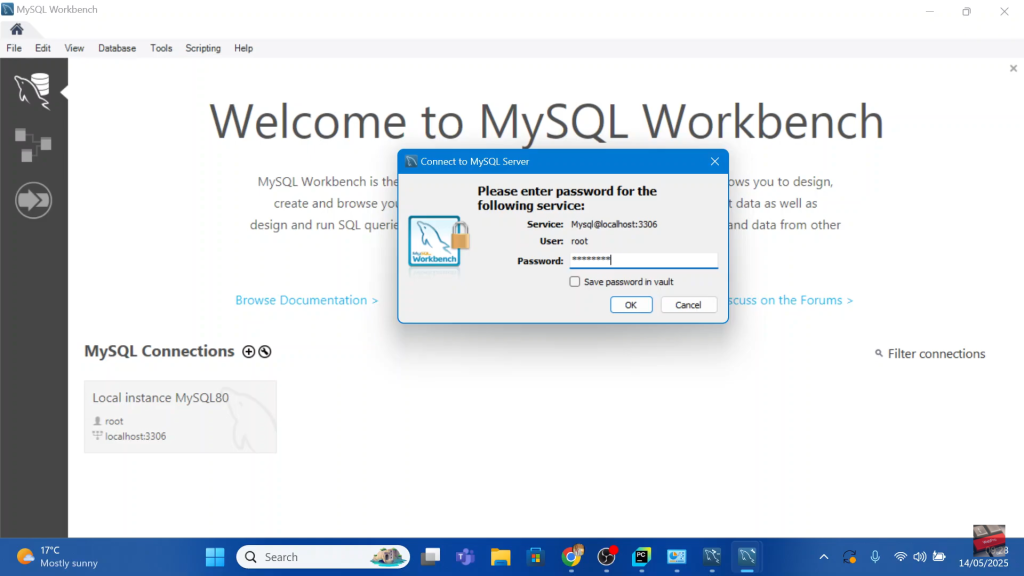
Enter your password to launch the workbench.
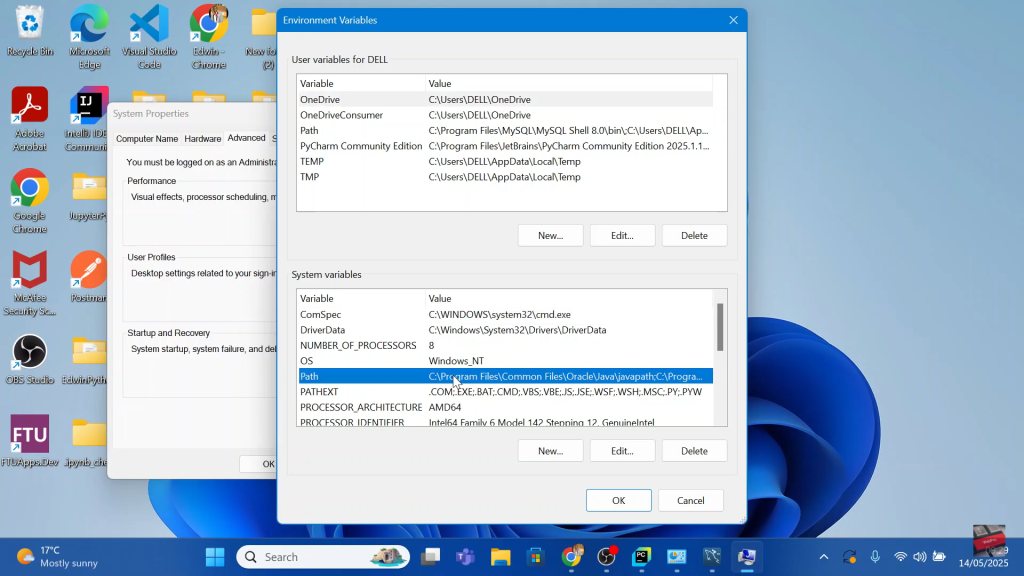
Adding MySQL to System Path
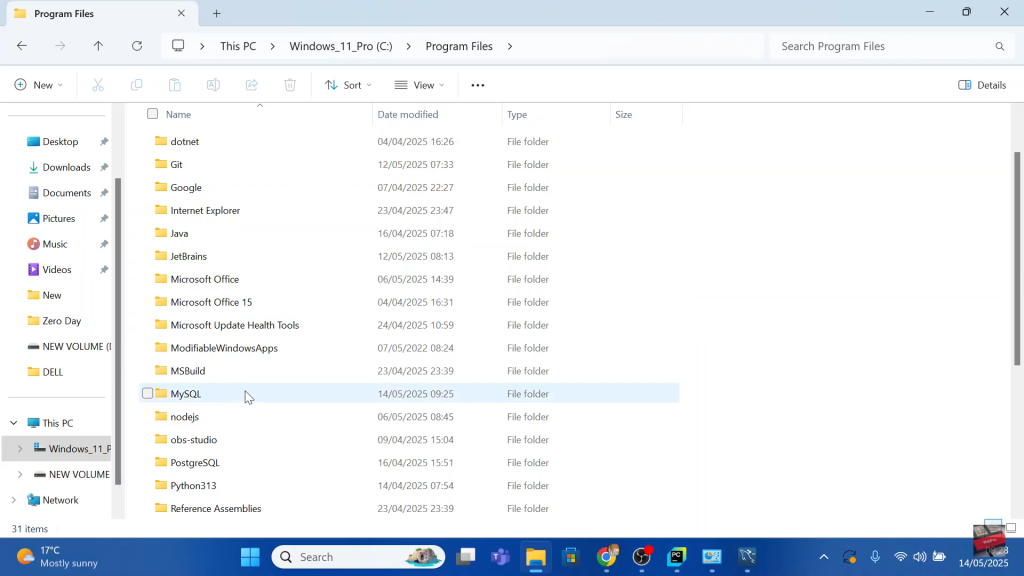
Locate your C: drive where your installed files are located.
Under Program Files, find and open the MySQL folder.
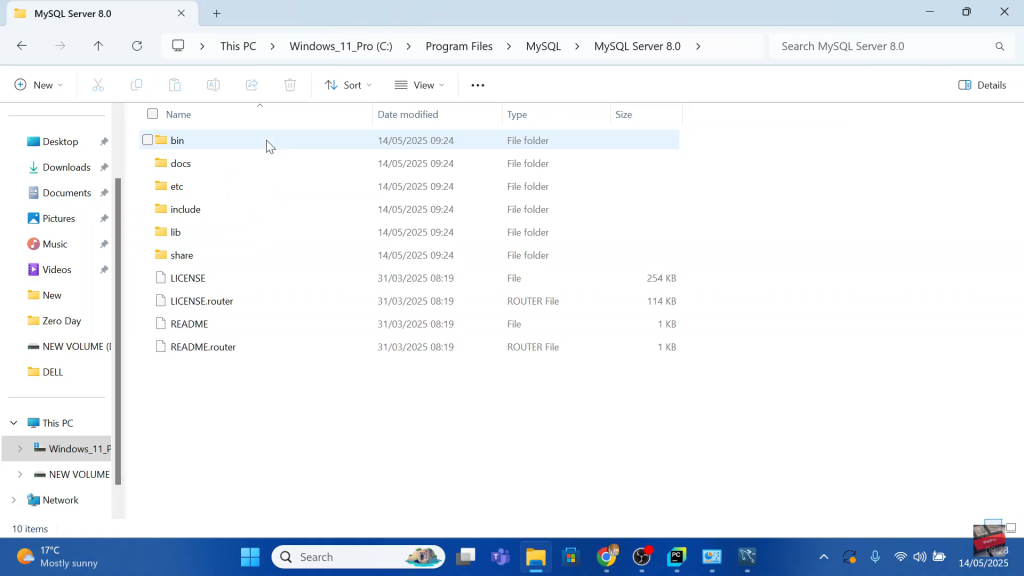
Open the MySQL Server folder.
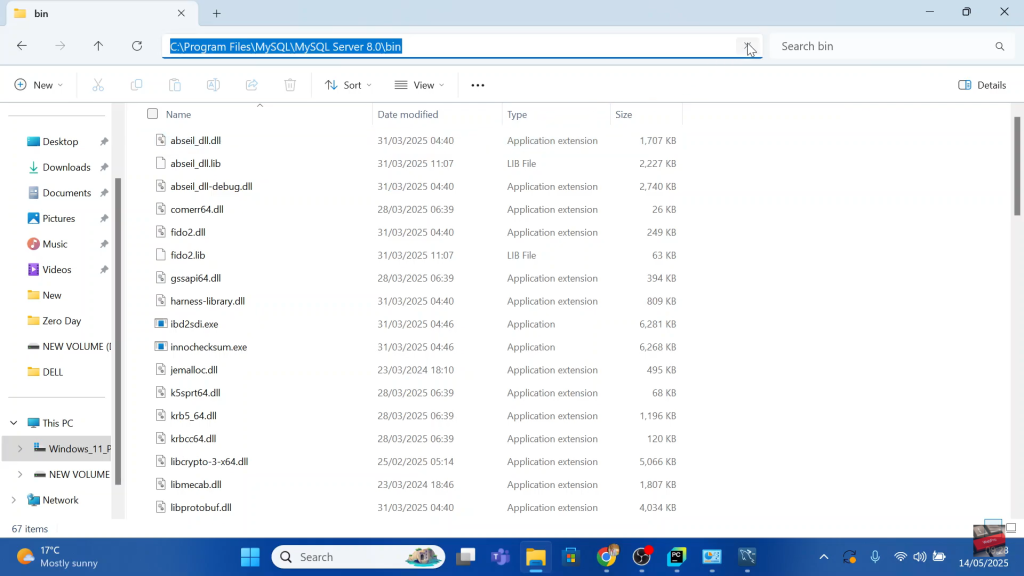
Open the bin folder.
Copy the official bin path (e.g., C:\Program Files\MySQL\MySQL Server 8.0\bin).
On the search bar, type in “Edit the system environment variables.”

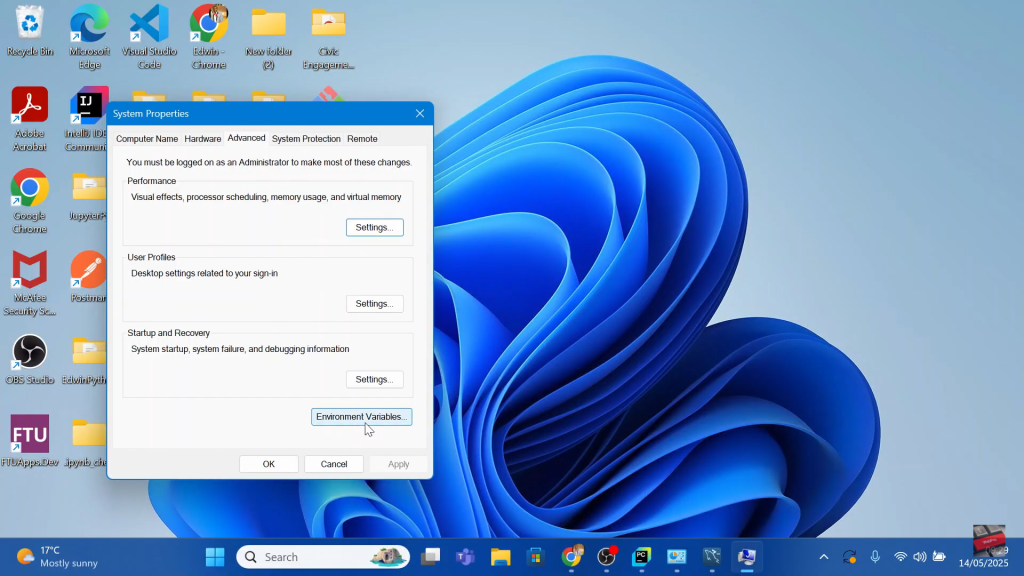
Under the Advanced tab, click on Environment Variables.
Under System Variables, double-click on Path.
From the list that appears, click New and paste the path that you had copied.
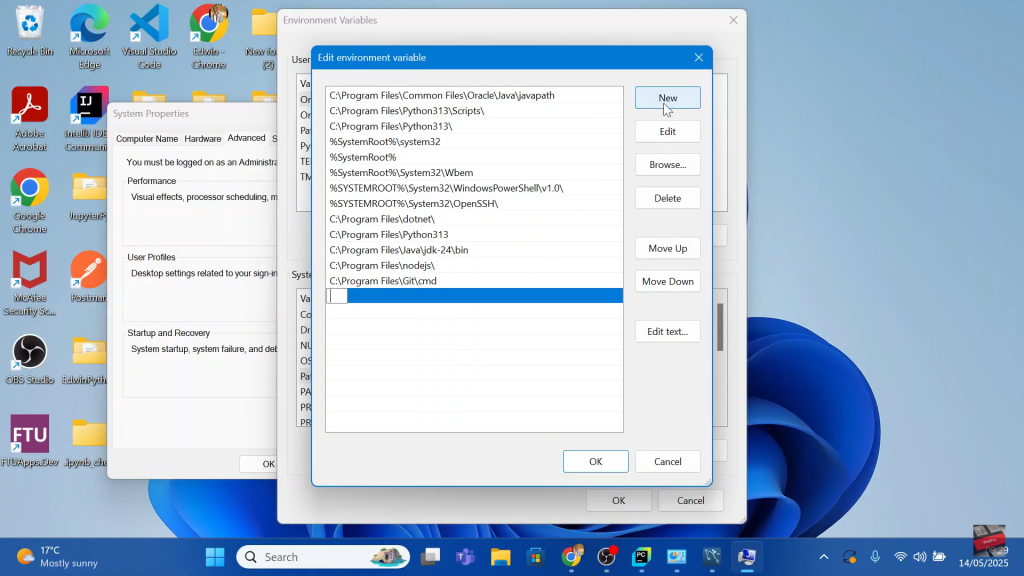
Follow the onscreen process to complete the path setup.
Read: How To Install Jupyter Notebook In Windows

