The JBL Charge 6 comes with a handle in the box, that isn’t attached to the speaker. In this article, we’ll demonstrate how to attach the handle on your JBL Charge 6 speaker.
Whether you’re packing up for a picnic, hitting the beach, or simply moving your JBL Charge 6 from room to room, the convenient carrying handle makes transport effortless and secure.
Although the process is straightforward, a quick guide can help you attach (and later remove) the handle safely and correctly—ensuring a snug fit and preserving your speaker’s finish.
Watch: Hard Reset JBL Charge 6
Attach Handle On JBL Charge 6
There are two ways you can use to attach the handle on the JBL Charge 6. You can either loop it, or install it as it is. We’ll go through each method, step-by-step.
To install the carry handle normally, first unbox the JBL Charge 6 and remove the handle from its packaging.
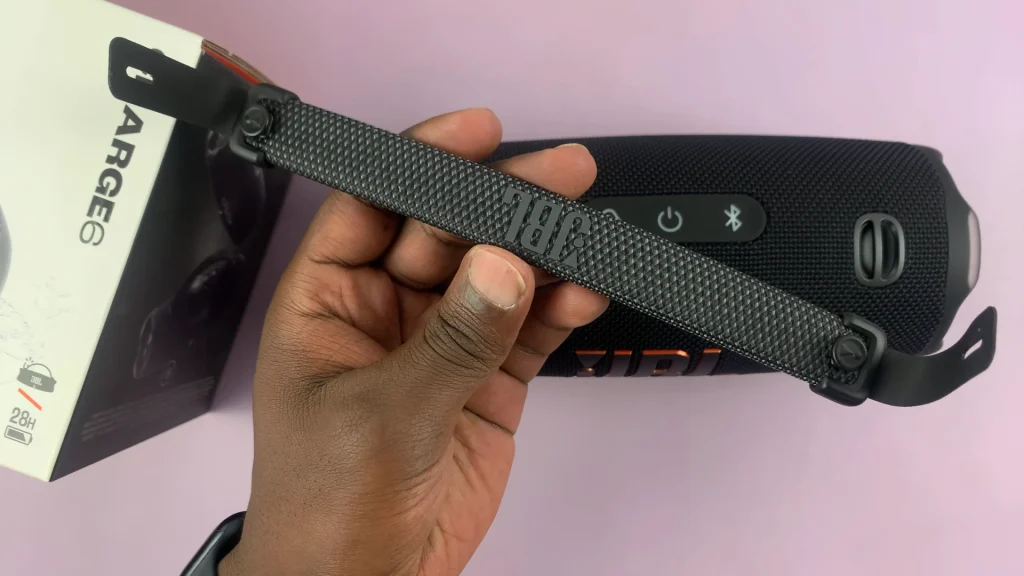
Next, locate the handle slots on the top ends of the JBL Charge 6. These are recessed, slightly contoured areas designed to cradle the handle ends.
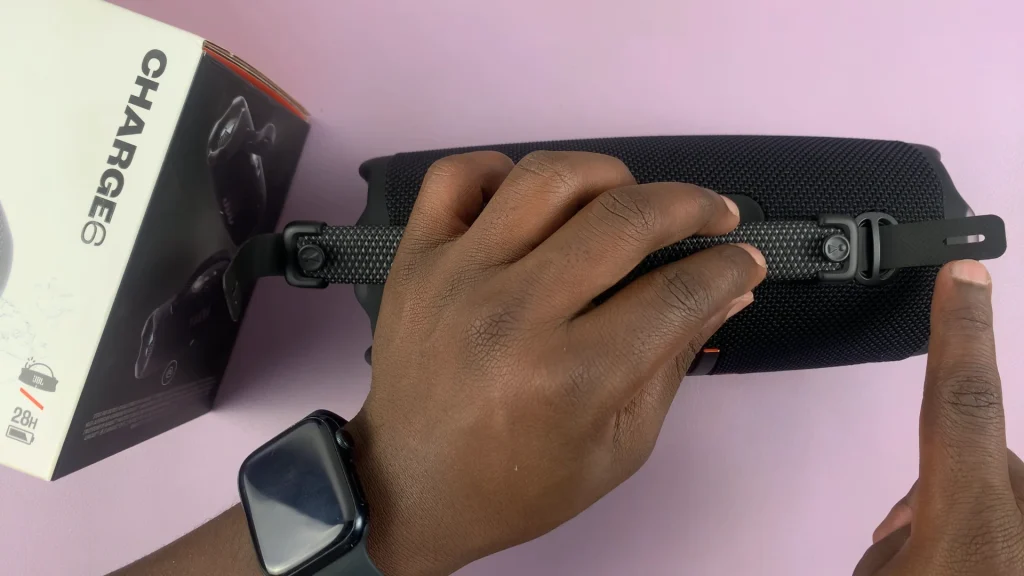
Orient the handle so the JBL logo is facing upward (away from the speaker body) and the attachment mechanism is aligned with the slot.
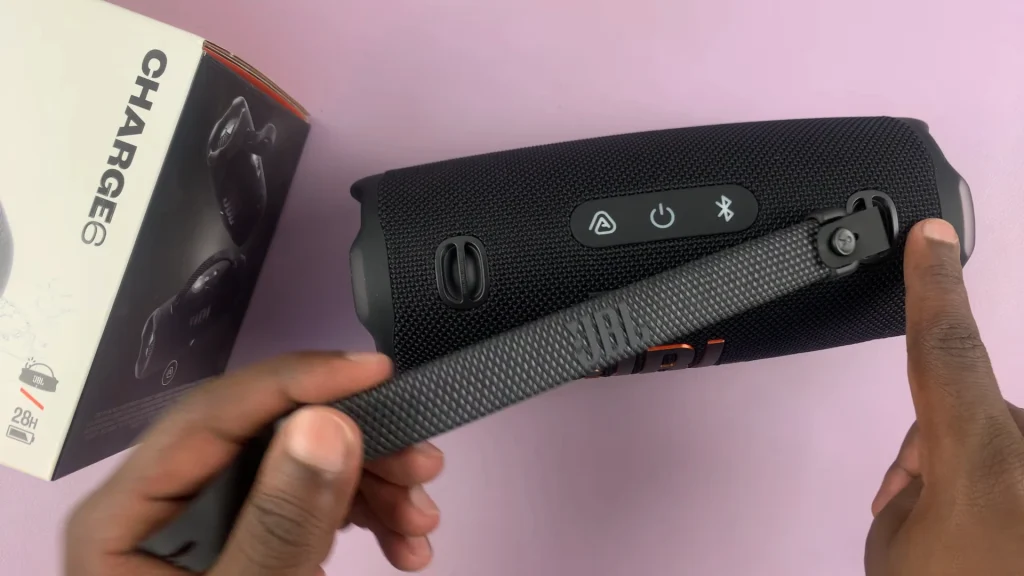
Position one end of the handle into the right slot. Insert it under and over the slot. Now, insert the fastener on the handle into the provided latch – just like you would do with a button on a shirt or clothing apparel.
Repeat with the opposite left end of the handle, making sure both sides are securely in place. Give the handle a light tug to confirm it’s firmly in place—but avoid excessive force. You can now carry the speaker with your hand, like a bag or case.
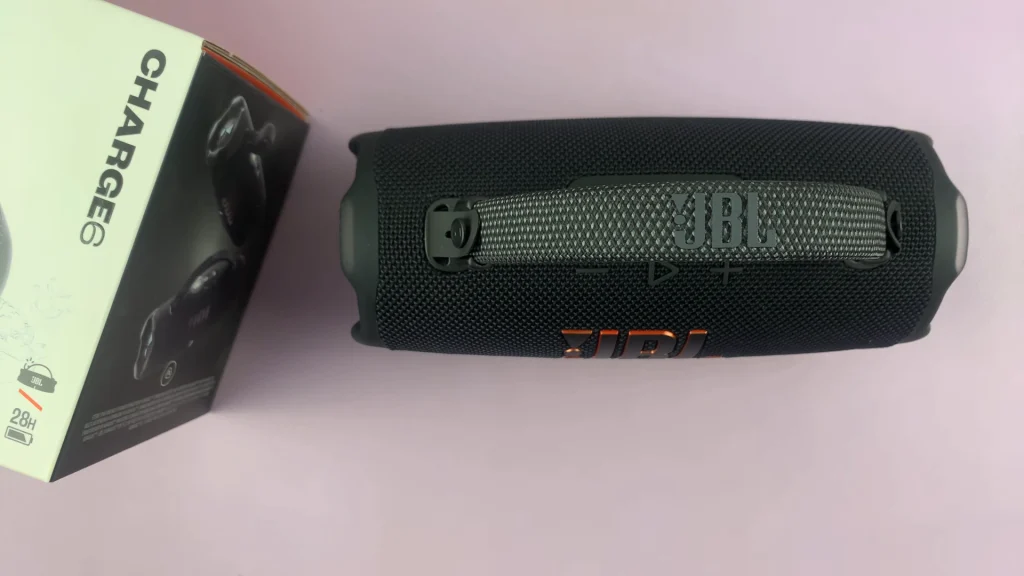
Finally, lift the speaker by the handle slowly to ensure it holds securely. Avoid swinging the speaker; lift and carry it in a controlled motion. Ensure to inspect periodically—after rough handling or outdoor use—to ensure the attachments remain tight.
How To Loop the Handle On JBL Charge 6
First, fold the handle into two, with the JBL logo facing upward (away from the speaker body) and the attachment mechanism (latches) are aligning with each other.
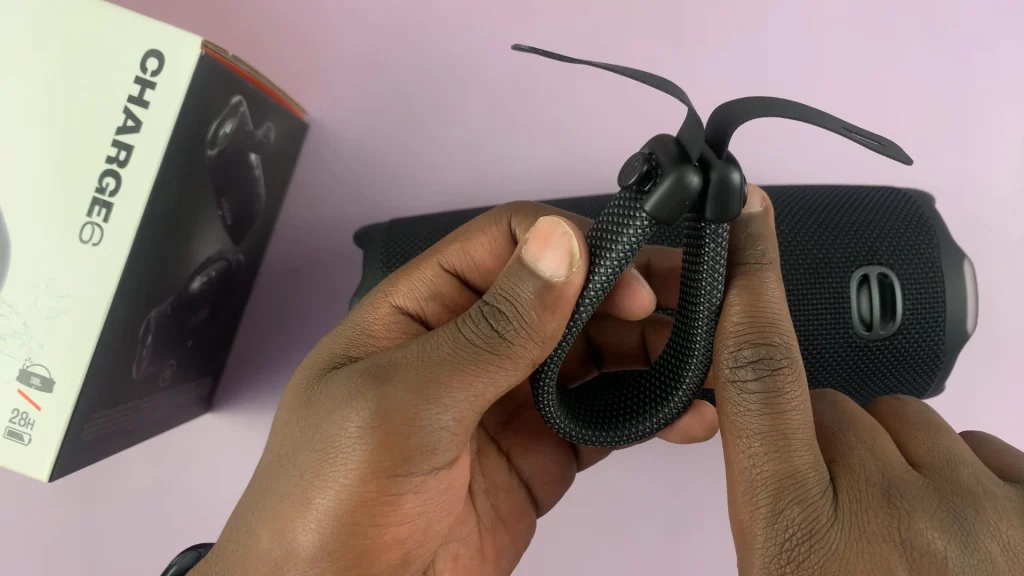
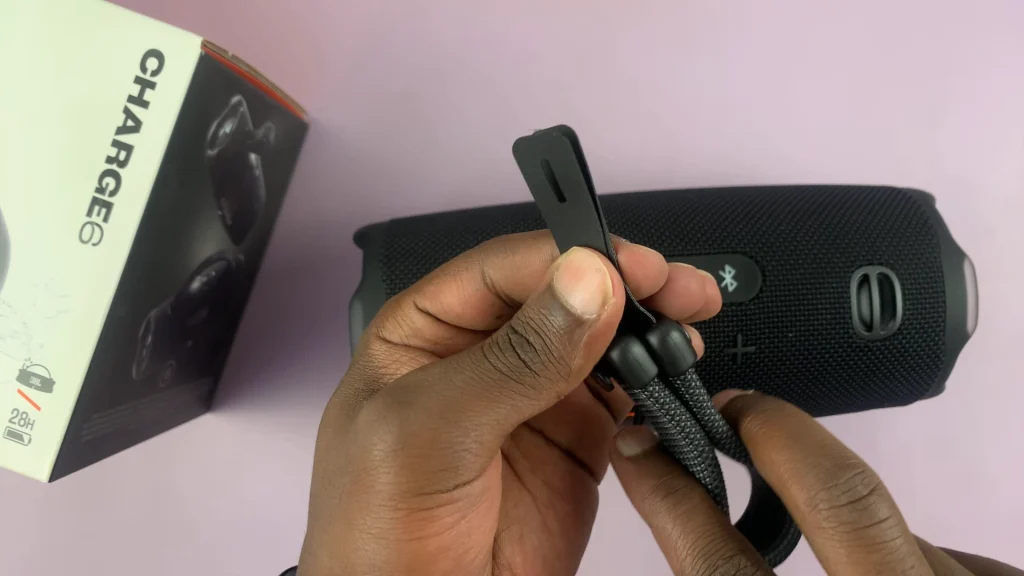
Insert the aligned latches under and over either the left or right slot. Ensure they both come out of the other side, and are still aligning.
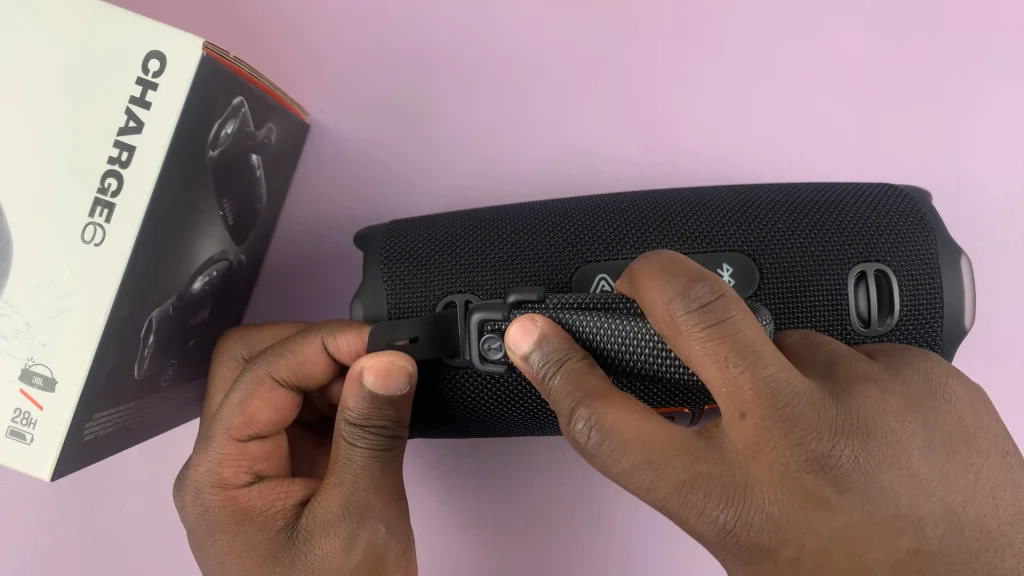
Now, insert the fastener on the handle into the aligned latches, just like you would do with a button on a shirt or clothing apparel.
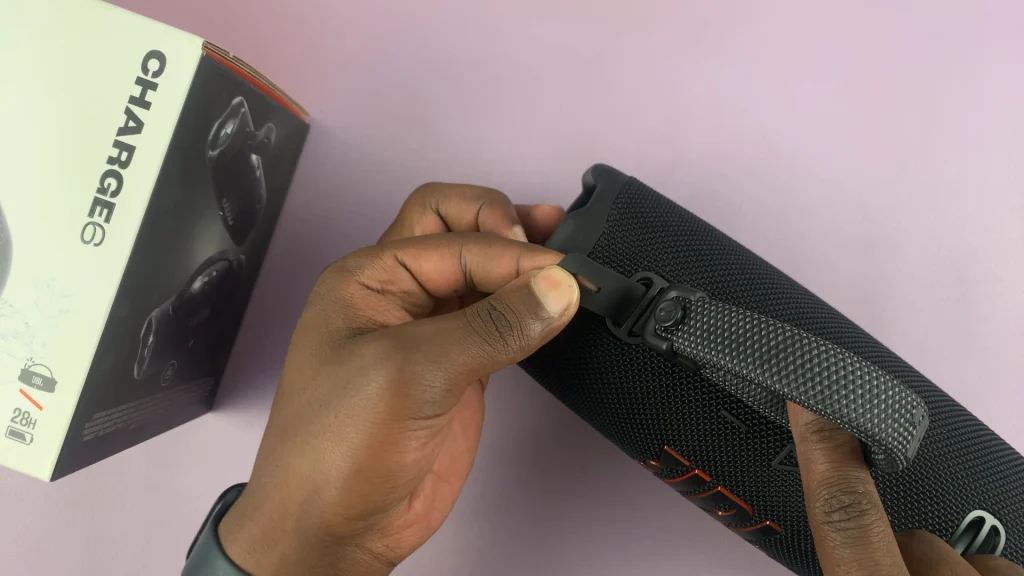
Make sure you fasten the aligning latches securely. Give the loop handle a light tug to confirm it’s firmly set in place—but avoid excessive force. The speaker can now be hung on a hook, on your finger or secured on your wrist as you carry it.
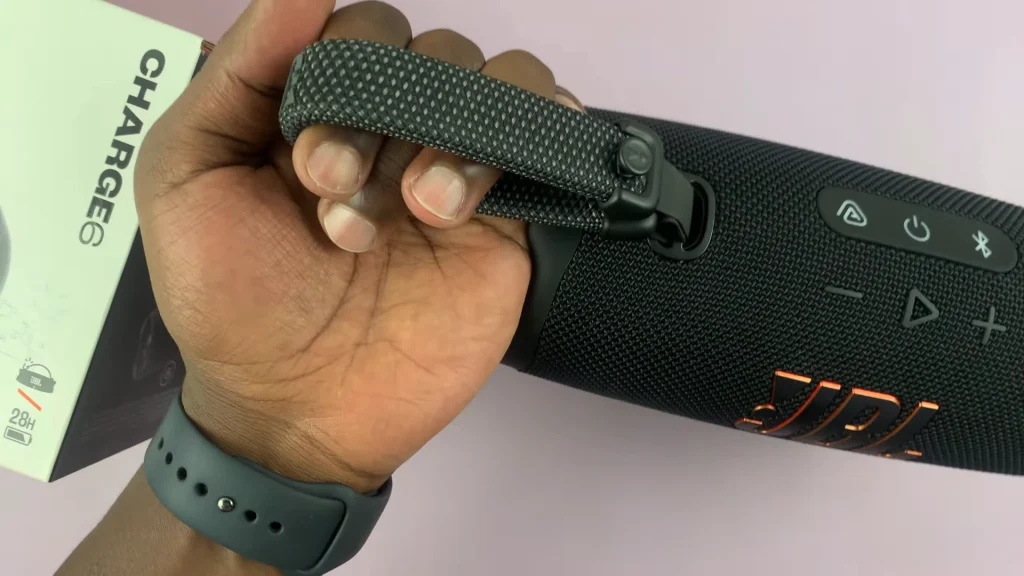
Now, lift the speaker by the looped handle slowly to ensure it holds securely. Avoid swinging the speaker; lift and carry it in a controlled motion. Ensure to inspect periodically—after rough handling or outdoor use—to ensure the attachments remain tight.
Why Use the Handle?
Enhanced Portability: Carry your music wherever you go without awkward grips.
Added Protection: Reduce the risk of drops when moving the speaker around.
Stylish Convenience: The handle matches the Charge 6’s rugged design for a seamless look.

