The JBL Flip 7 is renowned for its rugged design, impressive battery life, and punchy audio. But did you know you can further tailor its sound to match your personal preferences? The built-in equalizer (EQ) settings in the JBL Portable app let you boost bass, tighten mids, or add sparkle to the highs.
In this article, you’ll learn how to access and use the equalizer on your JBL Flip 7, explore preset options, create custom profiles to get the most out of your speaker.
An equalizer is a tool that adjusts the balance of frequency bands in your audio signal:
Low frequencies (Bass): Gives depth and punch
Mid-range frequencies (Mids): Handles vocals and most instruments
High frequencies (Treble): Adds clarity and detail
By tweaking these bands, you can compensate for room acoustics, match different music genres, or simply craft your ideal sound signature.
Watch: Connect JBL Flip 7 To Apple Watch
Use Equalizer On JBL Flip 7
First, make sure you install the JBL Portable app. On iOS, search JBL Portable in the App Store. Do the same for Android in the Google Play Store. Launch the app once it’s installed.
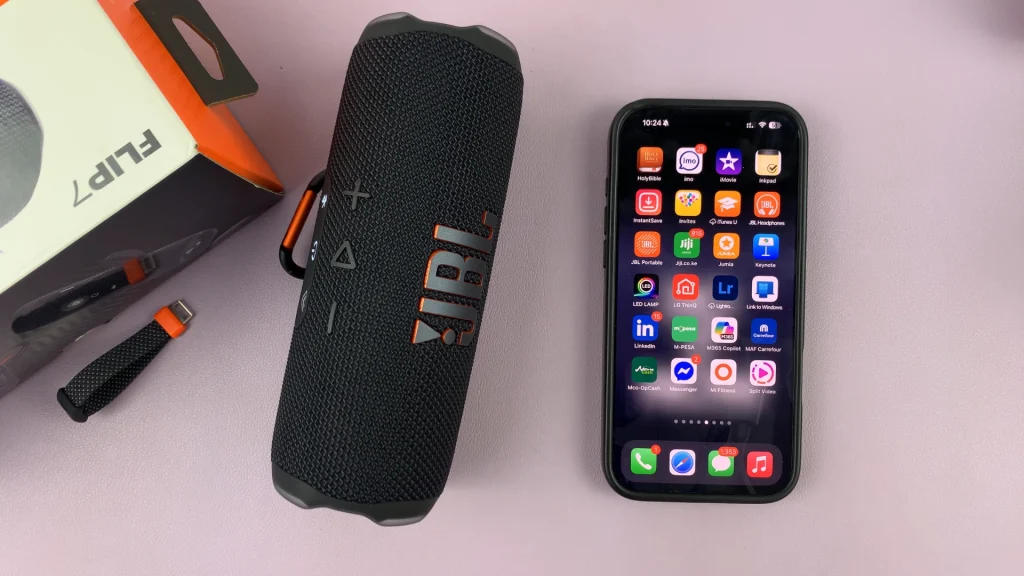
With your JBL Flip 7 fully charged, press the Power button on your Flip 7 to turn it on. In the JBL Portable app, tap Add New Device (if you haven’t paired before), or select your Flip 7 from the device list. Follow the on-screen prompts to complete pairing.
If you had previously paired the speaker, you can press the Bluetooth button on the speaker. Then, select it from the list of available devices, to connect, if it doesn’t connect automatically.
Return to the JBL Portable app—your speaker should appear on the home screen. Tap on your Flip 7 in the app.
In the device dashboard, find and tap Equalizer (just below the charging indicator slider). Scroll through to see a list of EQ presets.
JBL Signature selected by default. This is the neutral setting—perfect if you prefer the speaker’s stock tuning.
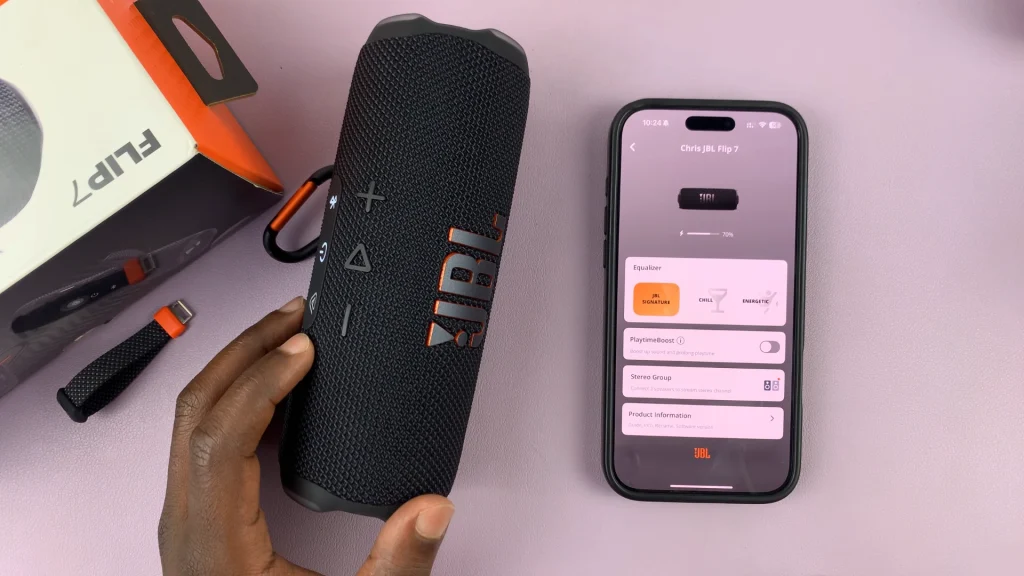
Start playing a familiar track via the speaker to go through the various presets and hear how they sound. Tap your desired preset for the changes to apply instantly.
Chill: Accentuates highs for acoustic and orchestral pieces
Energetic: Amplifies low end for EDM, hip-hop, and bass-heavy tracks.
Vocal: Clarifies vocals and speech—ideal for podcasts and audiobooks.
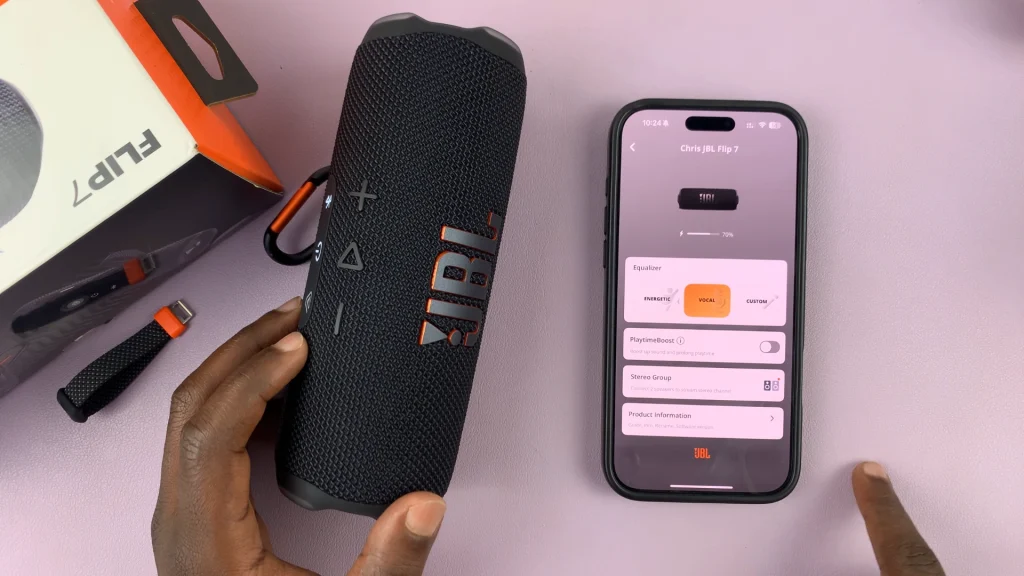
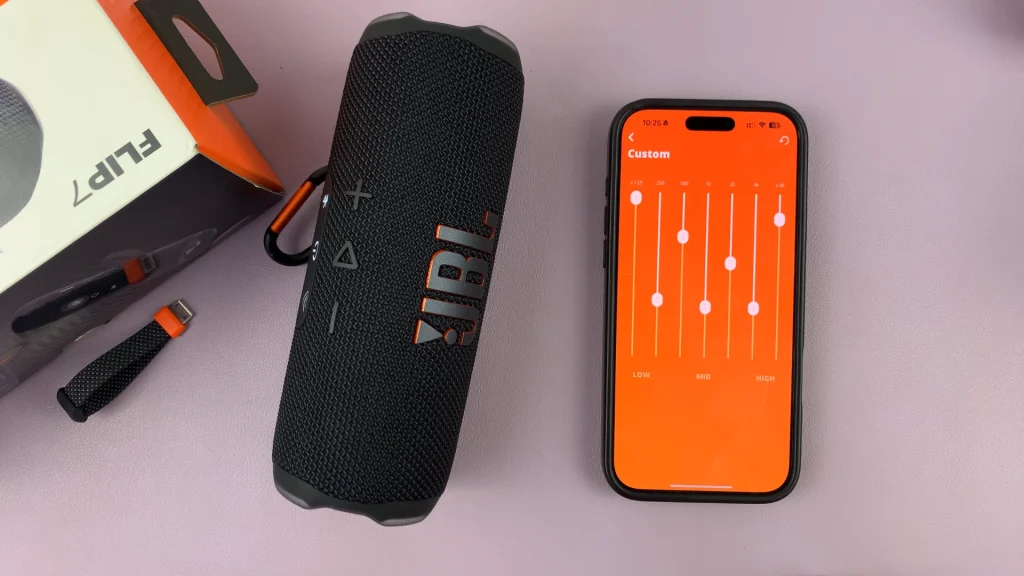
Custom EQ Settings
If the presets don’t quite hit the mark, crafting a custom profile puts you in full control. Select Custom in the EQ menu and tap on Edit. You’ll see individual sliders for frequency bands (e.g., e.g., 125 Hz, 250 Hz, 500Hz, 1 kHz, 2kHz, 4 kHz, 8 kHz).
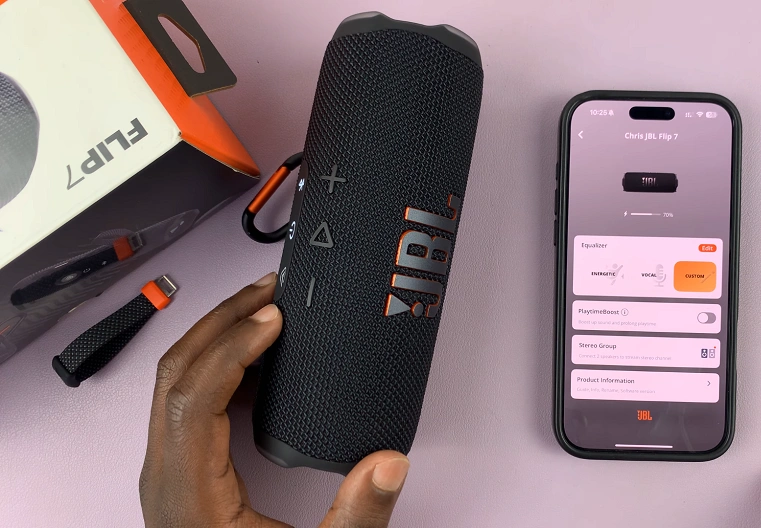
Drag each slider up or down to increase or decrease that band’s volume. Make subtle adjustments (±2–3 dB) to avoid distortion.
Once you’ve dialed in the perfect curve, tap the Back arrow to save the custom equalization. It will now be ready for use every time you select it. You can always change it by going back to the same menu.
Pro Tips for Optimal Sound
Room Calibration: Place the speaker away from walls and corners to reduce bass boom.
Volume Levels: EQ changes can alter perceived loudness—adjust the master volume after EQ tweaks.
Avoid Over-EQ’ing: Extreme boosts (±6 dB+) may introduce distortion or clipping on small speakers.
Keep your device within 30 ft (10 m) and avoid crowded RF environments to prevent Bluetooth dropouts.
Genre-Specific Tweaks
Electronic: +2 dB at 60 Hz, +1 dB at 4 kHz
Rock: +1 dB at 250 Hz, +2 dB at 1 kHz
Classical: +1 dB at 16 kHz, –1 dB at 60 Hz

