In this article, we go through how to completely uninstall MySQL in Windows. Whether you’re troubleshooting a broken installation, reclaiming disk space, or preparing for a fresh setup, fully removing MySQL from Windows involves more than just hitting Uninstall in the Control Panel.
Leftover service definitions, data folders, registry entries, and environment variables can linger—causing headaches down the road. This guide walks you through every step to ensure MySQL is 100% gone from your system. This will work whether you’re using Windows 7, 8, 10, or 11.
For this to work, you’ll need Administrator privileges. You’ll need to run every command and open every tool as an administrator. Also, if you have any databases you care about, export them first using mysqldump or MySQL Workbench.
Proceed with caution when editing the registry. This is powerful but dangerous. A mistaken deletion can destabilize your PC. Always double‑check which keys you’re removing.
Watch: Install Pygame
Uninstall MySQL In Windows
The first step, which is optional, stop & disable the MySQL Service. Simply open Services by pressing Win+R, type services.msc and hit Enter. Find any service named MySQL, MySQL80, or similar. Right‑click on it and select Stop.
Perform a right‑click once again, select Properties, set Startup type to Disabled and hit OK.
Alternatively, use an elevated Command Prompt:
bat
Copy
Edit
sc stop MySQL80
sc config MySQL80 start= disabled
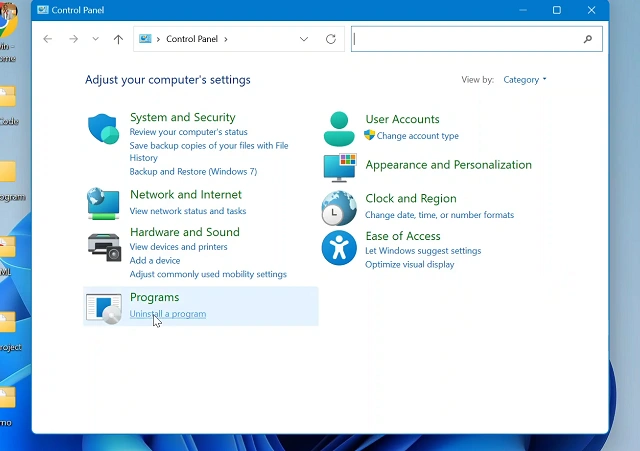
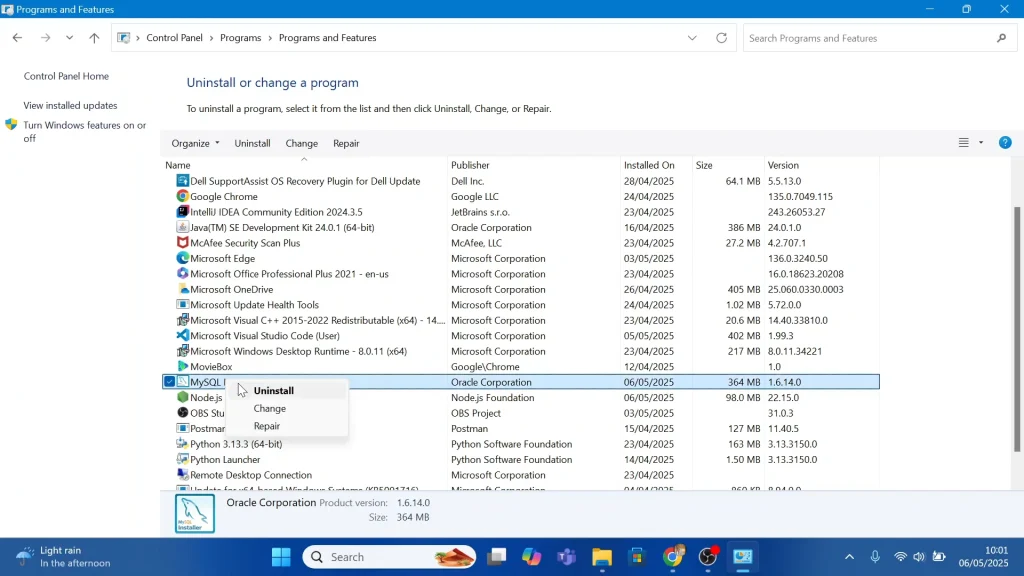
Uninstall a However, this is optional. You can simply start with the uninstallation from the Control Panel. Simply type Control Panel on your computer and select Uninstall a Program, under the Programs section to see all the programs in your computer.
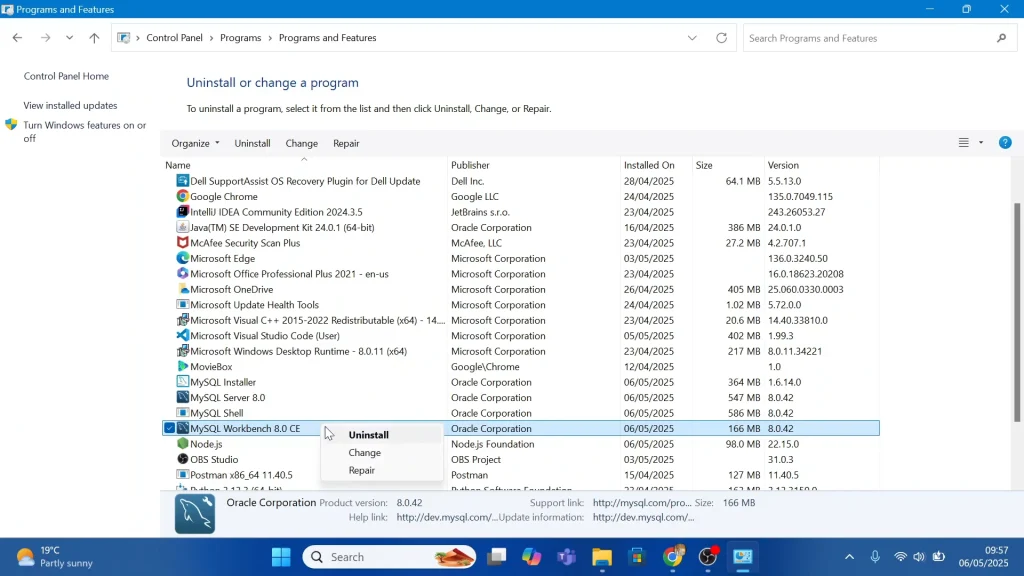
Locate the MySQL Workbench. Simply click on it to highlight, then right-click and select Uninstall.
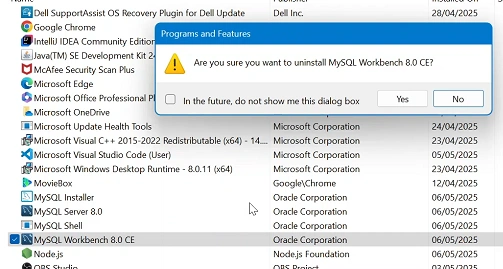
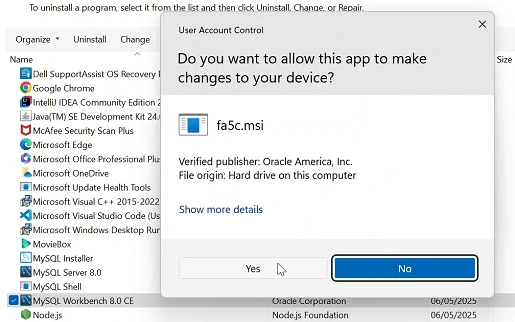
From the two prompts that come up, asking you to confirm the uninstallation, select Yes each time.
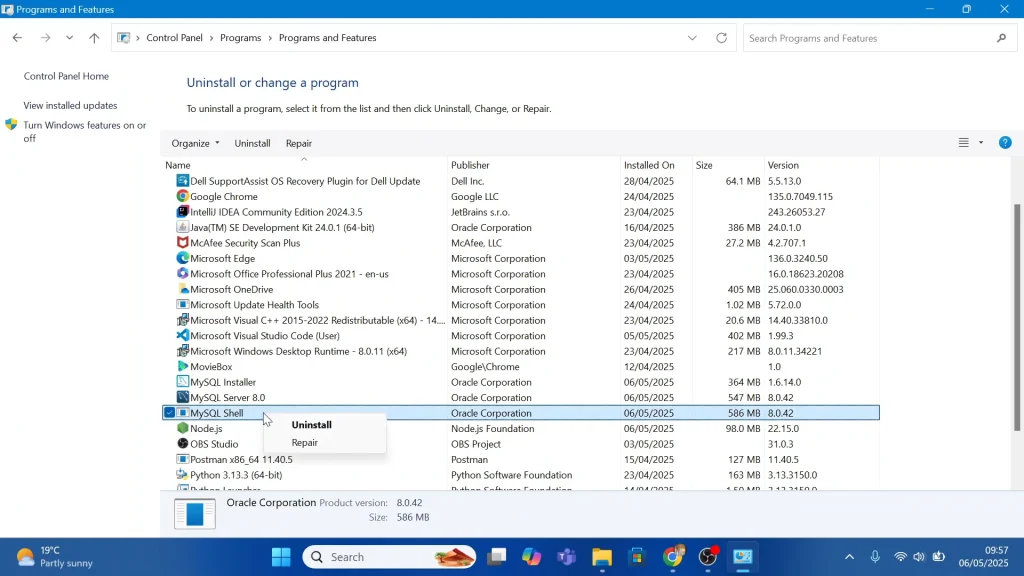
Next, click to highlight the MySQL Shell option, then right-click and select Uninstall.
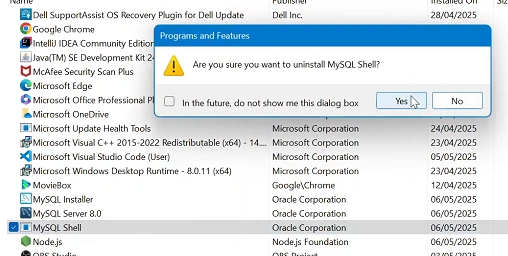
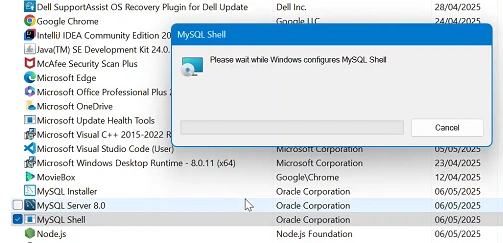
From the two prompts that come up, asking you to confirm the uninstallation, select Yes each time.
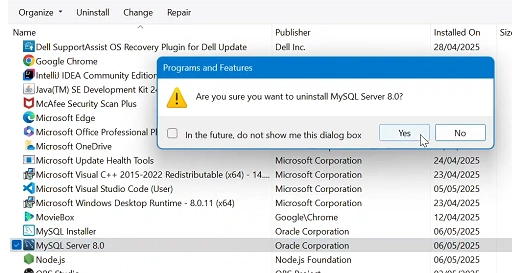
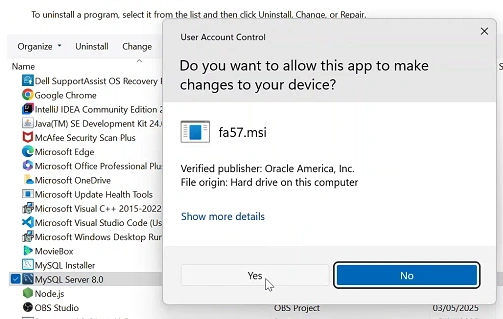
Select MySQL Server to highlight it. Then right-click and select Uninstall.
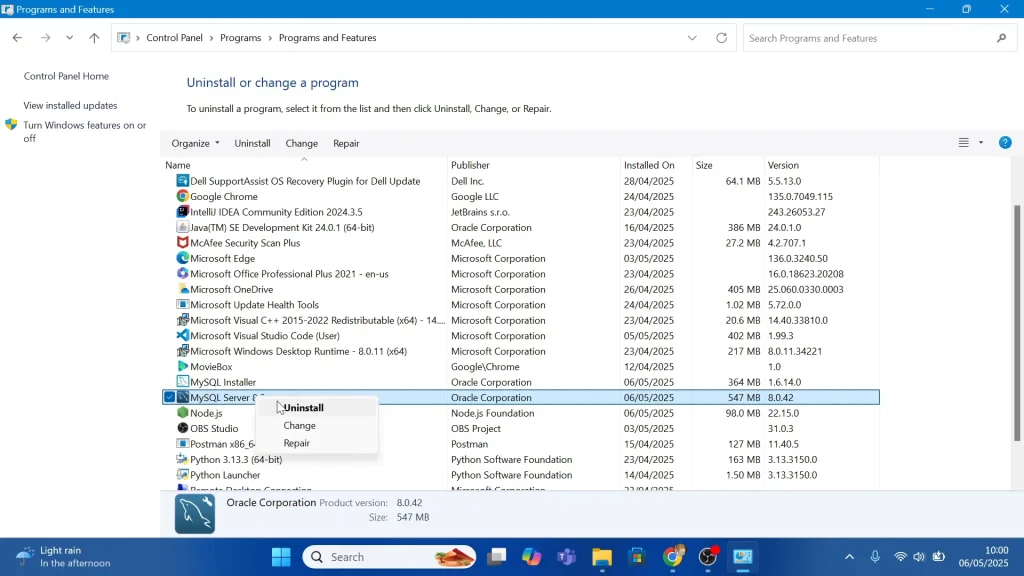
From the two prompts that come up, asking you to confirm the uninstallation, select Yes each time.
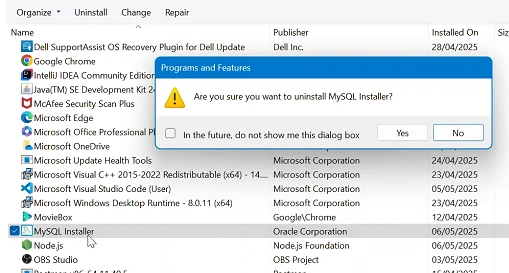
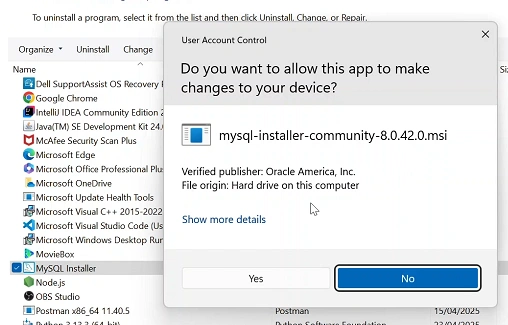
Finally, locate the MySQL Installer. Click on it to highlight, then right-click and select Uninstall.
From the two prompts that come up, asking you to confirm the uninstallation, select Yes each time.
This removes the core program files but often leaves data directories and registry traces untouched. Close the Control Panel.
Completely Uninstall MySQL In Windows
Even after uninstalling, you’ll typically find folders here:
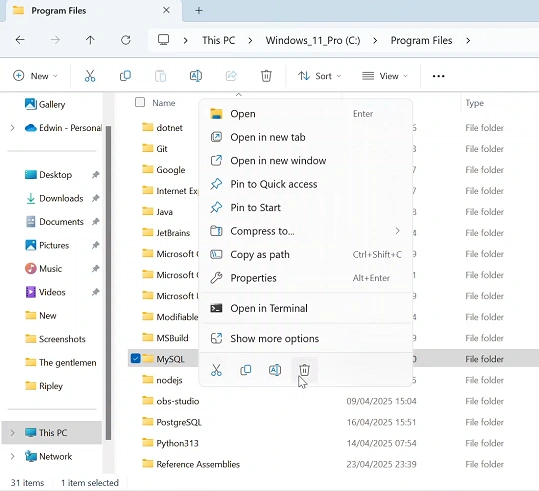
Program Files: C:\Program Files\MySQL\
C:\Program Files (x86)\MySQL\
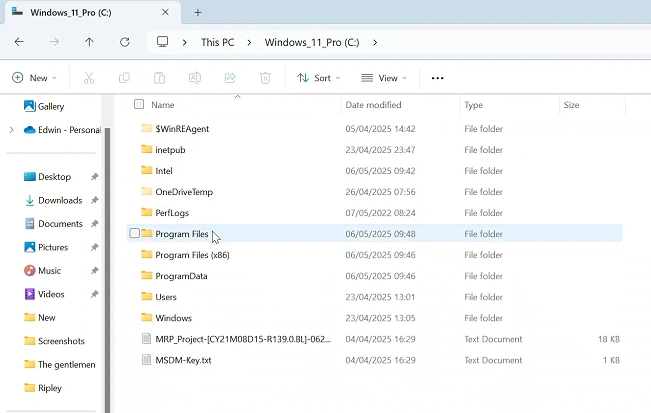
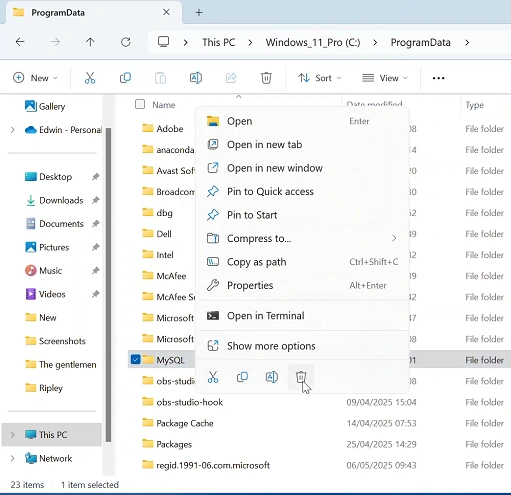
Data directory (default): C:\ProgramData\MySQL\
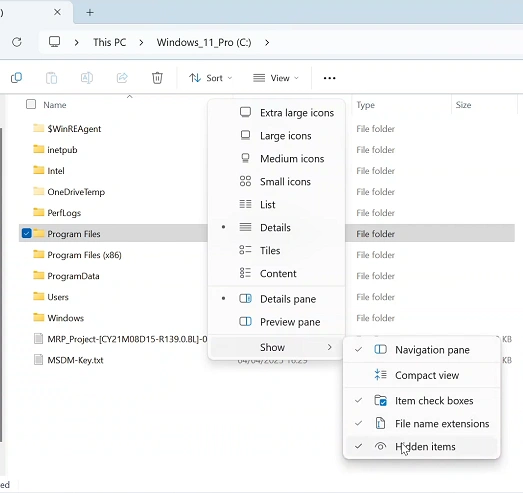
Note: The ProgramData folder is hidden by default— enable Show hidden files in File Explorer (Windows 7/8). For Windows 10/11, simply click on View in the File Explorer options, select Show and enable Hidden Items.
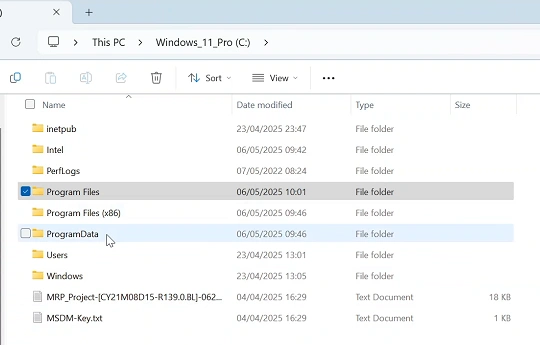
Delete these entire folders to wipe out binaries, libraries, and any remaining data files. Simply right-click on each folder and select the Delete or Bin icon. You can also press Shift+Delete to delete the folders permanently.
You can perform a system reboot if you so choose. This ensures locked files and service definitions are fully cleared from memory. After restarting, rerun the verification checks above. However, a reboot is not necessary.
Read: How To Install Pygame

