Jupyter Notebook has become an essential tool for data scientists, analysts, educators, and developers. It provides an interactive computing environment where you can combine live code, visualizations, and narrative text.
If you’re a beginner with Python or diving into data science, installing Jupyter Notebook on your system is the first step. In this article, we’ll guide you through the prerequisites and show you how to install Jupyter Notebook in Windows.
Although there are two methods that you can use to install Jupyter Notebook – using pip (the Python package installer) and using the Anaconda distribution – we’ll go through the Anaconda distribution method.
Before you begin, ensure you have a supported operating system. In our case, Windows 10 or later. LAso, ensure that you’re running the latest version of Python (3.7 or later). Most installations of Jupyter Notebook require a recent version of Python.
An internet connection is also a must to download packages and dependencies. If you don’t have Python installed, you can download it from the official website.
Watch: FIX WebCam Not Working On DELL Laptop
Install Jupyter Notebook In Windows
To install Jupyter Notebook, the Anaconda method is the most common way. Start by launching your preferred browser and go to https://www.anaconda.com/ URL. You can also enter Anaconda in the search bar and select the official link, which is usually the first one.

In the Anaconda page, click on Free Download at the top of the menu, next to the Sign Up button. Here, scroll down and click on Skip Registration, just below the Submit button.

Next, click on the Download button and wait for the file to complete downloading.

Once the download is complete, you can right-click on the file in the downloads section and choose Open. You can also go the folder where the file was saved to, right-click on it and select Run or Open to start the installation process.

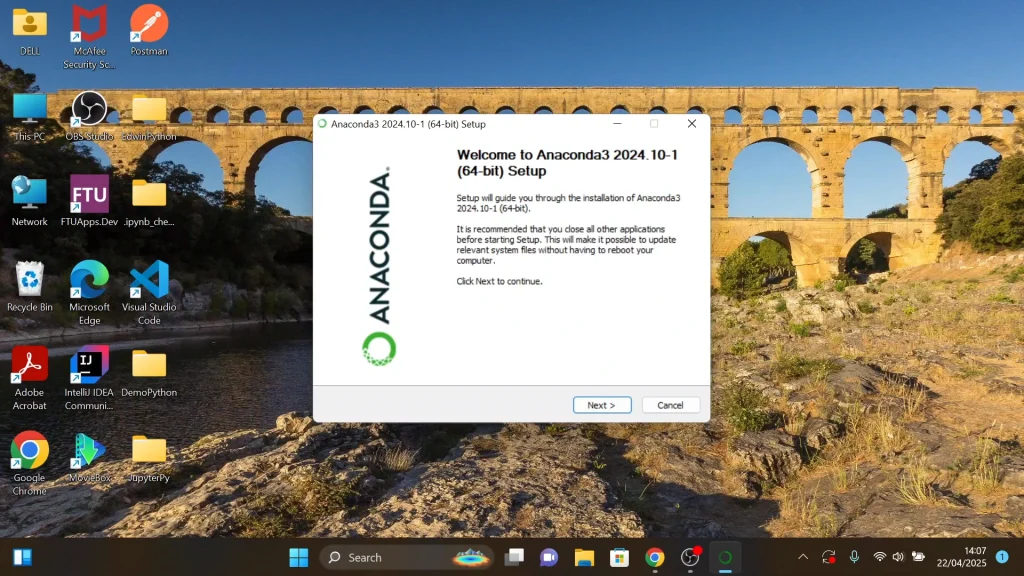
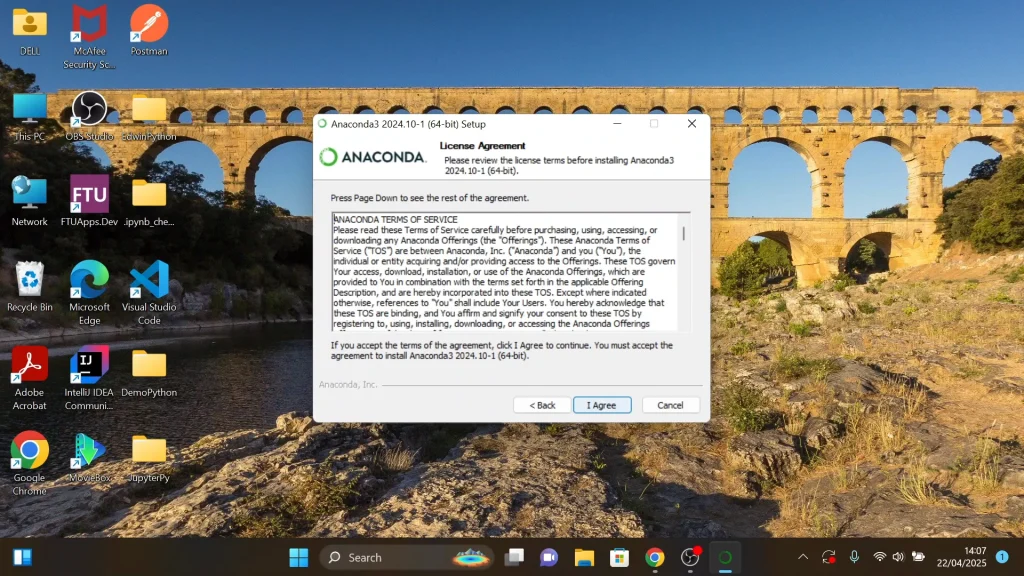
Go through the steps in the Anaconda set up wizard. Click on Next to start the set up. Then click on I Agree to accept the terms of agreement.
Under the Install For window, choose your installation type. The Just Me option is selected by default and is the one recommended. However, select the All Users option to set up across all your accounts. Then click, Next.

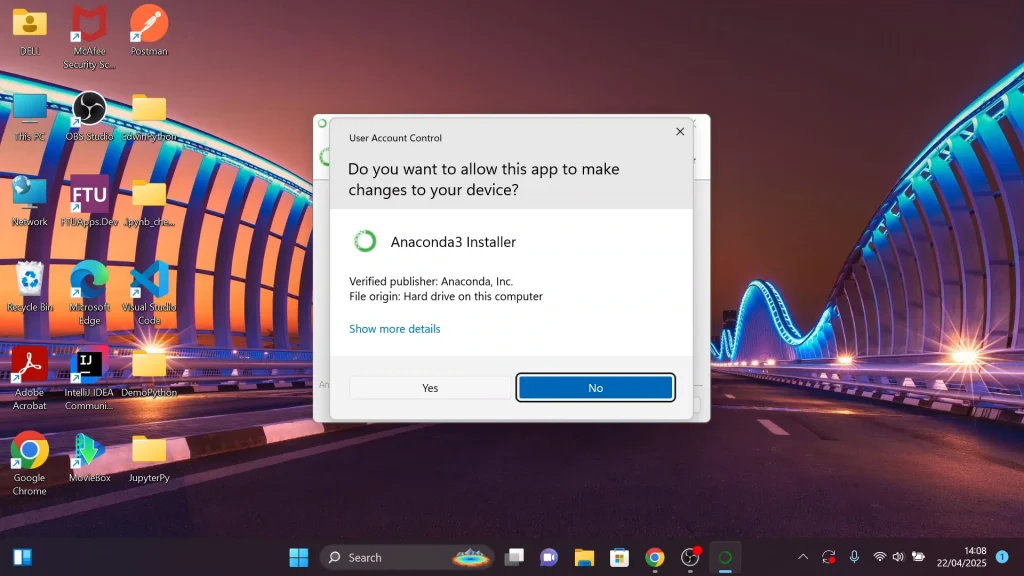
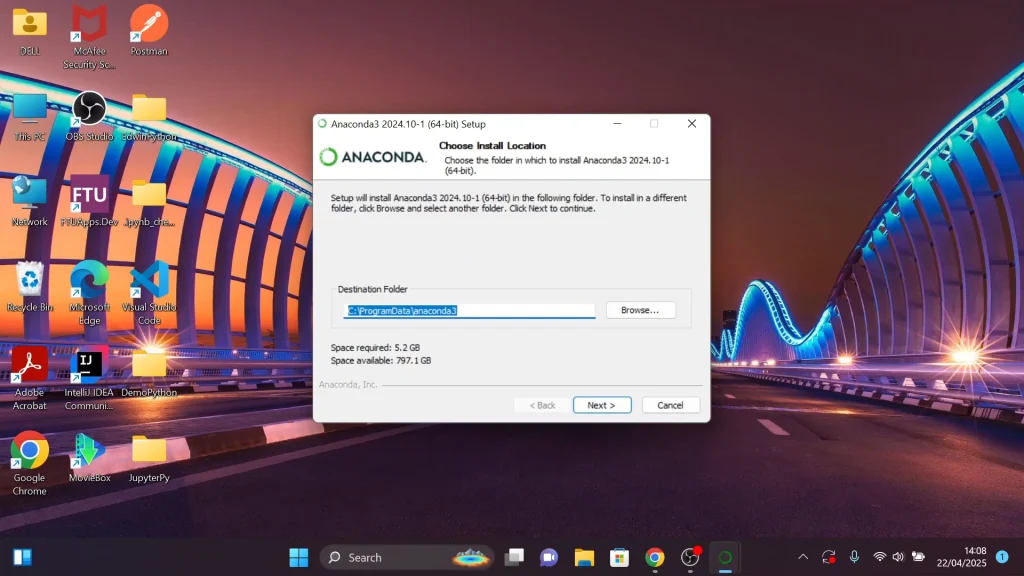
In the prompt to verify the installation, click Yes to proceed, then choose your destination folder in the C: drive by clicking on Browse. However, it is recommended that you leave it at the default and choose Next.
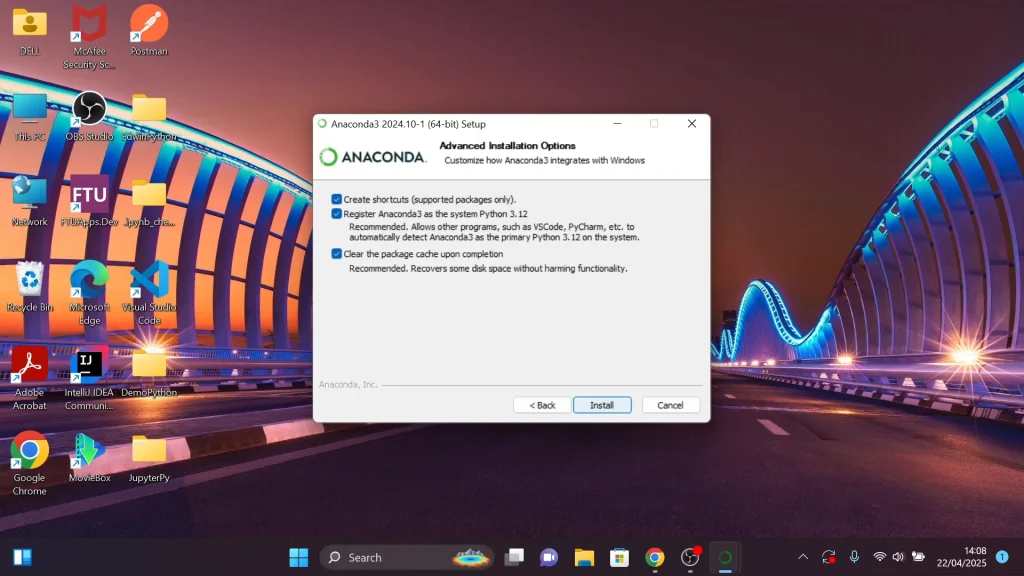
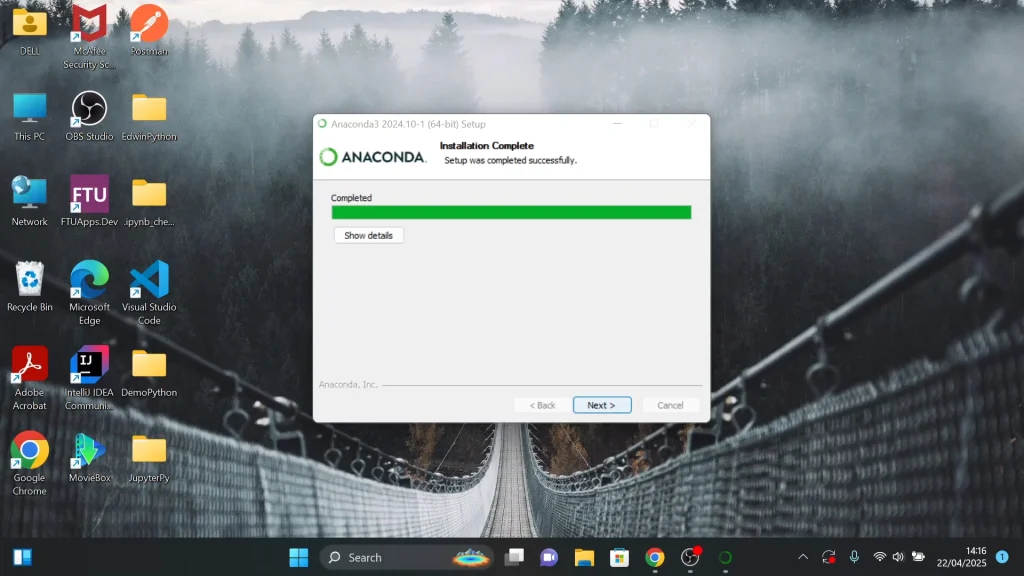
Under the Advanced Installation Options, check all the options or simply leave them as they are recommended. Then, click on Install and wait for the installation to complete. Click on Next once it finishes.
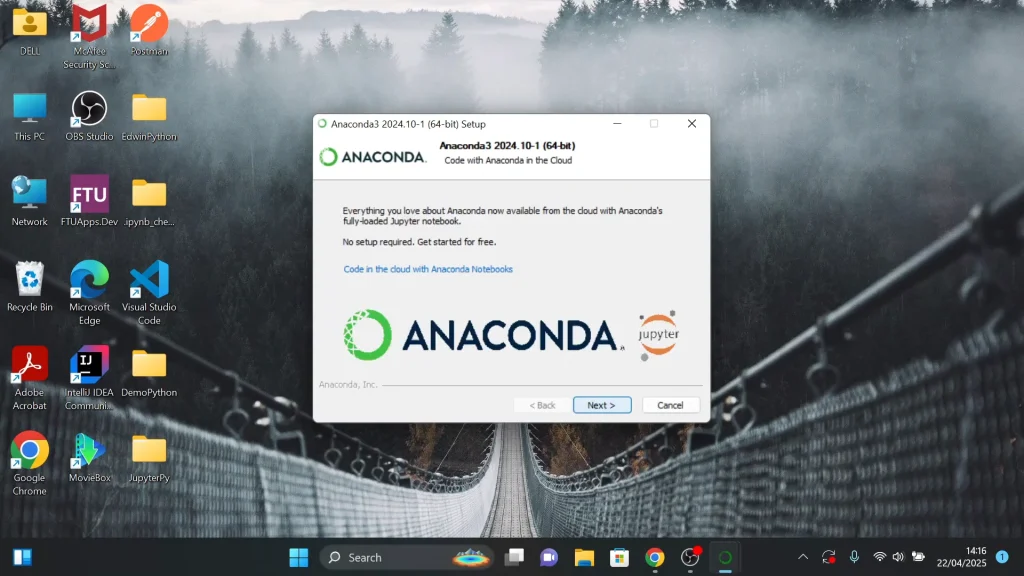
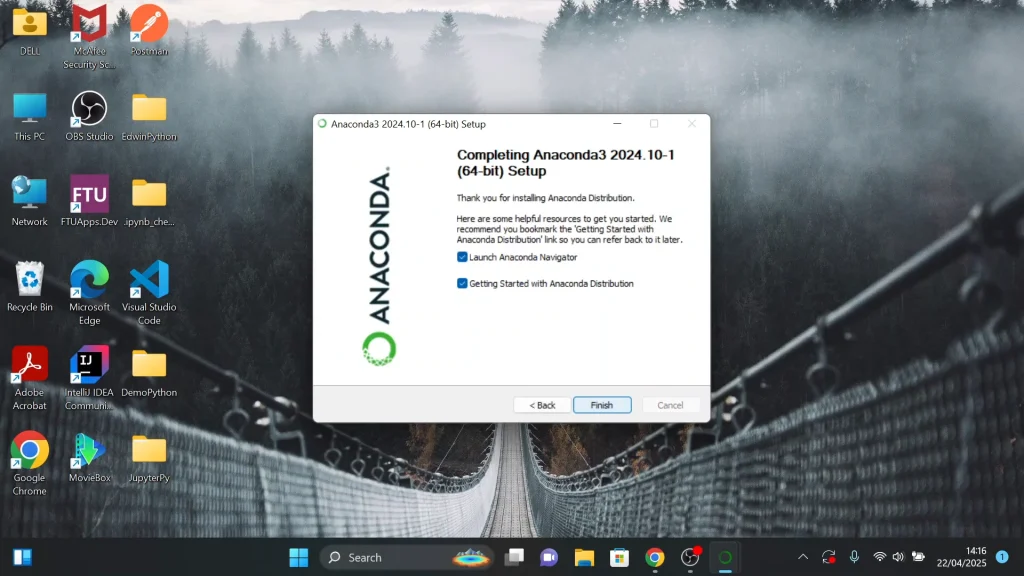
In the next window, you should see the Anaconda & Jupyter logos displayed, select Next. Then, uncheck all the checked options in the final page and click on Finish to complete the set up.
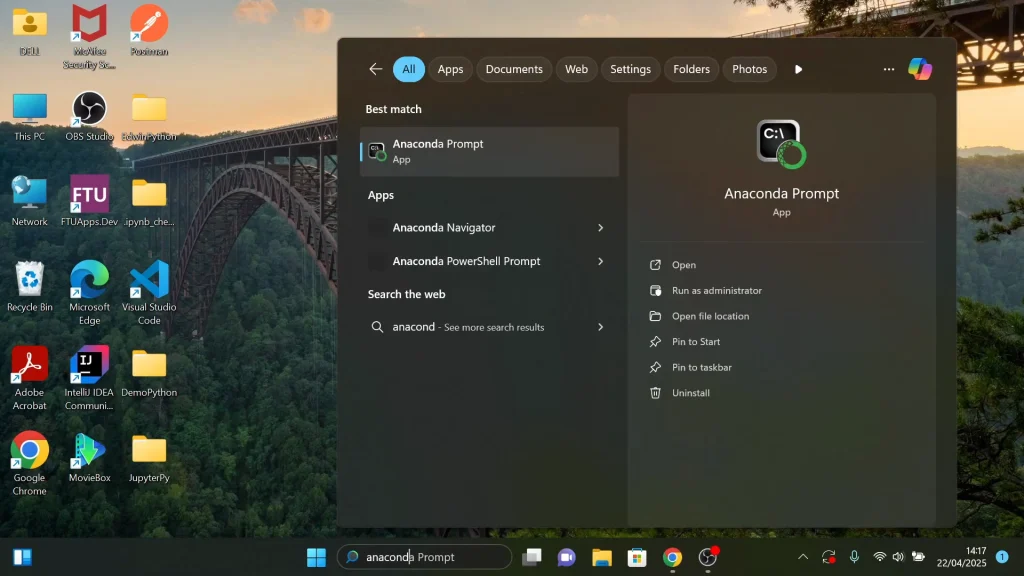
In the Windows search bar, type Anaconda and press enter to open it. You can also select Run as Administrator to ensure it runs properly. This will launch the Anaconda prompt, a line interface which allows you to manage environments and packages within Anaconda.
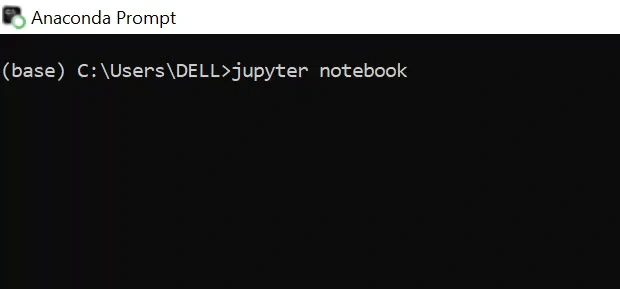
In the prompt command line, type jupyter notebook. The program will run and launch Jupyter Notebook on a browser.
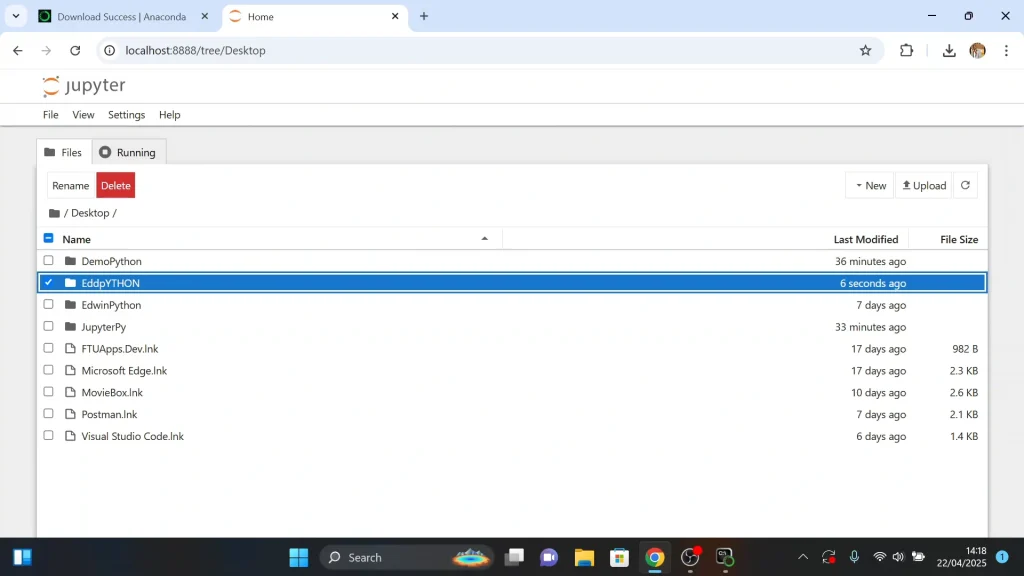
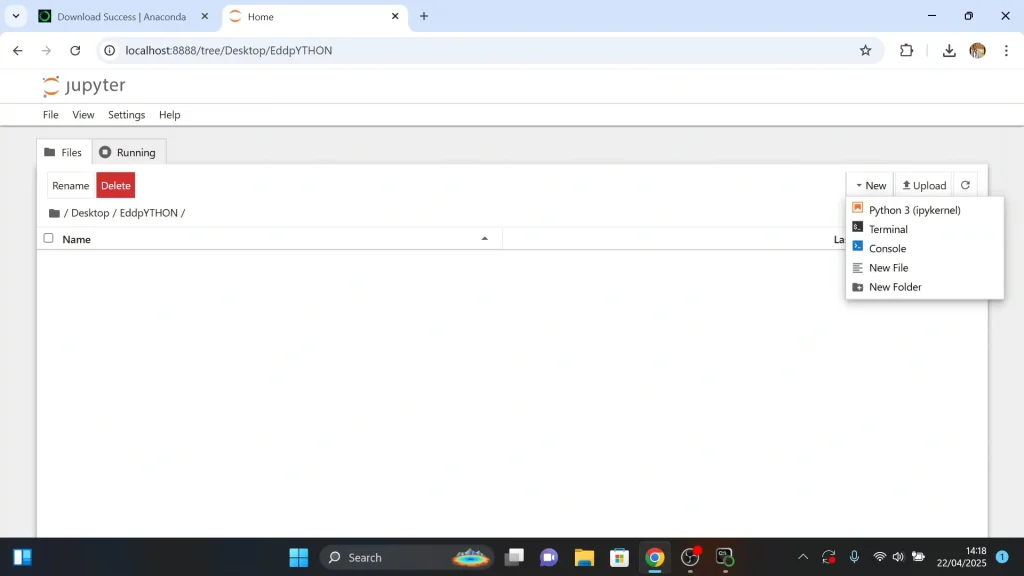
Inside Jupyter Notebook, click on Desktop, then click on New in the right corner and select New Folder to create a new folder. Rename the folder appropriately and hit the Enter key.
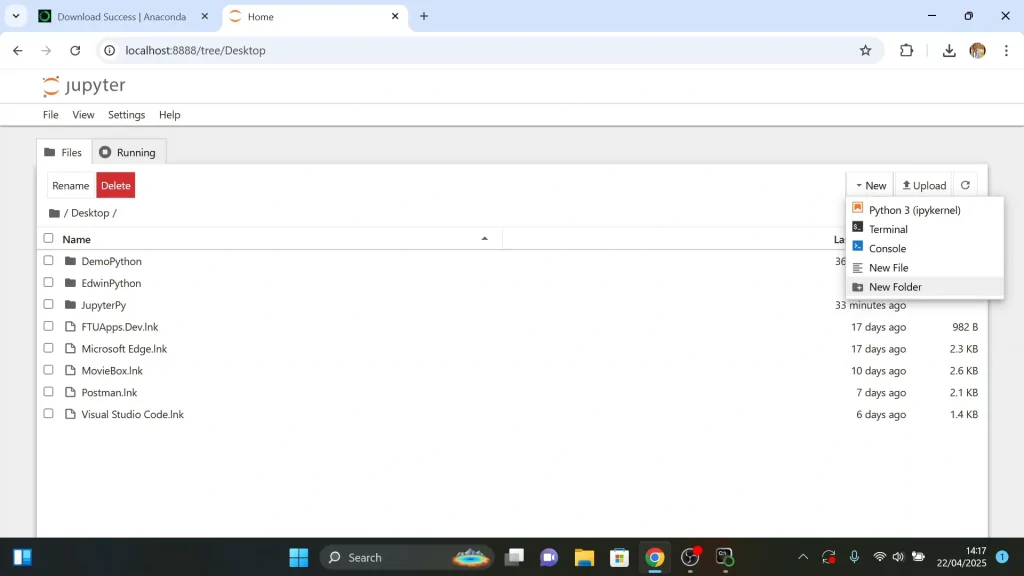
Now, in the folder, create a project, which is referred to as a Notebook in Jupyter. Click on New in the right corner and select Python 3 (ipykernel). This will launch the Notebook where you can write your program.
Finally, you can start to write your program using any of the methods. For instance, run a simple command: In the first cell, type:
print(“Hello, Jupyter!”)
Press Shift + Enter. If you see the output below the cell, your installation is successful.

Basic Usage Tips
Markdown cells: Use Markdown to add headings, lists, links, and images.
Keyboard shortcuts: Press H in command mode (press Esc to enter command mode) to view all shortcuts.
Saving notebooks: Your work is saved automatically, but you can manually save by clicking the disk icon or pressing Ctrl + S.
Extensions: Enhance functionality with Jupyter Notebook extensions, such as table of contents, code folding, and variable inspector.
Advantages of Anaconda-based installation
Anaconda comes with many popular data science libraries (NumPy, pandas, Matplotlib). It also offers easy environment management. It creates isolated environments with conda to avoid dependency conflicts.
Read: How To FIX WebCam Not Working On DELL Laptop (Dark Picture)

