Saving important voice messages on your iPhone can be a great way to preserve memories, useful instructions, or sentimental moments. While iOS doesn’t offer a one-click Save to Voice Memos feature, there are a few workarounds that can help you archive these audio files effectively.
In this article, we’ll walk you through how to sav your audio (voice) messages to the Voice Memos app on your iPhone.
Voice messages can be more than just fleeting communications—they often contain details, emotions, or critical information that you might want to keep for later reference. By saving these messages, you ensure that you have:
Easy Access: Quickly find important audio without scrolling through long message threads.
Organization: Keep your audio recordings in one dedicated place for future listening.
Backup: Preserve moments or instructions that might be needed later, even if the original conversation is deleted.
Read: How To Switch / Change Apple ID On iPhone
Save Audio (Voice) Messages To Voice Memos On iPhone
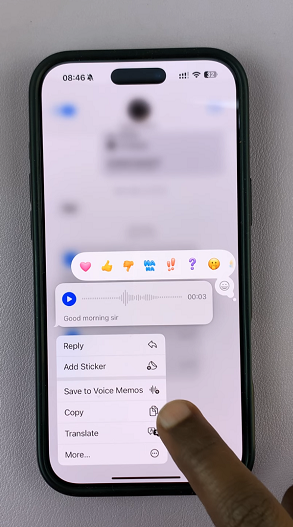
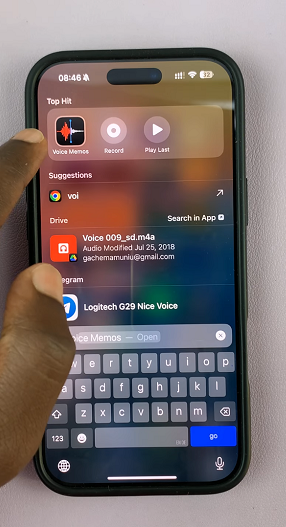
First, open the voice message in your Messages app. Long press the audio message and choose Save to Voice Memos. Launch the Voice Memos app via the Home Screen or using the search function.
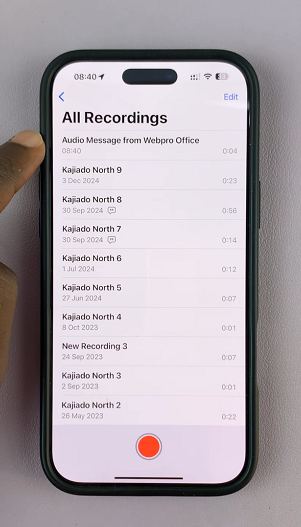
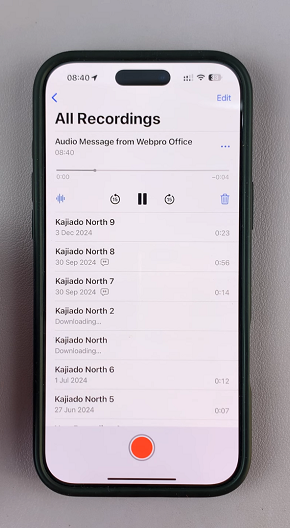
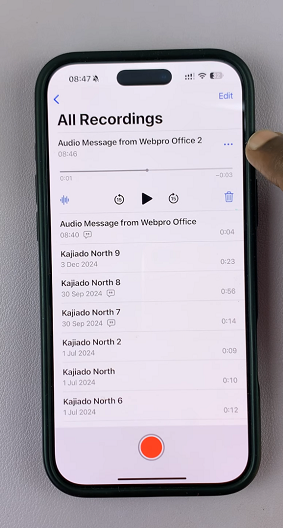
Tap on the recording to open it and do various functions. You can also tap on the three horizontal dots in the top-right corner to view more options:
Share: Select this option if you want to share to social media apps or other platforms.
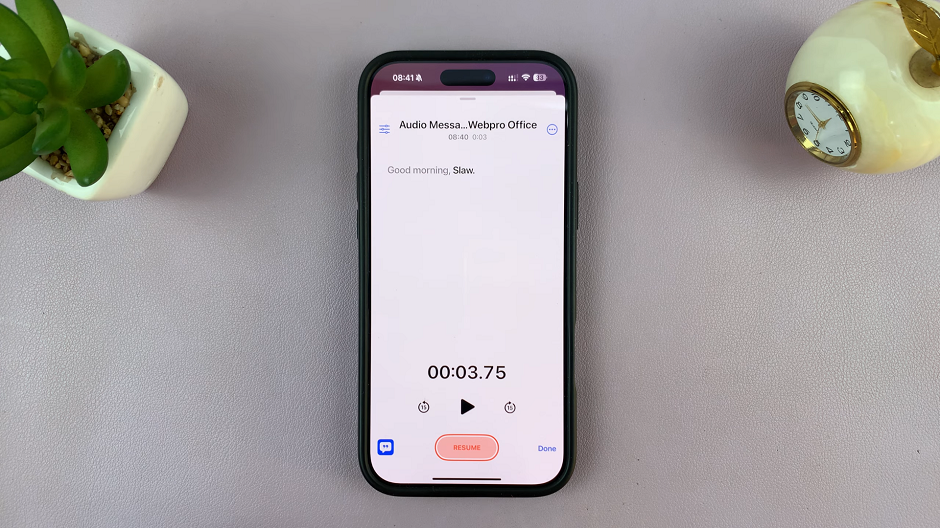
Edit Recording: Inside the recording, tap on the transcribe icon in the bottom-left corner. This will automatically transcribe your audio message.
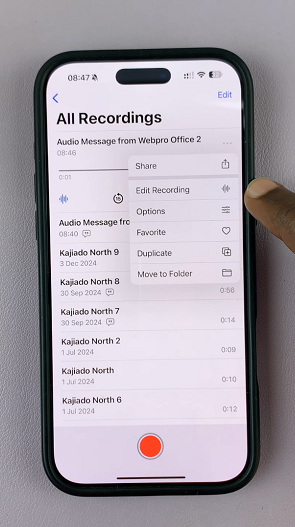
Options: This gives more options you can employ for your recording.
View Transcript: Allows you to see the transcription of the recording.
Copy Transcript: This option copies the transcript to the iPhone clipboard, so that you can paste it anywhere, including and not limited to the Notes app and Messaging apps.
Favorite: Tap on this option to set it as one of your favorites.
Duplicate: Create another copy of your recording.
Move to Folder: This option allows you to save the recording to a folder of your choice.
Watch: Change Apple ID On iPhone


 Messages To Voice Memos On iPhone)