Adding a timer to your video can serve multiple purposes it’s great for countdowns, showcasing time-lapse footage, or simply adding a creative touch to your content. CapCut Desktop is a powerful and user-friendly video editing tool that makes this process straightforward, even for beginners.
In this guide, we’ll walk you through the steps to import, customize, and overlay a timer in your CapCut project. Whether you’re creating content for social media, tutorials, or personal projects, this tutorial will help you enhance your videos with a professional-looking timer.
Watch: How To Add Scrolling Credits In CapCut
How To Add Timer In CapCut Desktop
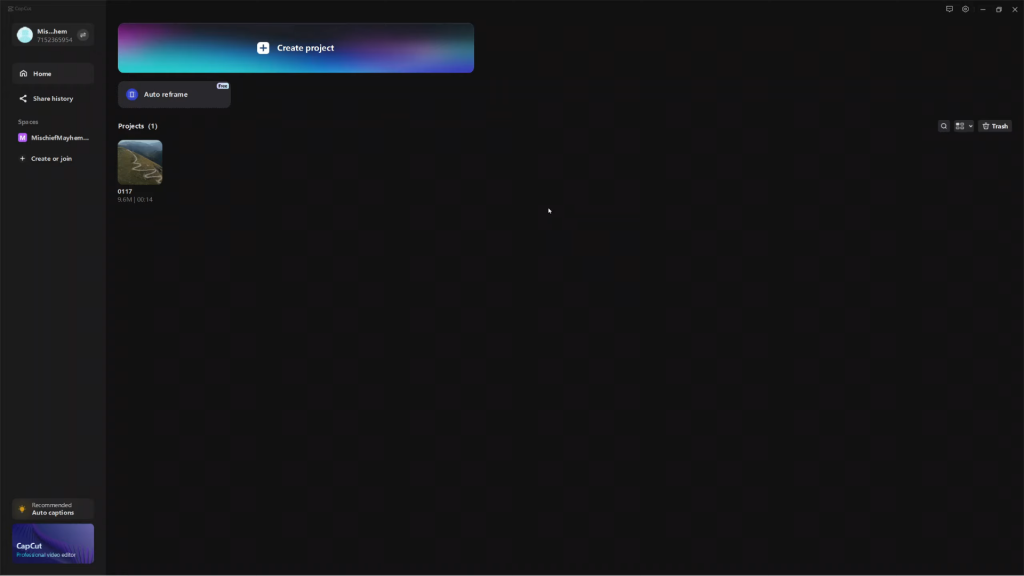
Open CapCut Desktop and create a new project by clicking on the “New Project” button.
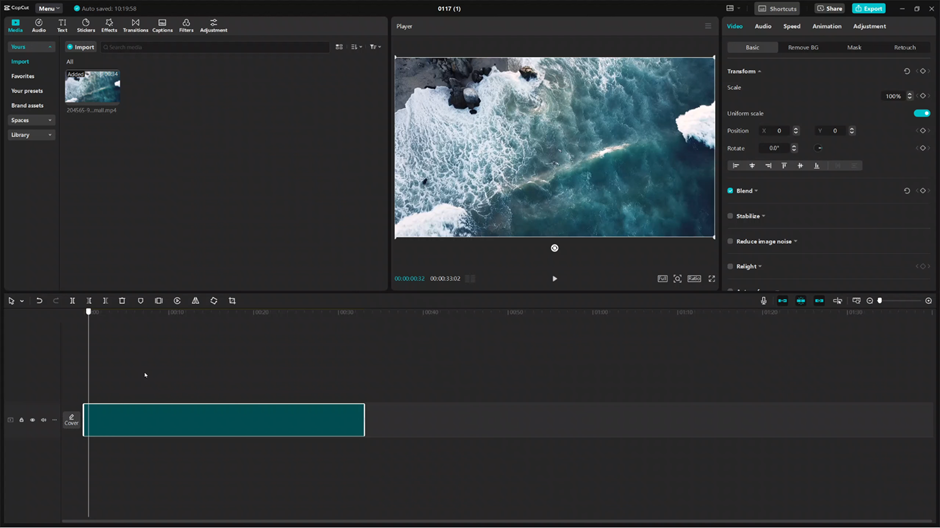
Import the photo or video you want to work on then drag and drop your photo or video into the timeline to start editing.
Use your preferred browser to search for a timer animation or video that fits your needs. Once you find it, download the file.
Move the downloaded timer file to a location you can easily access, such as your gallery or a dedicated folder.
Import the timer file into CapCut by selecting the “Import” option or dragging it directly into the project.
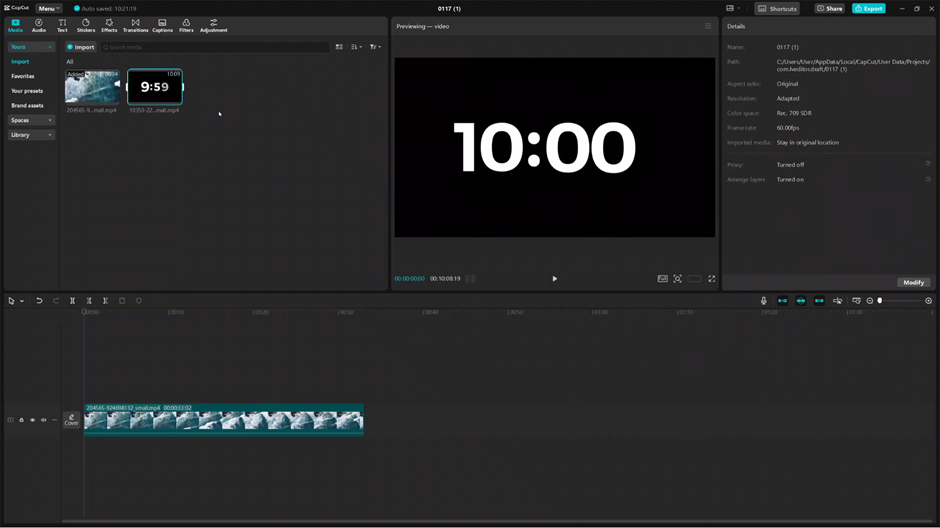
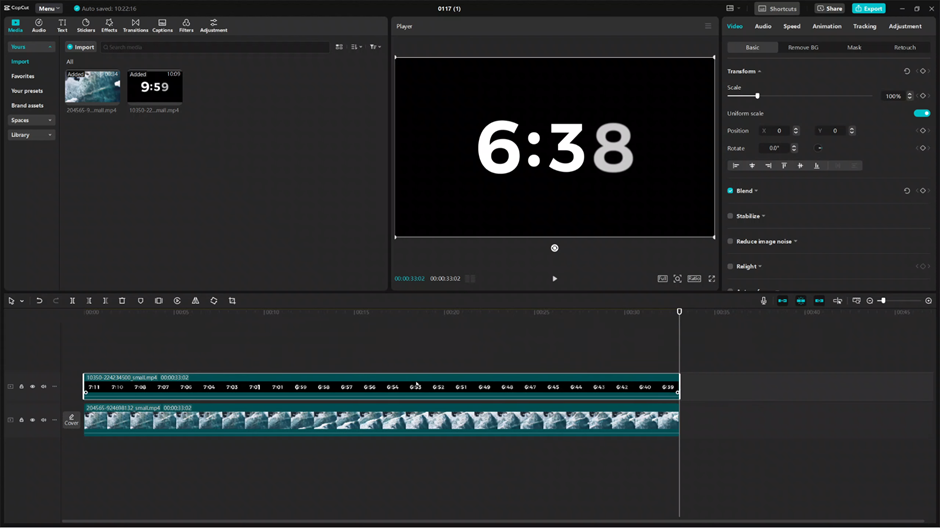
Drag and drop the timer file onto the timeline above your main video to add it as an overlay.
Align the timer’s duration with your main video by trimming or extending it as needed.
Resize the timer by selecting it in the preview window and dragging the edges to adjust its size.
If the timer has a background, use CapCut’s “Chroma Key” tool to remove it. Select the timer, activate the Chroma Key, and adjust the settings to eliminate the background.

Adjust the position, opacity, and any additional settings to match the style of your video.
Once satisfied with your work, export your video by clicking the “Export” button.
By following these steps, you can seamlessly add a timer to your video using CapCut Desktop, creating a professional and polished final product.

